Chapter 21
Performing Fiber Inspection
760
JD700B Series User’s Guide
soft key and select the option from the following choices:
Test:
Sets the capture button to function as Test. Pressing the Quickcapture button
analyzes fiber image as like the
Test
soft key on your JD700B series.
Freeze:
Sets the capture button to function as Freeze. Pressing the Quickcapture button
captures fiber image as like the
Freeze
soft key on your JD700B series.
2
To turn the auto center feature on or off, toggle the
Auto Center
soft key between
On
and
Off
and select the option you want to set. Default setting is
On
. It automatically displays the center of
the fiber when viewing at high magnification.
Performing fiber inspection
Capturing fiber image
Procedure
1
Connect the fiber to be inspected to the tip of your microscope P5000i.
The live image of the fiber is displayed on the screen.
See the user manual of your fiber microscope for details on using the P5000i.
2
Focus the image by rotating the
Focus Control
on the P5000i until the image is in focus.
3
Toggle the
Magnification
soft key between
Low
and
High
and select the option you want to use.
You can also press the
Magnification Control
button on either side of the P5000i.
4
Press the
Freeze
soft key to capture the properly focused image.
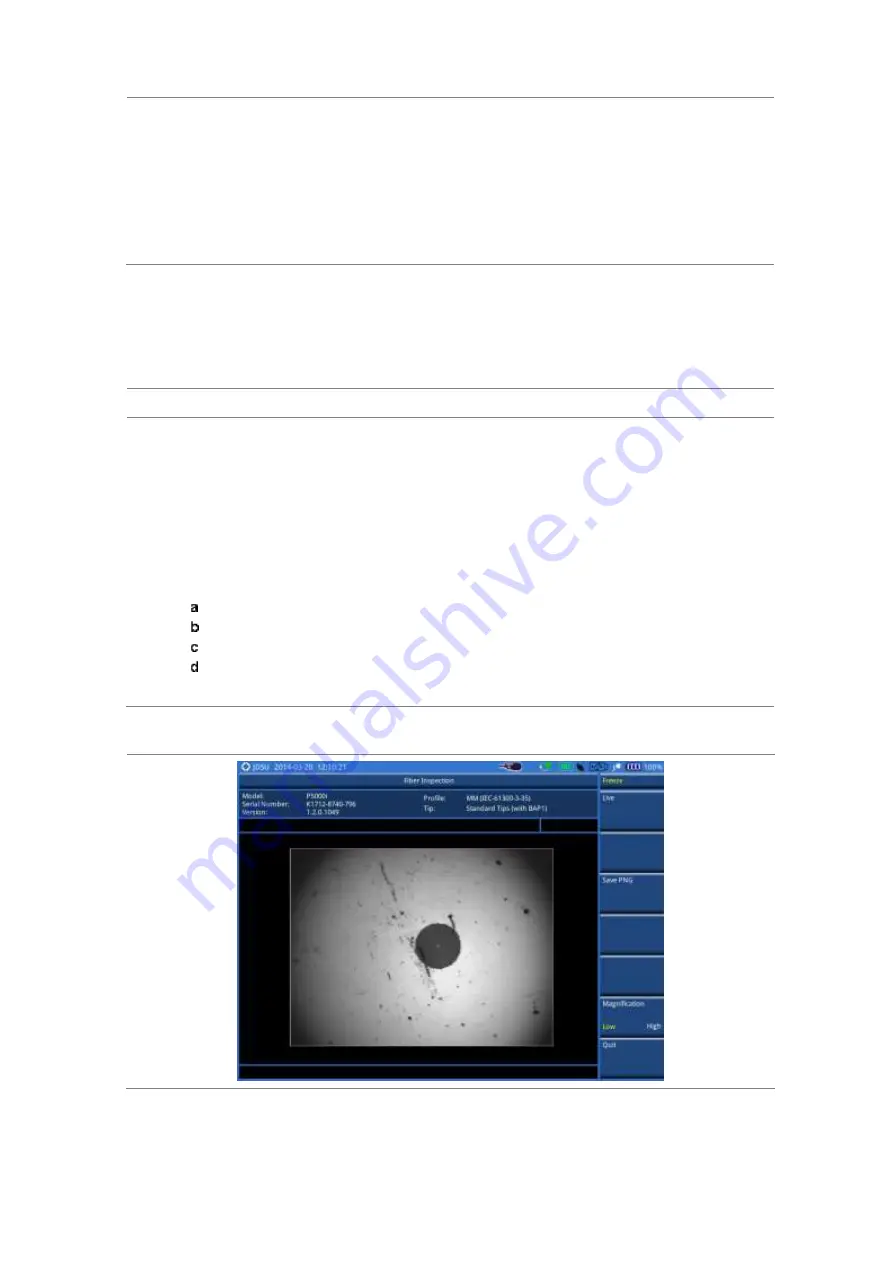
The text “Capturing…” appears. See Figure 459 for an example of captured image.
5
Optional
. To save the captured image as a file (
.png
), complete the following steps:
Tap the
Save PNG
soft key. The Save window appears with the on-screen key.
Type a file name in the
File Name
field.
Select a folder where you want to save the file, if desired.
Press the
Save
soft key.
6
Press the
Live
soft key to return to the live image screen or press the
Quit
soft key to exit.
Figure 459 Captured fiber image


