


1
is located near the barcode on the
sensor. The Bluetooth LED will
blink green when it is successfully
connected.
7. This is a multi-channel sensor. The
active channel is listed in the
Connected Devices Sensor
Channels list. To change channels,
select the check box next to the
Sensor Channel(s) you would like
to activate.
8. Click or tap Done to enter
data-collection mode.
Charging the Sensor
Connect the Go Direct Light and Color to the included USB Charging Cable
and any USB device for two hours.
You can also charge up to eight Go Direct Light and Color Sensors using our
Go Direct Charge Station, sold separately (order code: GDX-CRG). An LED on
each Go Direct Light and Color indicates charging status.
Charging
Orange LED next to the battery icon is solid
while the sensor is charging.
Fully charged
Green LED next to the battery icon is solid
when the sensor is fully charged.
Powering the Sensor
Turning on the sensor
Press button once. Red LED indicator next to the
Bluetooth icon flashes when the unit is on. Press
button again (after 5 second delay) to turn on/off
the white LED.
Putting the sensor in
sleep mode
Press and hold button for more than three seconds
to put into sleep mode. Red LED indicator next to
Bluetooth icon stops flashing when sleeping.
Connecting the Sensor
See the following link for up-to-date connection information:
www.vernier.com/start/gdx-lc
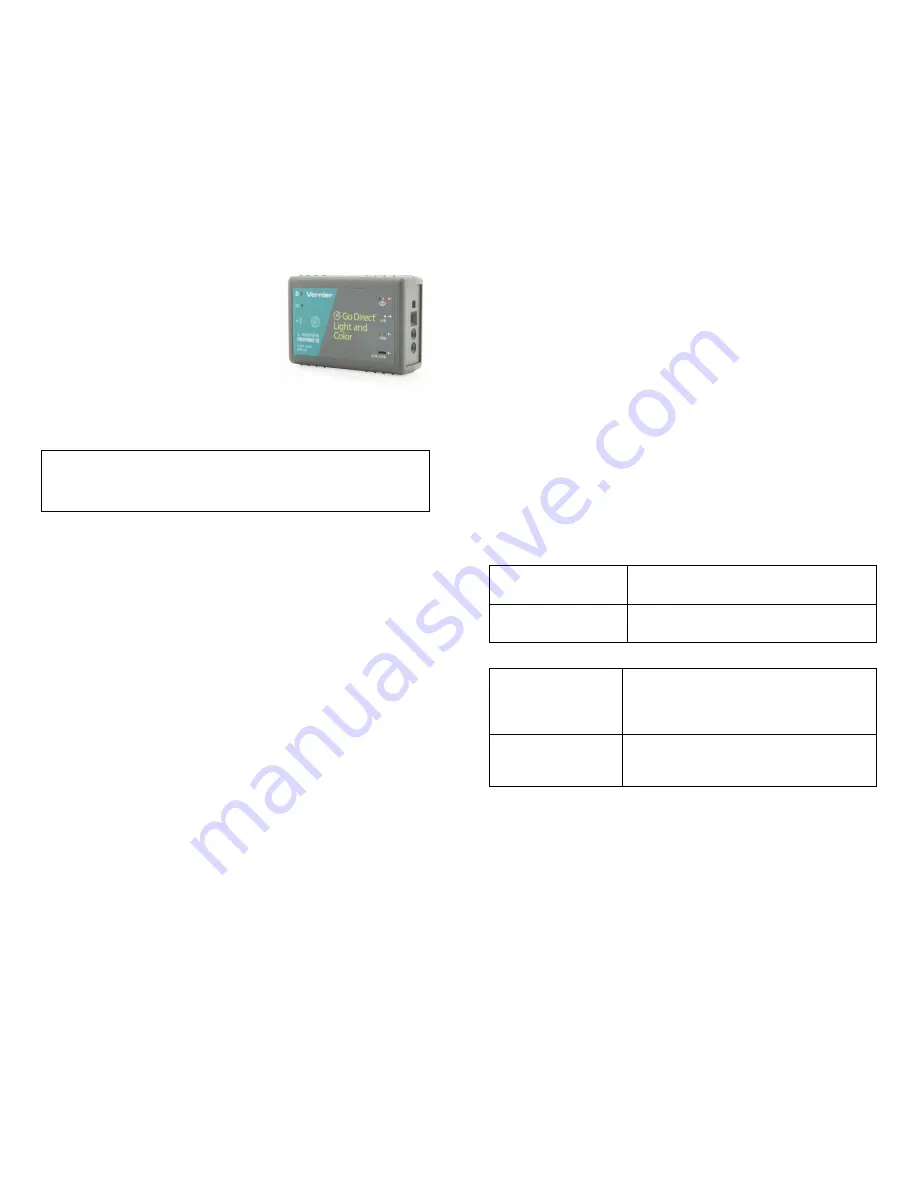
Go Direct
®
Light and
Color
(Order Code GDX-LC)
This light sensor measures light in the visible and
ultraviolet electromagnetic spectra. An RGB
color sensor detects relative contributions of
primary colors in light. Go Direct Light and
Color directly connects via Bluetooth wireless
technology or wired via USB to your platform. The sensor can be used for the
study of visible light intensity, UV light intensity, and color investigations.
Note:
Vernier products are designed for educational use. Our products are not
designed nor are they recommended for any industrial, medical, or commercial
process such as life support, patient diagnosis, control of a manufacturing
process, or industrial testing of any kind.
What's Included
l
Go Direct Light and Color
l
Micro USB Cable
Compatible Software
See
www.vernier.com/manuals/gdx-lc
for a list of software compatible with the Go
Direct Light and Color Sensor.
Getting Started
Please see the following link for platform-specific connection information:
www.vernier.com/start/gdx-lc
Bluetooth Connection
USB Connection
1. Install Graphical Analysis 4 on
your computer, Chromebook™, or
mobile device. See
www.vernier.com/ga4 for software
availability.
2. Charge your sensor for at least
2 hours before first use.
3. Turn on your sensor by pressing
the power button once. The
Bluetooth
®
LED will blink red.
4. Launch Graphical Analysis 4.
5. Click or tap Sensor Data
Collection.
6. Click or tap your Go Direct sensor
from the list of Discovered
Wireless Devices. Your sensor's ID
1. If using a computer or Chromebook,
install Graphical Analysis 4. If using
LabQuest 2, make sure LabQuest
App is up to date. See
www.vernier.com/ga4 for Graphical
Analysis 4 availability or
www.vernier.com/downloads to
update LabQuest App.
2. Connect the sensor to the USB port.
3. Launch Graphical Analysis 4 or turn
on LabQuest 2. You are now ready
to collect data.
4. This is a multi-channel sensor. To
change the default channel
selections, see
www.vernier.com/start/gdx-lc


