


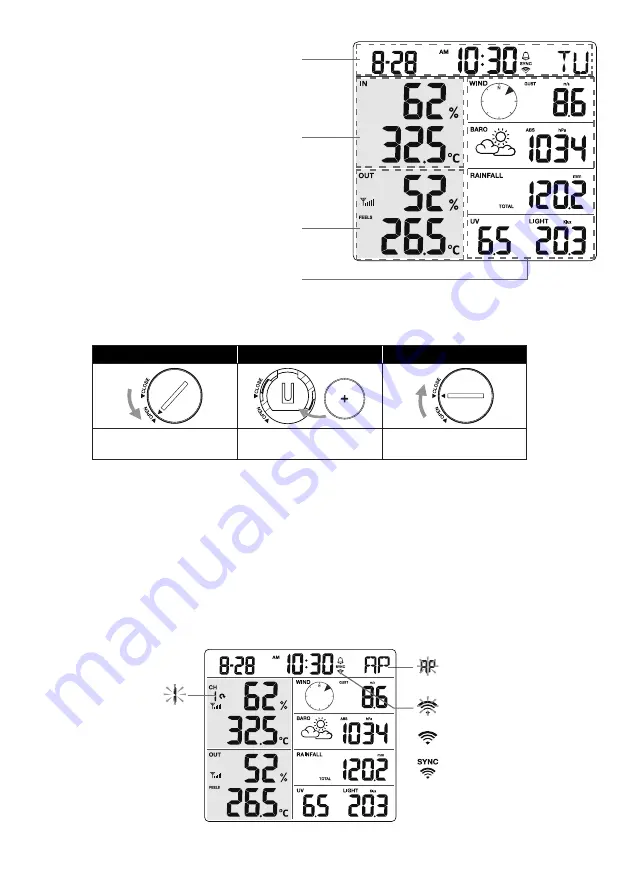
3 4 DISPLAY CONSOLE
1.
Time & Date
2.
Indoor / CH temperature & humidity
3.
Outdoor temperature & humidity
4. WIND, BARO, RAIN, UV and Light
intensity
1
2
4
3
3 4 1 INSTALL BACKUP BATTERY AND POWER UP
Backup battery provides power to the console to retain clock time and date, max/min records
and calibration value.
Step 1
Step 2
Step 3
Remove the console
battery door with coin
Insert a new CR2032
button cell battery
Replace the battery door.
NOTE:
-
The backup battery can back up: Time & Date, Max/Min records and calibration value.
-
The built-in memory can back up: connection settings.
-
Please always remove the back-up battery if the device is not going to be used for a while. Please
keep in mind that even when the device is not in use, certain settings, such as the clock, calibration
and records in its memory, will still drain the back-up battery.
POWER UP THE CONSOLE
1.
Plug in the power adapter to power up the console.
2.
Once the console is power up, all the segments of the LCD will be shown.
3. The console will automatically enter AP mode and sensor synchronization mode
automatically.
Blinking:
Trying to connect to router
Stable:
Connected to router
Stable:
Connected to router and
synchronized to local time
Flashing:
Console currently in
Access
Point (AP) mode
Blinking:
Sensor synchronization
process
4. The wireless sensor will automatically pair up with console (about 1 minute). Upon successful
synchronization, display will change from "- -.-°C, - -%" to actual reading.
10


