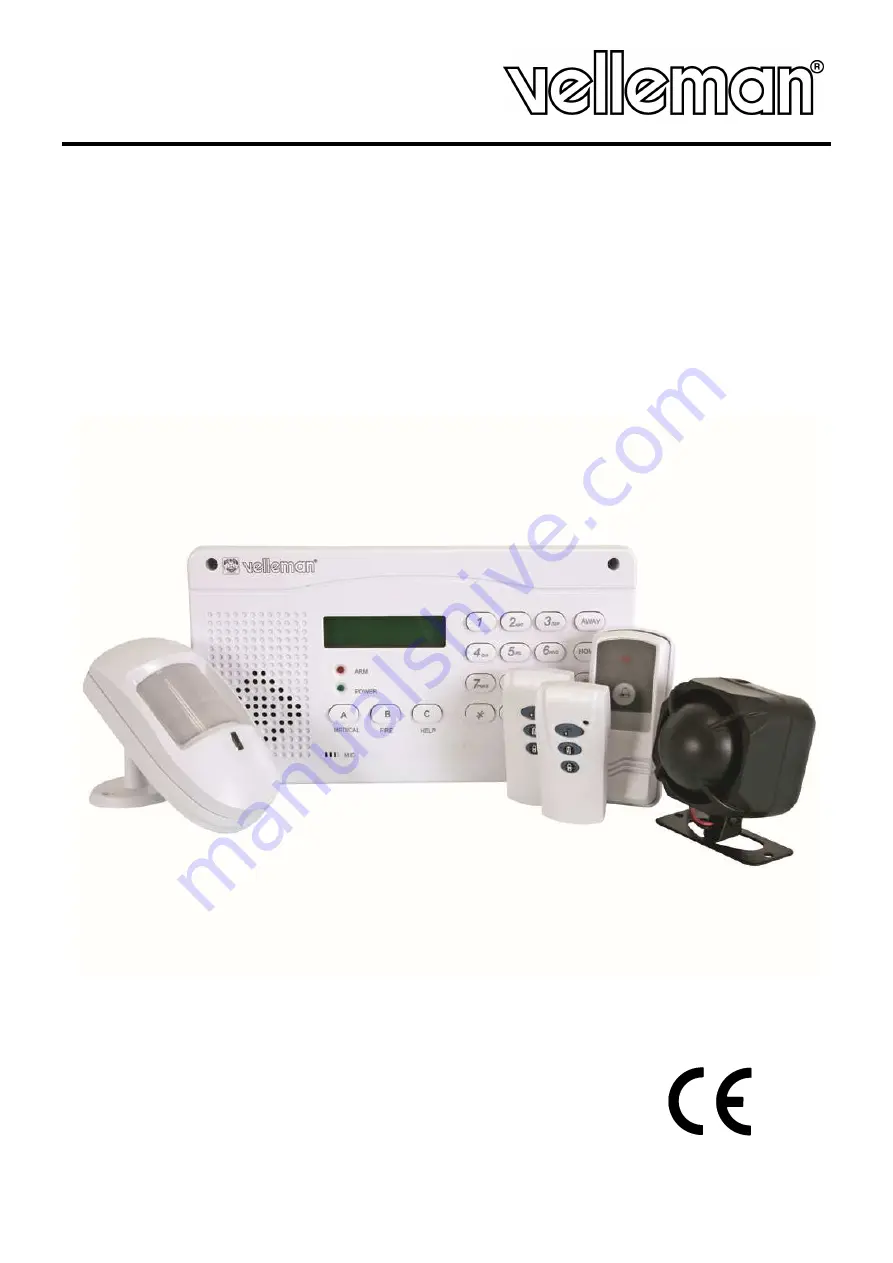
background image


HAM06WS 


WIRELESS HOME ALARM 

DRAADLOOS ALARMSYSTEEM 

SYSTÈME D'ALARME SANS FIL 

SISTEMA DE ALARMA INALÁMBRICO 

DRAHTLOSES ALARMSYSTEM 
SISTEMA DE ALARME SEM FIOS 


USER MANUAL 

3


GEBRUIKERSHANDLEIDING  11


NOTICE D’EMPLOI 

19


MANUAL DEL USUARIO 

27


BEDIENUNGSANLEITUNG 

35 

MANUAL DO UTILIZADOR       43 


Summary of Contents for HAM06WS

Page 1: ...MSYSTEEM SYST ME D ALARME SANS FIL SISTEMA DE ALARMA INAL MBRICO DRAHTLOSES ALARMSYSTEM SISTEMA DE ALARME SEM FIOS USER MANUAL 3 GEBRUIKERSHANDLEIDING 11 NOTICE D EMPLOI 19 MANUAL DEL USUARIO 27 BEDIE...

Page 2: ...HAM06WS Rev 04 18 04 2017 Velleman nv 2 1 2 3...

Page 3: ...ching live wires can cause life threatening electroshocks Remove power before opening the cover 3 General Guidelines Refer to the Velleman Service and Quality Warranty on the last pages of this manual...

Page 4: ...se signals to the central unit 7 Alarm Unit a Layout Refer to the illustration on page 2 of this manual A MEDICAL push to trigger the medical alarm B FIRE push to trigger the fire alarm C HELP push to...

Page 5: ...system is in DISARM mode e Entering the programming mode To enter the programming mode put the central unit in DISARM mode first and press the SET button The message INPUT LEVEL will be displayed Ente...

Page 6: ...Report 1 Arm report 2 No report Arm report A report is sent to the central unit No report No report is sent to the central unit Submenu 4 Delay This menu will be used to program the time needed for th...

Page 7: ...display 3 message types 1 Smoke 2 Gas 3 Panic 1 Smoke smoke alarm 2 Gas gas alarm 3 Panic panic alarm Bypass The alarm zone has been deactivated Setup Menu This Setup menu has following submenus 1 Ale...

Page 8: ...ax value is 8 rings Enter a number from 01 to 99 and confirm with the button Input ring times Note unfortunately there is no direct relationship between the entered number and the number of rings E g...

Page 9: ...3 AWAY ARM entering the AWAY mode R4 HELP panic function activation push upwards to activate Remark Follow these steps to assign a different code when 2 or more remote controls have been encoded simil...

Page 10: ...ound when opening the battery compartment 11 Technical specifications Central Unit Power Supply 12VDC incl Standby Power 12VDC incl Working Frequency 433Mhz Remote Control Range 30m Static Current 150...

Page 11: ...el tegen regen vochtigheid en opspattende vloeistoffen Elektrocutiegevaar bij het openen van het toestel Schakel de voeding uit alvorens de behuizing te openen Raak geen kabels aan die onder stroom st...

Page 12: ...Belangrijke opmerking voor blokken 5 tot en met 8 Verbind ieder blok dat men niet gebruikt steeds door met de massa blok 2 of blok 3 om de centrale geen valse signalen te geven 7 Alarmcentrale a Over...

Page 13: ...n ten behoeve van brand gas of paniekdetectie 24h functie zijn steeds actief ook wanneer het systeem in DISARM status staat e De centrale in programmeermodus plaatsen Om de centrale in programmeermodu...

Page 14: ...enu is voor toekomstige uitbreiding van de software en heeft geen functie Submenu 3 Report 1 Arm report 2 No report Arm report Rapport naar de centrale No report Geen rapport naar de centrale Submenu...

Page 15: ...ij brand gaslek of paniek Het alarm wordt dus ook geactiveerd wanneer het systeem in DISARMED modus staat Dit wordt bijvoorbeeld gebruikt bij het aansluiten van een brandsensor Men kan 3 verschillende...

Page 16: ...n aangesloten op de centrale moet overgaan om over te schakelen naar de besturingsfunctie op afstand zie verder De defaultwaarde en max is 8 keer Voer een getal in van 01 99 en bevestig met de toets I...

Page 17: ...om het toestel in DISARM modus te plaatsen 3 om te luisteren naar de ingebouwde microfoon van de centrale 4 om af te bellen 8 Toetsen op de afstandbediening en het hulpalarm Raadpleeg de figuren op p...

Page 18: ...nier worden ge nstalleerd De 2 driehoekjes die op de beide sensoren te zien zijn moeten naar elkaar wijzen De ruimte tussen beide delen mag niet meer dan 5mm zijn Schuif het dekseltje van het batterij...

Page 19: ...st me de la pluie de l humidit et des claboussures Risque d lectrocution lors de l ouverture du bo tier Couper l alimentation avant d ouvrir l unit centrale Attention Toucher un c ble sous tension peu...

Page 20: ...la page 2 de cette notice A MEDICAL Appuyer sur le bouton pour enclencher l alarme m dicale B FIRE Appuyer sur le bouton pour enclencher l alarme incendie C HELP Appuyer sur le bouton pour enclencher...

Reviews: