DVBTUSB2
29/09/2010
©
Velleman nv
4
o
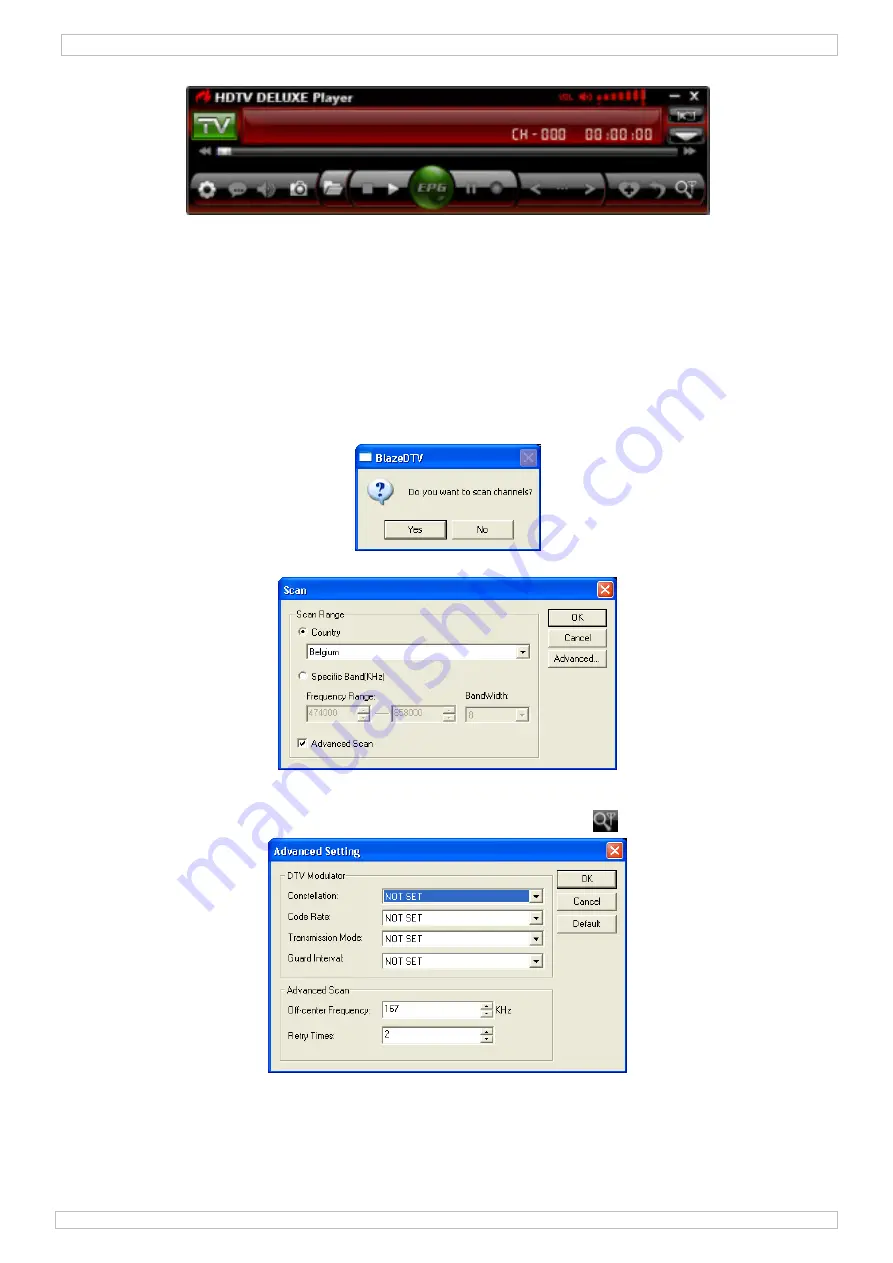
a control panel.
6.
Hardware installation
•
Gently screw the antenna on the base.
•
Install the antenna as high as possible, preferably near a window. Use the magnetic base to stick
the antenna to a metal surface.
Note:
keep the antenna and receiver away from strong magnetic fields.
•
Plug the MCX plug into the MCX jack of the receiver.
•
Open the BlazeDTV software on the PC and plug the receiver into a USB port. The computer system
should recognize it and finish hardware setup automatically. If not, re-install the drivers.
7.
Initial set-up
•
Once initialization is completed, the ‘Do you want to scan channels’ window pops up.
•
Click ‘yes’. The scan window opens.
•
Select your country and when desired the frequency range and bandwidth. Open the ‘Advanced’
screen to set more options.
Note:
it is also possible to open the scan window by clicking on the
icon in the control panel.
•
Click ‘OK’ to start scanning. This might take some time.
Notes:
o
Due to the nature of the DVB-T signal, reception of the signal heavily depends on the location of
the receiver. When reception is weak or no signal is found, try relocating the antenna.
o
Abort scanning at any time by clicking the ‘Stop Scan’ button
Summary of Contents for DVBTUSB2
Page 7: ...DVBTUSB2 29 09 2010 Velleman nv 7...
Page 8: ...DVBTUSB2 29 09 2010 Velleman nv 8...
Page 18: ...DVBTUSB2 29 09 2010 Velleman nv 18...
Page 19: ...DVBTUSB2 29 09 2010 Velleman nv 19...
Page 29: ...DVBTUSB2 29 09 2010 Velleman nv 29...
Page 30: ...DVBTUSB2 29 09 2010 Velleman nv 30...
Page 40: ...DVBTUSB2 29 09 2010 Velleman nv 40...
Page 41: ...DVBTUSB2 29 09 2010 Velleman nv 41...
Page 51: ...DVBTUSB2 29 09 2010 Velleman nv 51...


