20
Groundwater Sensor Setup
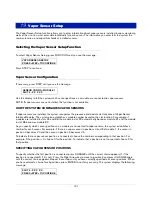
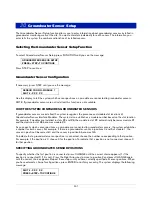
Groundwater Sensor Location
20-2
Press STEP. If more than one module is installed, the system automatically advances to the SENSOR CONFIG
message for the next module. Up to 8 modules may be installed. Repeat the steps described above for each
module until you have entered configuration information (sensor positions) for all modules and the system displays
the ENTER SENSOR LOCATION message.
Groundwater Sensor Location
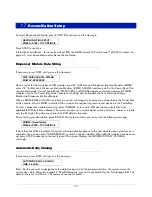
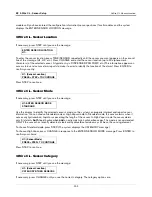
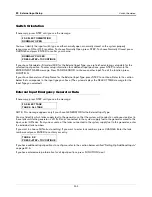
If necessary, press STEP until you see the message:
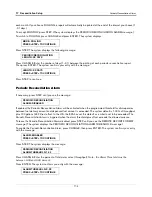
To enter the sensor location, press TANK/SENSOR repeatedly until the sensor you want appears on the second
line of the message (G1, G2, G3, etc.). Press CHANGE and enter the location (up to 20 alphanumeric
characters) of the selected sensor. Typical entries are: WELL #1, NEW CORNER, etc. (This information appears
on sensor status and sensor alarm reports to make it easier to identify the location of the alarm.) Press ENTER to
confirm your entry:
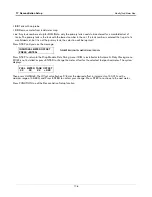
Press STEP to continue.
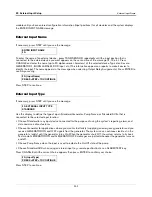
Groundwater Sensor Category
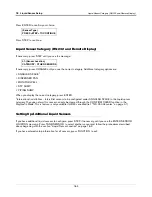
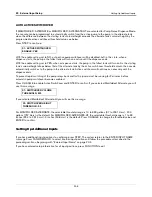
If necessary, press STEP until you see the message:
If necessary, press CHANGE until you see the correct category. The category options are:
•
ANNULAR SPACE
• DISPENSER PAN
•
MONITOR WELL
• STP SUMP
•
PIPING SUMP
When the correct category displays, press ENTER.
Setting Up Additional Groundwater Sensors
If you have additional sensors to configure, press STEP, if necessary, until you see the ENTER SENSOR
LOCATION message. Press TANK/SENSOR to select another sensor and follow the procedures described
above, beginning with “Groundwater Sensor Location” on page 20-2.
If you have entered setup information for all sensors, press FUNCTION to exit.
ENTER SENSOR LOCATION
G1:
G1: (Sensor Location)
PRESS <STEP> TO CONTINUE
G1: (Sensor Location)
CATEGORY:OTHER SENSORS

