


S
TEP
4
Add Your VGo
and
Add
Users
5 M
I N U T E S
1) If you are not logged into your
account, go to www.vgocom.com
and log in
.
2) Select the
VGos
tab and then select
Add a VGo.
3) Enter the
Activation Key
that is
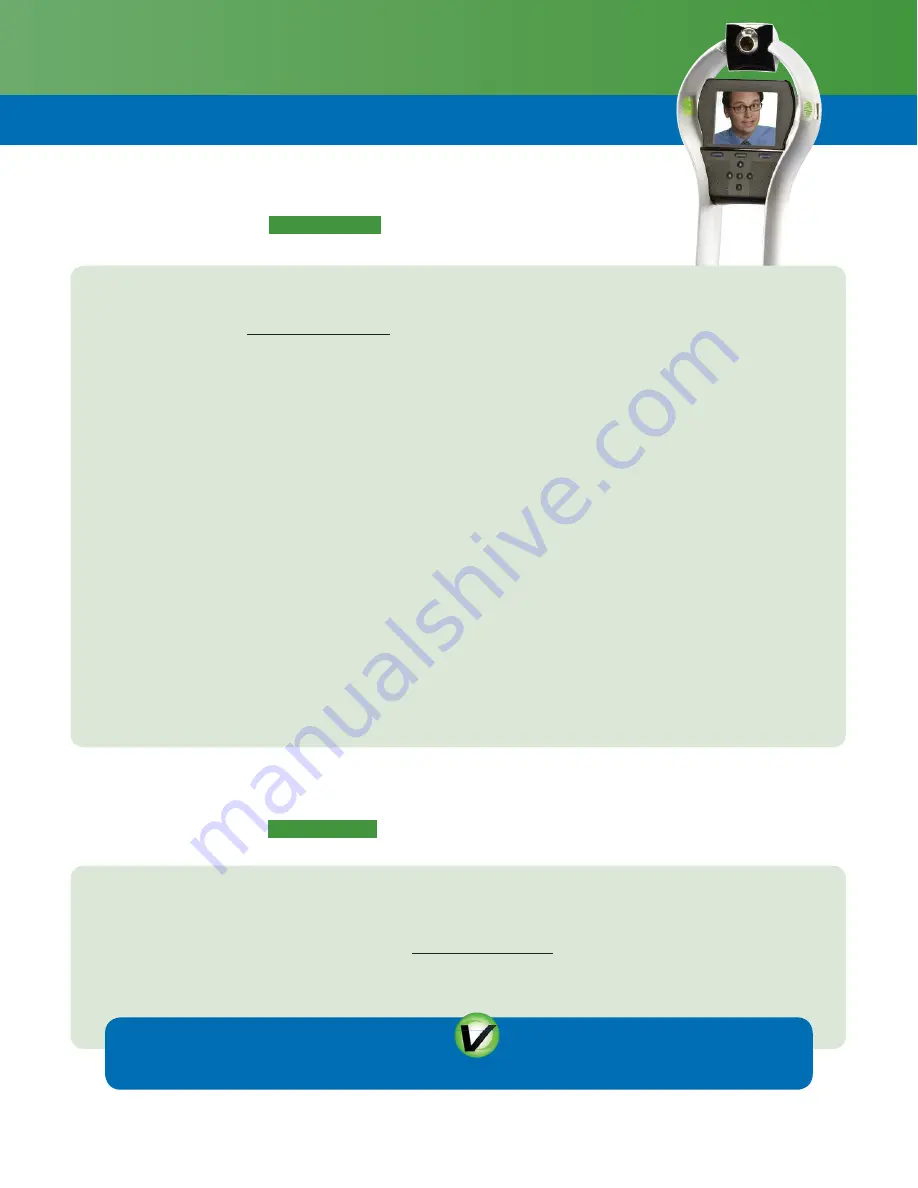
displayed on the screen of your VGo
and then click
Add.
4) Your new VGo will be listed under
the
VGos
tab as
New VGo
for
(community name)
.
n
You may need to refresh
the page to see this.
5) Select the new VGo and select
Edit Properties
6) Enter the
Location Name
that will
appear in the user’s VGo App. Also
select the
TimeZone
where the
VGo is located then select
Update
.
7) To enable new users in addition to
yourself (once complete, continue to
item 8).
n
Select the
Users
tab, then
Add a
User
, and fi ll in the fi elds.
n
A random password is automati-
cally generated for the user which
you can change. The user can also
change their password at any time.
8) In the
VGos
tab, select the M
anage
Access List
icon (looks like a key –
right side of the screen) for your
new VGo, and select the users who
are allowed to access this VGo.
•
To remotely use the VGo, a user must have the VGo App on a Windows PC, Apple
Mac or iPad.
•
To download to a PC or Mac, go to
www.vgocom.com and select Download VGo App
(on the home page, left side). For the iPad – go to the Apple App Store and
search
for
VGo.
S
TEP
5
Get the VGo App
5 M
I N U T E S
On your desktop, open the VGo App , log-in, and select the location
(VGo) you want to visit.


