Instruction Manual
5
www.varta-electronics.ru
the slot according to the marking. Pay attention
to the slot position for inserting the card. Insert-
ing randomly may cause damages to the slot and
the card.
• Do not take out the card at random when the
system is running a navigation program or play-
ing a media
fi
le.
For correct and satisfactory operation,
licensed MicroSD memory cards of famous
brands should be used with this unit. Avoid using
memory cards of unknown brands. Capacity: up
to 32 Gb.
CONNECTION
Connecting to computer
Access to PC enables you to copy
fi
les from
the navigator to the PC and vice versa or backup
the data in the navigator to the PC for future use.
• Ensure the unit is on. Connect the MiniUSB
cable to the MiniUSB port of this unit and USB
port of a PC. On completing connection, the PC
will automatically identify the new hardware unit.
• On completing communication, remove the
mini USB cable, and the unit returns to run like
before.
Please backup the system data to an ex-
ternal storing device before updating.
While accessing a PC, the following opera-
tions will interrupt the communication between
the system and the PC. Then, the un
fi
nished
transmission data will be missing:
1. Unplug the miniUSB cable;
2. Press power button to switch off;
3. Restart the system via RESET button.
Headphones
Connect earphone or headphone (not includ-
ed) to the headphone jack of this unit. The sound
will be output through the headphone, the built-in
speaker of this unit will be muted.
Do not use an earplug with over high vol-
ume, or it will hurt your hearing and even cause
permanent hearing impairment.
Audio/video input
AV input is used for receiving audio and video
signal from an external source (back view cam-
era or DVD player). Connect external video/audio
source to this unit with a compatible audio-video
cable (not included). When the connected exter-
nal device is turned on, this unit will automatically
play its audio and video.
MAIN USER INTERFACE
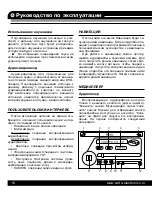
When the power is on, the screen shows Main
user interface consisting of 6 touchable icons:
• NAVIGATION: Open Navigation mode.
• MULTIMEDIA
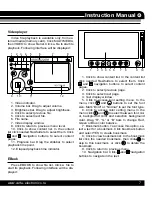
Video player: Operations with video
fi
les.
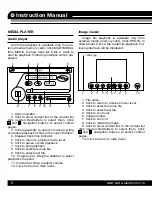
Audio player: Operations with audio
fi
les.
• PHOTO: Operations with images.
• EBOOK: Operations with TXT format
fi
les.
• SETTING: Set volume, power supply, back-
light, date and time, languages as well as system
information.
• CAMERA: Operations with camera.
NAVIGATION
After you click Navigation icon, the unit enters
into GPS Navigation mode. For all operations
with GPS Navigation please read the Instruction
Manual for your GPS software.
Navigation can operate along with music play-
back in background mode. For this, enter GPS
Navigation mode, then brie
fl
y press Power but-
ton to reduce Navigation mode, then start music
playback (see below). After that enable the Navi-
gation mode again. The unit will operate as navi-
gation whil music will be played.


