background image

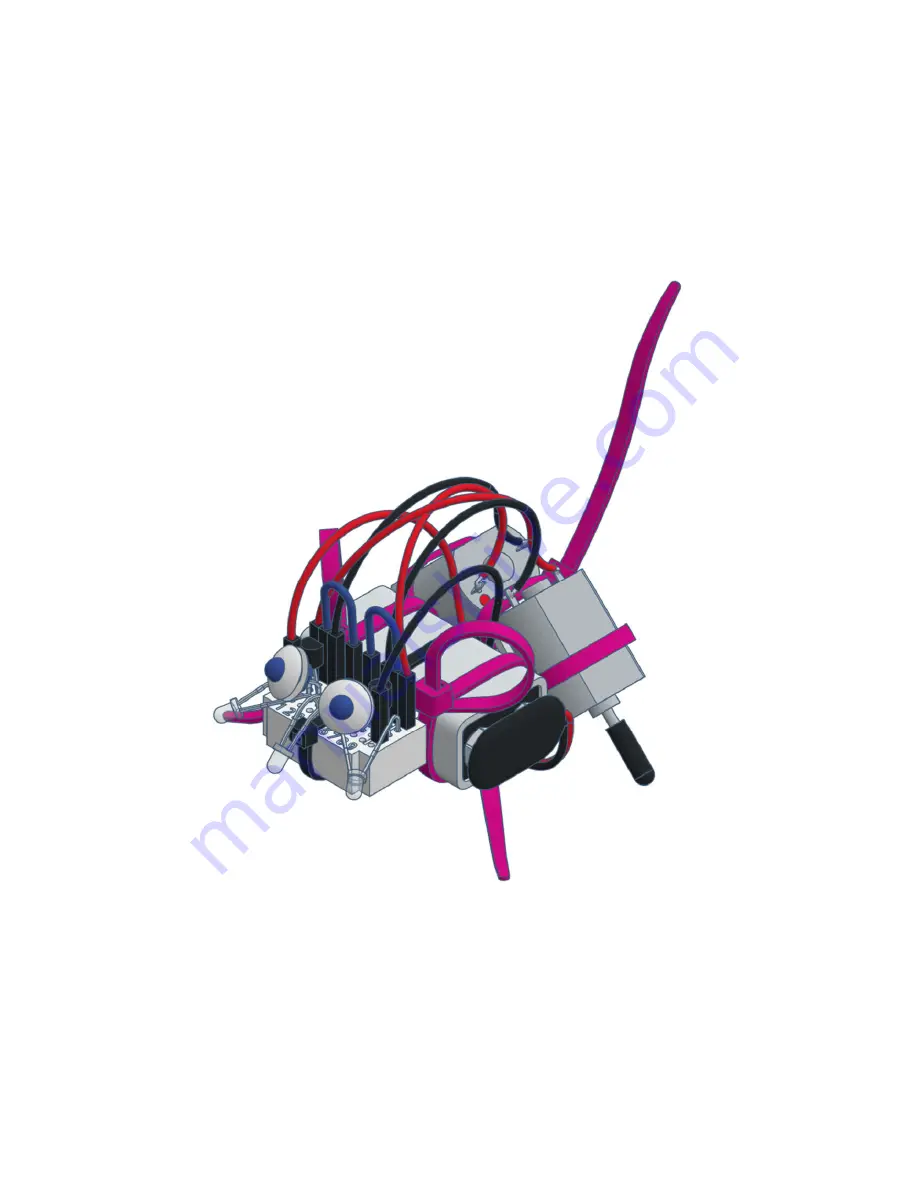
varikabi as a Mouse

Summary of Contents for varikabi

Page 1: ......

Page 2: ...requires a 9 V battery which is not included in the package due to limited storability A short circuit of the battery must be avoided because it can cause overheating of the cables and an explosion of...

Page 3: ...ations is limited to the contract typical foreseeable damage unless there is a case of mandatory liability according to the Product Liability Act The product has been manufactured in accordance with t...

Page 4: ...l breadboard and are therefore easily modifiable With the help of a clever combination of three brightness sensors varikabi perceives the smallest contrasts in its environment and reacts to them in ma...

Page 5: ...3 varikabi as a Mouse S 51 varikabi as a Beetle S 60 varikabi Fischertechnik 2 Functions The experimentation manual explains the twelve functions of varikabi It will show you how to build the appropri...

Page 6: ...1 Assembly What you need 9 V block battery or 9 V battery pliers and side cutters black duct tape for varikabi FT about one hour time...

Page 7: ...The seven varikabi models...

Page 8: ...The components...

Page 9: ...varikabi as a Dog...

Page 10: ...1...

Page 11: ...2...

Page 12: ...3...

Page 13: ...4...

Page 14: ...5...

Page 15: ...6...

Page 16: ...7...

Page 17: ...varikabi as a Sea Lion...

Page 18: ...1...

Page 19: ...2...

Page 20: ...3...

Page 21: ...4...

Page 22: ...5...

Page 23: ...varikabi as a Frog...

Page 24: ...1...

Page 25: ...2...

Page 26: ...3...

Page 27: ...4...

Page 28: ...5...

Page 29: ...varikabi as a Bird...

Page 30: ...1...

Page 31: ...2...

Page 32: ...3...

Page 33: ...4...

Page 34: ...5...

Page 35: ...varikabi as a Giraffe...

Page 36: ...1...

Page 37: ...2...

Page 38: ...3...

Page 39: ...4...

Page 40: ...5...

Page 41: ...6...

Page 42: ...7...

Page 43: ...varikabi as a Mouse...

Page 44: ...1...

Page 45: ...2...

Page 46: ...3...

Page 47: ...4...

Page 48: ...5...

Page 49: ...6...

Page 50: ...7...

Page 51: ...varikabi as a Beetle...

Page 52: ...1...

Page 53: ...2...

Page 54: ...3...

Page 55: ...4...

Page 56: ...5...

Page 57: ...6...

Page 58: ...7...

Page 59: ...8...

Page 60: ...varikabi Fischertechnik...

Page 61: ...The components...

Page 62: ...1...

Page 63: ...2...

Page 64: ...3...

Page 65: ...4...

Page 66: ...d Functions The di erent circuit variants allow varikabi twelve functions The circuits and features of the functions are described below in detail varikabi stands still varikabi drives slowly varikabi...

Page 67: ...tion to lamps or windows If varikabi is supposed to follow or avoid a structure on the ground make sure that the ground does not re ect light Notes on Lighting Note The light of LED lamps or uorescent...

Page 68: ...t are labeled with the numbers 1 to 9 The fifth row in the middle is concealed at varikabi with the black cable tie and is not needed The resistor limits the current of the two LEDs The colored rings...

Page 69: ...two series connected transistors The right and left motors require equivalent transistors a so called PNP and an NPN transistor They can be distinguished by their imprint BC516 PNP or BC517 NPN Bend t...

Page 70: ...ution The phototransistors must be installed correctly polarized The side has a shorter leg and a attening on the protruding collar of the case However you must pay attention to the correct polarity o...

Page 71: ...ce between the outer two sensors you can adjust the accuracy with which varikabi is supposed to drive on the line Ideally they are a little o the line If they are too close to the line varikabi will p...

Page 72: ...ou do not have white adhesive tape you can place white sheets of paper on a dark oor for example With the distance between the outer two sensors you can adjust the accuracy with which varikabi is supp...

Page 73: ...e too strong for this function so that the contrast is strong enough Align the side sensors in parallel or just slightly to the side so they can simultaneously keep a frontal light in sight The more l...

Page 74: ...size of the object to be tracked The further forward they are directed the more exactly varikabi will follow the object However if they are both directed to the object varikabi will not be able to sto...

Page 75: ...Mode Adjust the distance of the lateral sensors to the size of the object to be tracked Both sensors should have the object in view at the same time Adjust the angle of inclination of the middle sens...

Page 76: ...bly avoid obstacles these must be darker than the ground Align the lateral sensors about 45 to the side and slightly to the ground The further the sensors are directed downwards the closer varikabi wi...

Page 77: ...e g your room oor or a clear table illuminated from above You can also place white sheets of paper on a dark background Avoid lateral light incidence from windows For varikabi to recognize the edge of...

Page 78: ...ground for example you can cut black paper and place it on a light oor The surface should be round and have a diameter of at least 30 cm Adjust the inclination of the two lateral sensors in the way th...

Page 79: ...se a place outdoor or underneath a light source which is placed at least one meter high Your hand is the best shadow However be careful not to wear clothes with dark sleeves otherwise varikabi would p...

Page 80: ...riment you need a dark room and a lamp about 30 to 100 cm above varikabi Ideally you can also move the lamp However a ashlight is not very suitable because of its focus The more you direct the center...

Page 81: ...you need a dark environment and a lamp about 30 to 100 cm above varikabi A ashlight is not suitable because of its strong focus If you place varikabi on the ground in some distance from the lamp it w...

Page 82: ...outdoors but not in the sun or a room with uniform ceiling lighting If you hold your hand or a larger object over varikabi it will accelerate brie y and then turn steadily in order not to move out of...

Page 83: ...s parallel Braking mode cables crossed LEDs Unlike incandescent bulbs LEDs must be properly polarized for them to light up The shorter leg and the attening on the housing mark the negative connection...

Page 84: ...Acceleration Mode Breaking Mode...

Page 85: ...arise The following diagram shows how the cables are to be mounted in the rows 2 8 Depending on the selected function connect the motor cables as light or shadow follower Light Follower red cables ar...

Page 86: ...Light Follower Shadow Follower Caution The red cables are crossed connected...

Page 87: ...n connections from underneath through the gap between the bracket and the battery Then insert the contacts of the battery cable to the positions on the breadboard indicated below To avoid a short circ...

Page 88: ...is empty or defective The rubber caps are too far on the motor shafts Only one of the motors is running The left or the right sensor is connected to the breadboard with the wrong polarity A transistor...

Page 89: ...arikabi gets stuck on the ground varikabi is not placed well or too uneven on the cable ties The surface is too bumpy for varikabi If none of these causes apply to your problem check carefully that al...

Page 90: ...Follower Braking mode Light Follower All other features of the 12 functions are set by aligning the sensors The obliquely drawn connections represent the blue cable bridges between the sensors and the...

Page 91: ...Circuit Acceleration Mode Shadow Follower FT2 FT3 FT1 T2 T1 L2 L1 M2 M1 R Bat 9 V...

Page 92: ...Circuit Acceleration Mode Light Follower FT2 FT3 FT1 T2 T1 L2 L1 R Bat 9 V M2 M1...

Page 93: ...Circuit Braking Mode Shadow Follower FT2 FT3 FT1 T2 T1 L2 L1 M2 M1 R Bat 9 V...

Page 94: ...Circuit Braking Mode Light Follower FT2 FT3 FT1 T2 T1 L2 L1 M2 M1 R Bat 9 V...

Page 95: ...e current IB varikabi uses Darlington transistors with a very high current amplification of 30 000 To supply the motor and LEDs with a current of 0 03 A amps 30 mA milliamperes a base current of only...

Page 96: ...lled collector circuit because the collector C is connected to a constant voltage battery The red arrows symbolize the voltages You can notice that the voltage at the motor UE is lower by the base emi...

Page 97: ...e in series This series connection results in a so called voltage divider which divides the voltage of the 9 V battery depending on the illumination of the sensors Examples With exactly the same amoun...

Reviews: