14
15
EN
EN
Using the appliance
Using the appliance
B
B
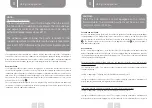
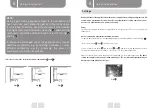
It is strongly recommended that installers connect the yellow-green ground wire to a reliable
grounding system.
CAUTION:
The installer should bear in mind that the unit is a Y-type
combination appliance. Thus the rear wall, surrounding and
adjacent surfaces must be able to withstand a temperature
of more than 65°C.
All our appliances are designed and manufactured in
accordance with European standards EN 60 335-1 and EN
60 335-2-6, and their corresponding amendments.
This appliance complies with the following EEC directives:
- 2014/30/EU on electromagnetic compatibility.
- 2014/35/EU on electrical safety.
L
C
N
L
N
Fig.
11
Usage
Burners
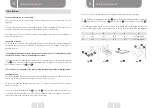
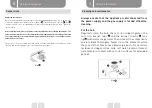
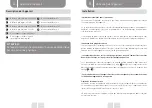
A diagram is printed above each knob on the control panel. This diagram shows which knob
controls which burner. After opening the gas supply or the gas cylinder valve, proceed as follows
to light the burners:
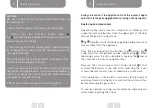
• Manual ignition
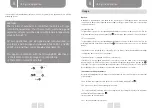
To light a burner, press the corresponding knob and turn it counterclockwise until it reaches the
maximum position (large flame symbol, fig.
1
), then bring a lighted match close to the burner.
• Electrical ignition
To light a burner, press the corresponding knob and turn it counterclockwise until it reaches the
maximum position (large flame symbol, fig.
1
) ; then press and release the electric ignition
button.
If the burner flame should go out accidentally, close the burner control knob and do not attempt
to relight the burner for at least one minute.
• Ignition of burners equipped with a flame safety device
If the burners are equipped with a flame safety device, turn the knob of the corresponding
burner counterclockwise until it reaches the maximum position (large flame symbol, fig.
1
)
and stops. Then press the knob in question and repeat the instructions for electronic ignition
described above. Once the burner is lit, push the knob in for about 10 seconds.
Instructions for using the burners
Keep the following guidelines in mind to ensure optimal efficiency while using the least amount
of gas possible:
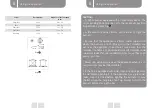
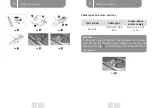
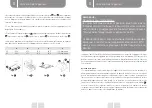
• Use suitable saucepans for each burner (see the following table and Fig.
2
).
• Do not use saucepans that overhang the worktop.
· Once a preparation is boiling, lower the temperature by setting the knob to the minimum
position (small flame symbol, fig.
1
).
• Always put a lid on saucepans.
• Use only flat-bottomed saucepans.


