


5
ENG
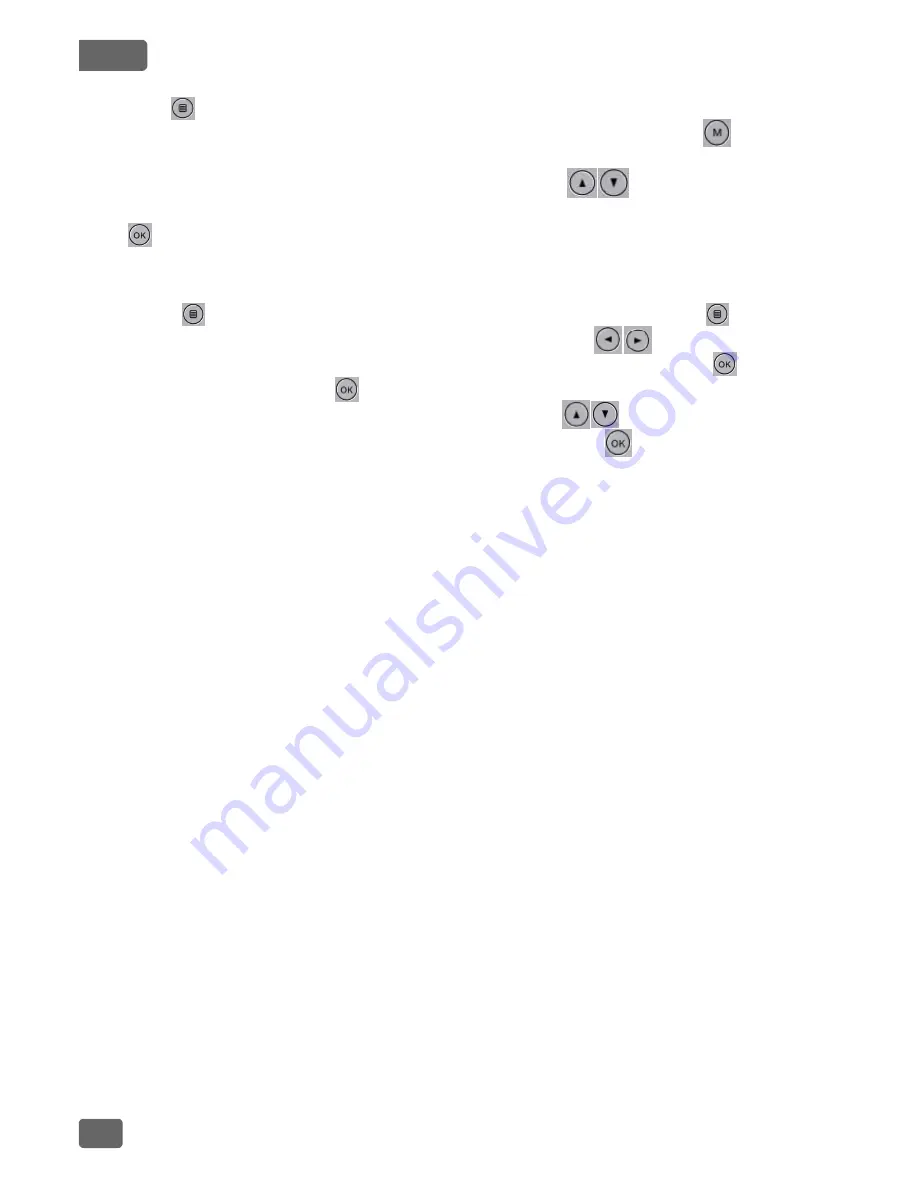
click the (menu) button again to switch to the display mode, at this time, the
"display icon" box will have a yellow colored background, click the (mode
select) button to return to the set up mode.
When viewing the set up selections, go through the (up select and down
select) buttons to move up and down between the set up selections, and press
the (OK) button to enter the set up selection;
Time Display
Press the (menu) button to enter the set up mode and press the (menu)
button again to enter the set up menu, go through the (up select and
down select) buttons to select the date and time options, press the (OK)
button to enter, press the (OK) button to go between the year/month/day
/hour/minute/second options, and go through the (up select and down
select) buttons to adjust the necessary numbers, press (OK) to confirm the
change;
USB Mode
Connect the USB wire to a computer, after pressing the power button, the
drive recording apparatus will automatically exit from the USB menu. You can
select from the two following modes:
1.USB-Disk
In this mode you can access video and picture files;
2: PC-Camera
Select this mode to exit from the USB video set up, you can chat using real time
pictures or video;
Battery Charging Instructions
When charging the battery, the red recharging light will come on, and after the
battery is fully charged, the light will automatically go out.
1: Use the power adapter to charge the battery
2: Use the PC-USB cable to charge the battery
3: Use the automobile adapter to charge the battery
NOTE
1. If this camera stops working properly due to illegal activity or other unknown
causes, you must reset this product. Use a small hard object and insert it into
the "RESET" hole to restart the camera.
2. If you insert a TF card and the display shows a memory card error, please
reformat the TF card.
Summary of Contents for VC-715
Page 2: ...1 Vakomtek S A Vakomtek S A Vakomtek S A Vakomtek S A...
Page 11: ...10 1 2 3 4 mini USB 5 6 HDMI 7 8 TF 9 10 11 RU...
Page 12: ...11 1 2 3 4 mini USB 5 6 HDMI HDMI 7 8 TF SDHC TF 6 9 10 11 RU...
Page 13: ...12 6g 1g 9 80 2 RU...
Page 14: ...13 USB USB USB 1 USB 2 PC 1 2 PC USB 3 1 RESET 2 TF TF RU...


