

In case of any query /issue with the product please reach out to us at [email protected]
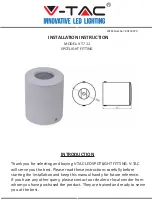
INSTALLATION INSTRUCTIONS
WARRANTY
1. Switch off the power.
2. Cut the appropriate size above on the ceiling, put the rubber plug in hole, fix the
bracket on the ceiling with screw solidly. (picture 1)
3. Connect (110-220V) in a coorect way. (picture 2)
4. Install the lamp body into bracket and tighten the screw safely and solidly. (picture 3)
5. Switch on the power if above steps are done properly without any mistakes.
• This product is warranted from manufacturing defect only.
• The warranty is valid for 2 years from the date of purchase.
• The warranty does not apply to damage caused by incorrect installation or abnormal
wear and tear.
• The company gives no warranty against damage to any surface due to incorrect removal
and installation of the product