


Page 12
Chapter 3 Quick Setup Guide
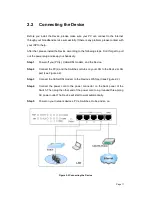
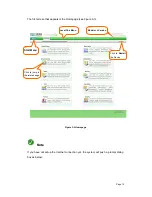
After you have connected the Device into your network, you may configure it. This
chapter describes how to configure the basic functions of your Device. It will only take
you a few minutes. You can access the Internet via the Device immediately after it has
been successfully configured.
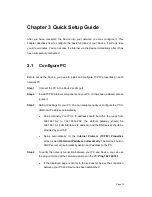
3.1
Configure PC
Before set up the Device, you need to install and configure TCP/IP properties on each
network PC.
Step 1
Connect the PC to the Device’s LAN port.
Step 2
Install TCP/IP protocol components on your PC. If it has been installed, please
ignore it.
Step 3
Setup IP settings for your PC. You can setup manually or configure the PC to
obtain an IP address automatically.
Setup manually: Your PC’s IP address should be within the range from
192.168.16.2 to 192.168.16.254, the default gateway should be
192.168.16.1 (LAN interface’s IP address), and the DNS server should be
provided by your ISP.
Setup automatically: In the
Internet Protocol (TCP/IP) Properties
screen, select
Obtain an IP address automatically
. The Device’s built-in
DHCP server will automatically assign an IP address to the PC.
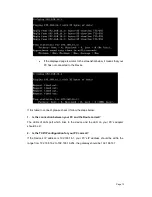
Step 4
To verify the network connection between your PC and Device, you can use
the ping command at the command prompt on the PC:
Ping 192.168.16.1
If the displayed page is similar to the screenshot below, the connection
between your PC and Device has been established.


