UTStarcom UTS 801 User Manual Download Page 21


2

Basic Operations 


2. 

Basic Operations 

2.1 Making 

Calls 

Before dialing a telephone number, make sure the signal strength is 
sufficient. The signal strength icon on the LCD of the phone should be at 
least  . 

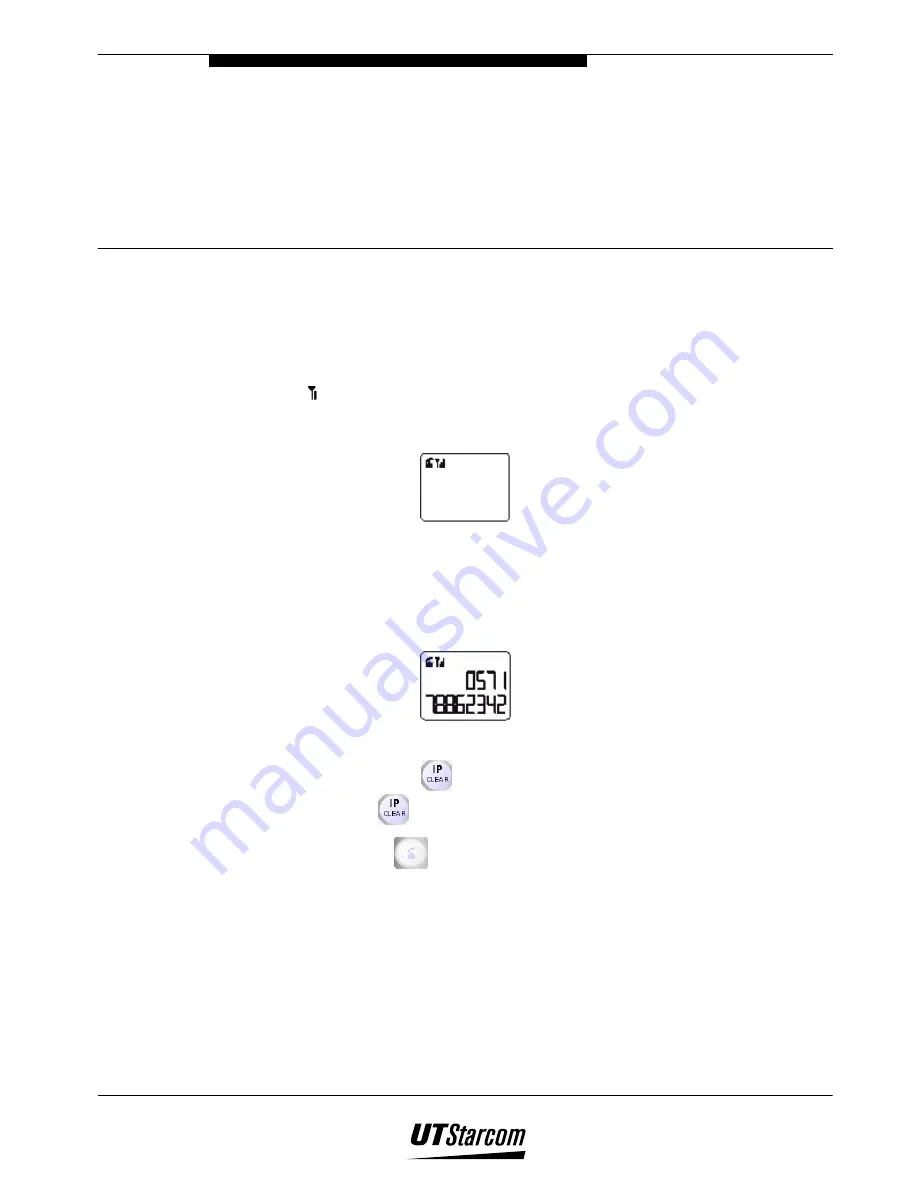
1.  Pick up the handset (off-hook). 


2.  Dial a phone number. 


The phone can display a maximum of 16 dialed digits at 
once. If the phone number dialed exceeds 16 digits, only the 
last 16 dialed digits entered are shown in the LCD display. 


Correct misdialed digits by one of the following methods. 

Press 

 to delete the last digit dialed. Press and hold down 

 for two seconds to delete all dialed digits. 

3. Press 

 to send dialed digits (or wait 3 seconds) and wait for 

an answer. 


The phone number will scroll from right to left across the 
LCD display indicating that the number has been sent out to 
the network. 


The LCD on the phone will display a call timer in the lower 
right hand corner if the call is successfully completed as 
shown in the figure below. 

Summary of Contents for UTS 801

Page 1: ...Document No 2XX 801 102 UTS 801 FSU User Manual...

Page 2: ...TStarcom Inc 2000 All rights reserved No part of this publication may be reproduced in any form or by any means without the prior written permission of UTStarcom Inc Warranty Language The contents of...

Page 3: ...ual 1 Before using your phone Includes facts you should know before using your new phone 2 Basic phone operation 3 Explains the basic operation of making and receiving calls More Essential function Ex...

Page 4: ...roneous operations may directly result in personal serious injury or death This symbol indicates that erroneous operations may result in the possibility of death or serious injury This symbol indicate...

Page 5: ...onic components and circuit boards Do not drop shake or throw the phone or AC adapter Rough handling can break internal circuit boards and damage the battery pack Do not use a microwave oven or any ot...

Page 6: ...ng aids pacemakers and other clinical electronic devices fire detectors automatic doors and other automatically controlled devices If you have to use phone near electronic medical devices such as pace...

Page 7: ...e eyes with clean water and call a physician Do not leave or store the battery pack in hot areas Near fire a heater etc High temperature can damage and shorten the life of the battery pack This may re...

Page 8: ...leaners Use a damp cloth for cleaning to wipe off any accumulated dust to prevent any chance of fire Never spill any liquid on the AC adapter This may result in the risk of fire or electric shock Unpl...

Page 9: ...ectrical appliances such as TV radio or personal computer Battery Information Store the battery in a cool well ventilated area Do not store in direct sunlight If left unused a fully charged battery wi...

Page 10: ...x Table of Contents 801 FSU User Manual...

Page 11: ...8 2 4 VIEWING THE CALLER LIST 2 9 2 4 1 Using the Caller List to make a call 2 9 2 4 2 To Erase a Stored Number 2 11 2 5 CALL WAITING NETWORK SUPPORT 2 12 2 5 1 Call Waiting Service Users 2 12 2 6 ADJ...

Page 12: ...xii Table of Contents 801 FSU User Manual Handling the AC Adapter viii Phone Information ix Battery Information ix...

Page 13: ...1 1 Check Package Contents Check to make sure that all of the specified items are included If anything is missing please contact your local phone dealer Phone FSU UTS801 and Ni MH battery AC adapter I...

Page 14: ...External dimensions 22 18 including antenna 7cm L W H Weight Approximately 805g including battery pack Battery DC 3 6V Ni MH battery at least 500mAh Continuous standby by time when using only a batte...

Page 15: ...ing functions 1 3 1 UTS801 FSU Fixed Subscriber Unit components 18 19 6 8 7 5 1 2 3 4 14 13 12 11 10 9 17 16 15 1 LCD Liquid Crystal Display 2 Antenna 3 Talk key Dials stored digits 4 Down key To scro...

Page 16: ...ut telephone numbers or choose options 10 Key pause key input or pause symbol 11 Key 12 Handset wire coiling Handset cord 13 Function confirm key select functions confirm switch for call waiting 14 Up...

Page 17: ...been turned ON 4 The battery icon appears on the LCD when a power failure occurs or the AC adaptor has been disconnected from the phone The icon displays the power level of the battery Fully charged F...

Page 18: ...lephone In case of a power failure the battery will supply power to the telephone The length of time the battery can supply power is determined by the telephone usage Stand by vs talk time 1 4 1 AC Ad...

Page 19: ...cts to the positive terminal and the negative connector connects to the negative terminal of the base station Snap the battery into place on the left side and insert the cord into the battery compartm...

Page 20: ...mitting and receiving signals in all directions Changing the direction the antenna is pointing could improve signal reception Note The antenna cannot to be extended Any attempt to extend the antenna m...

Page 21: ...e last 16 dialed digits entered are shown in the LCD display Correct misdialed digits by one of the following methods Press to delete the last digit dialed Press and hold down for two seconds to delet...

Page 22: ...e will be present Note When a phone call is unsuccessful due to inadequate signal strength or network related problems a warning tone pi pi pi will be heard in the earpiece of the handset Note The cal...

Page 23: ...ord Refer to Entering an IP number and Password 2 1 2 Pause Function This function allows you to add a delay between the digits of a phone number when the phone dials it 1 Pick up the handset off hook...

Page 24: ...2 4 Basic Operations 801 FSU User Manual Note Two or more pauses may be required to access a long distance service or other network equipment Note The Pause function is not available on all terminals...

Page 25: ...being sent CALL will be displayed as shown in the figure below 2 Remove the handset from the cradle of the base The LCD on the phone will display a call timer in the lower right hand corner as shown...

Page 26: ...ed list is empty 2 To scroll between the phone numbers press the search or key H1 designates the most recent or last phone number dialed H2 designates a phone number dialed prior to H1 etc To search f...

Page 27: ...layed phone number automatically Note To exit the Last number dialed list and return to standby mode press If you do not press any keys for 15 seconds the phone automatically returns to stand by mode...

Page 28: ...ess or to delete the phone number The phone erases the information sounds a beep and returns to stand by mode Press or to cancel operation To return to stand by mode press If you do not press any keys...

Page 29: ...one number received prior to C1 etc If the off hook icon is displayed the call is not a missed call To search from the most recently received phone number press search To search from the oldest receiv...

Page 30: ...the handset from the cradle of the base station will dial the displayed phone number automatically Note To exit the Caller list and return to standby mode press If you do not press any keys for 15 sec...

Page 31: ...ormation sounds a beep and returns to stand by mode Press or to cancel operation To return to stand by mode press If you do not press any keys for 15 seconds the phone automatically returns to stand b...

Page 32: ...ll waiting tone while talking on the phone use the procedure described below 1 Press to put the first call on hold and answer the second call 2 To return to the first caller press again Note The above...

Page 33: ...me as shown in the figure below 2 Press to increase and to decrease the volume If the earpiece volume is at the maximum level 4 the volume level will not change when is pressed If the earpiece volume...

Page 34: ...2 14 Basic Operations 801 FSU User Manual BLANK PAGE...

Page 35: ...o 1 Setting the Alarm Clock OFF Setting the Date and Time 2001 01 01 00 00 IP card number and password setting Entering an IP Card Number and Password Caller number notification caller ID setting To e...

Page 36: ...your telephone number 1 Press and then to display the telephone number on the LCD of the phone as shown in the figures below To scroll between the functions press the search or key 2 To exit and retu...

Page 37: ...in the figure below 3 To scroll between the volume levels press the search or key You can also change the volume level by pressing the keys 1 or 2 on the dial pad If the volume level is at the maximum...

Page 38: ...User Manual Note In step1 if you press or do not press any keys for 15 seconds the phone automatically returns to stand by mode Note In step 3 if you do not press any keys for 15 seconds the phone au...

Page 39: ...below 3 To scroll between the ringing tone types press the search or key You can also change the ringing tone type by pressing the keys 1 to 6 on the dial pad When changing the ringing tone types the...

Page 40: ...f the phone as shown in the figure below If the alarm has been set the LCD will display the current alarm setting 2 Press to change the status of the alarm the options OFF 0 or ON 1 are displayed in t...

Page 41: ...for up to 30 seconds and the alarm icon will flash on the LCD as shown in the figure below 2 Press any key to stop the alarm or remove the handset from the base station cradle Note If the handset is...

Page 42: ...the 24 hour format and cannot be changed to a 12 hour format 1 Press and then to display the date on the LCD of the phone as shown in the figure below 2 Press to enter the edit mode the first digit of...

Page 43: ...ss any keys for 15 seconds the phone automatically returns to stand by mode Note In step3 the cursor automatically moves to the next field when a valid entry has been made Note The clock uses a 24 hou...

Page 44: ...D display The phone will automatically flash the remaining digits every one second 3 Press key to on the dial pad to enter the IP card number and Password Maximum of 24 digits When the first digit is...

Page 45: ...801 FSU User Manual Other Essential Functions 3 11 Note If is needed by the service network press And then symbol will be displayed...

Page 46: ...will be notified of your phone number since the default setting is ON 1 Press and then to display the caller number status on the LCD of the phone as shown in the figure below 2 Press to change the st...

Page 47: ...nnected Install the battery properly The Unit does not work Dead Battery Connect the AC adapter to the Phone Plug in the AC adaptor Sufficient Signal Strength Move to a place with stronger signal Cann...

Page 48: ...4 2 Reference 801 FSU User Manual BLANK PAGE...

Reviews: