9
⑪
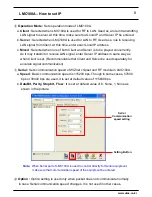
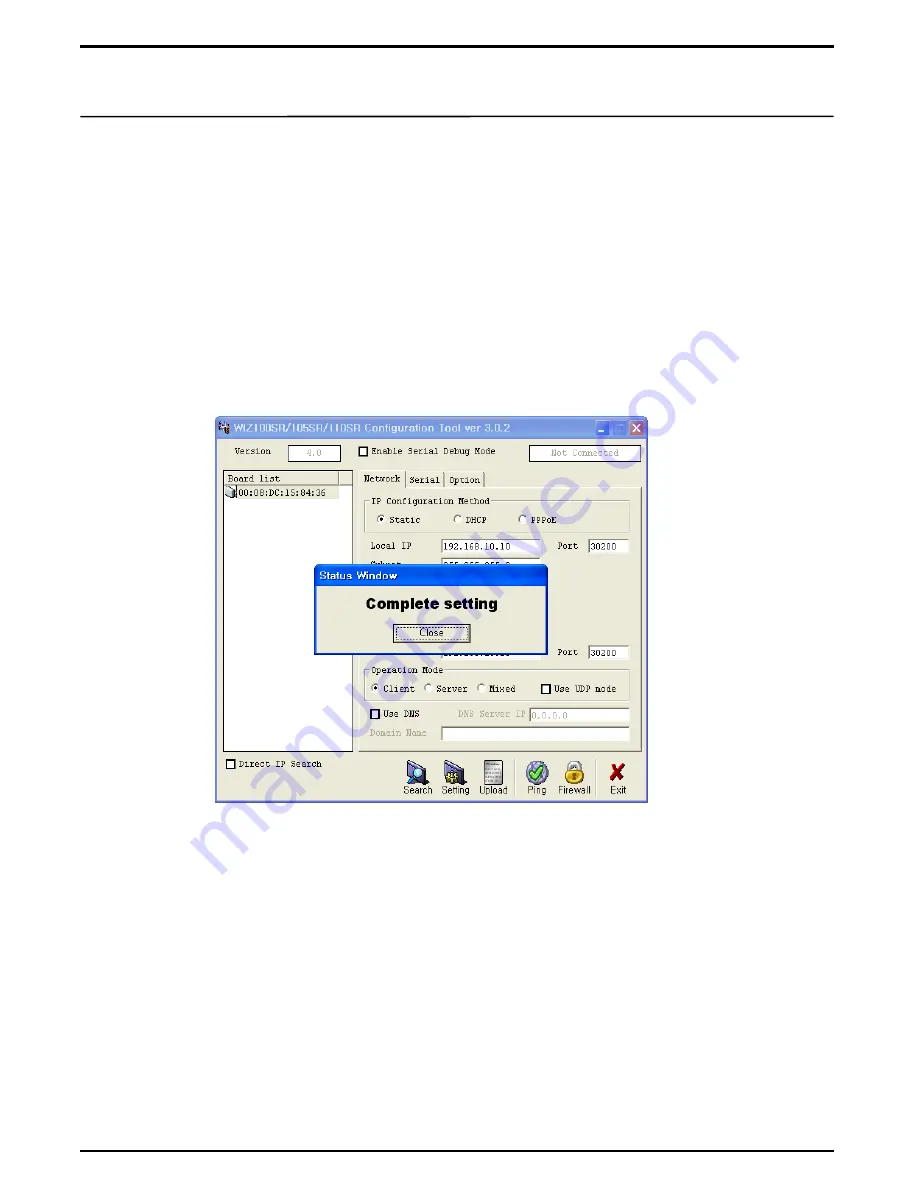
Setting :
When all settings are done, Press „Setting‟ button at the bottom to register
data set in LMC100A. After „Processing…‟ bar passed by, „Complete setting‟ window
appears, then press „Close‟ button. If above process done, IP setting for LMC100A is
done.
LMC100A
– Completion of IP Setting
Note
1. If „Fail to set‟ window appears, it means that PC does not communicate with
LMC100A. Check communication cable and connection port to find if connection
is made appropriately.
2. For detailed explanation about this program, refer to product manual provided in
www.wiznet.co.kr
.
■
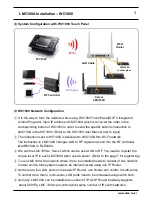
Connection with Router or Switch Hub
Once setting is done for LMC100A, connect the LMC100A with Router or Switch Hub
using corresponding Gateway address. One can check IP address of the Router in the
PC connected with the Router. Regarding „how to set a Router‟, refer to „how to set IP
Router‟ as attached.
www.utas.co.kr
■
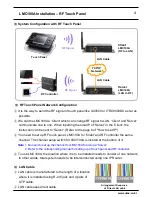
Communication with Touch Panel
To enable Touch Panel to communicate with
LMC100A(RF to LAN), both RF „CH‟
transmitted from touch panel and
RF „CH‟ switch at the bottom of LCM100A are to be
equally set.


