


Using USPS
®
Confirmation Services
SV61156 Rev. E
13
4. Step-By-Step Instructions
12. When you’ve finished processing your mail, the
system prompts you to upload the records. Select
Yes
to upload. Make sure your mailing system is set
up to connect to the PB Data Center, the way you
are normally connected when adding postage. The
system dials into the Data Center (this may take a few
moments). Various screens display, letting you know
the status of the process.
13.
If You Don’t Have the ERR Feature:
After uploading the records, the system prompts you
to print receipts. Insert envelope(s) or tape sheet(s)
to print the receipts. The system returns to the Home
screen when finished.
If You Do Have the ERR Feature:
The system asks if you want to print a postal manifest.
• If you have a printer, select
Yes
to print the mani-
fest; select
No
if you don’t want a manifest.
• If you don’t have a printer, select
No
. You can print
receipts from the
Reports
menu. Select
Confirma-
tion Records
,
Last Set Receipts
.
HINT:
If possible,
leave your mailing
system connected to
an analog phone line
for easy uploads.
IMPORTANT NOTE
FOR DM100i, DM200L,
DM125, DM225,
DP100i, and DP200L
Users:
Your mailing
systems DO NOT sup-
port the ERR feature or
external printers.
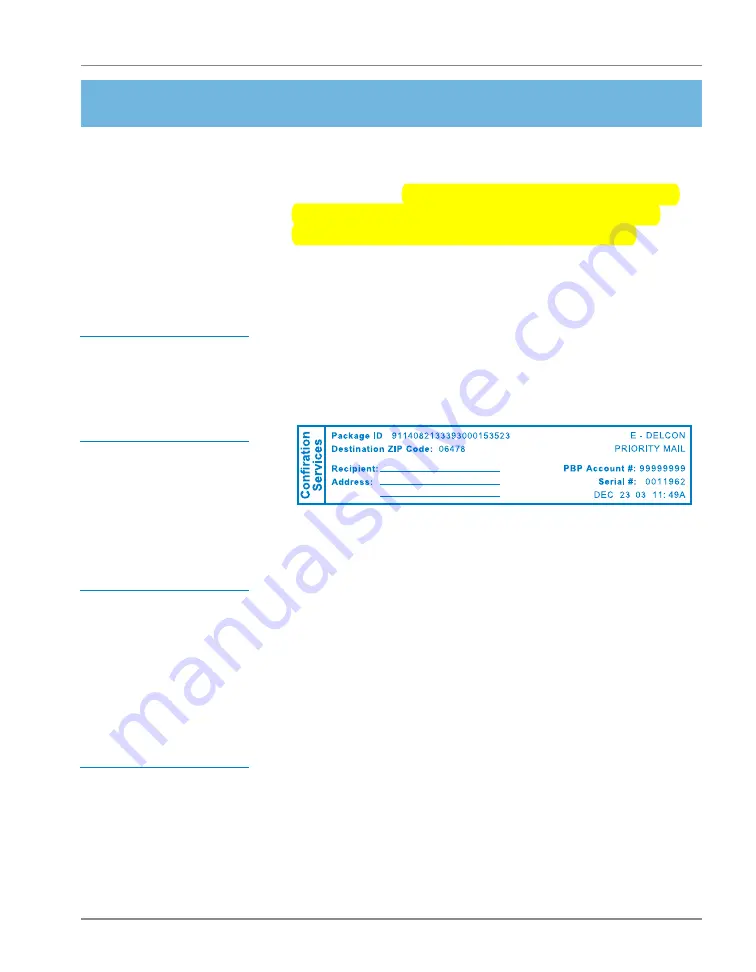
HINT:
Many
fi
nd it
handy to print a receipt
to record the recipient
with the tracking num-
ber. There are spaces
at the end of this guide
for you to paste the
USPS receipt for future
reference.
Using
Confirmation
Services
(continued)


