27
.
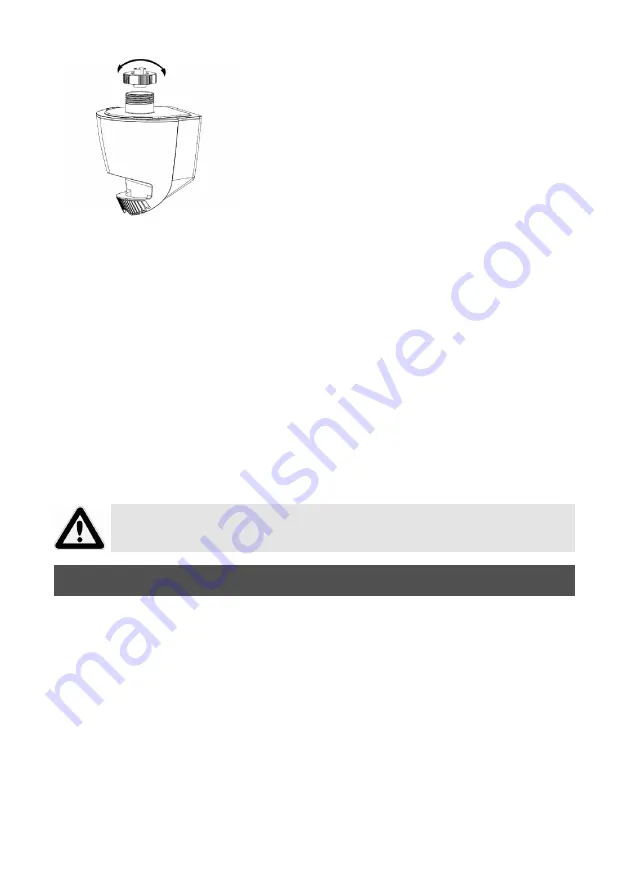
4. Fill with water and screw the lid closed. Note: To prevent appliance damage
the temperature of the water used should not be over 40°C. We advise to use
distilled or boiled, cooled down water
5. Reverse the water tank and insert it into the housing. It is recommended to
first guide the lower side of the water tank into the housing and then slide
in the water tank using the handle.
6. Ensure that the water tank is properly inserted.
7. The water in the water tank must be changed at least once a week in order to
prevent lime-scale and algae build-up. For hygienic reasons we recommend
changing the water several times a week.
8. You can drain excess water via the water drain on the underside of the appli-
ance. Unscrew the cover an tilt the appliance slightly to the rear, e.g. over a
shallow bowl. Let the water flow out and then seal the water drain.
Attention: Do not fill water directly into the appliance.
Open
Closed
Fig. 4
REMOTE CONTROL UNIT
1. Carefully pull the cover of the battery compartment out of the remote control
unit.
2. Insert the battery into the intended holder.
3. If you want to insert a different battery, ensure that you use a CR2025
button cell battery.
4. Carefully slide the cover back into the remote control unit. In this regard the
„+“ symbol must point to the rear of the remote control unit.
5. If you adjust the appliance with the remote control unit, ensure that you
always hold it in the direction of the fan while you are making the settings.
6. To avoid damage, never allow the remote control unit to fall from a significant
height.
Summary of Contents for 86930
Page 4: ...4 Weitere Informationen zu unserem Sortiment erhalten Sie unter www unold de...
Page 9: ...9...
Page 24: ...24...
Page 38: ...38...
Page 52: ...52...
Page 62: ...62...
Page 63: ...63...
Page 64: ...Aus dem Hause...


