Vision™ OPLC™
Unitronics
9
Opening the Controller
Before performing these actions, touch a grounded object to discharge any electrostatic
charge.
Avoid touching the PCB board directly. Hold the PCB board by its connectors.
1. Turn off the power supply, disconnect, and dismount the controller.
2. The back cover of the controller comprises 4 screws, located in the corners. Remove the screws,
and pull off the back cover.
Changing I/O Settings
1. The I/O board of the controller is now exposed, enabling you to change I/O settings according to
the jumpers shown on page 5.
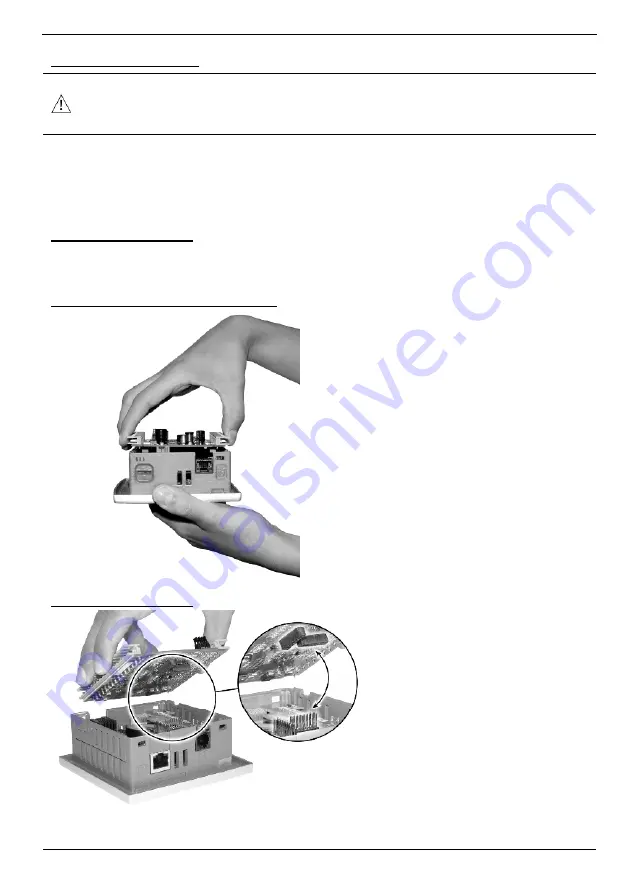
Changing Communication Settings
1. To access the communication
jumpers, hold the I/O PCB board by
its top and bottom connectors and
steadily pull the board off.
2. Locate the jumpers, and then change
the settings as required. Jumper
settings are shown on page 8.
Closing the Controller
1. Gently replace the board. Make
certain that the pins fit correctly into
their matching receptacle.
Do not force the board into place;
doing so may damage the
controller.
2. Replace the back cover of the
controller and fasten the corner
screws.
Note that you must replace the back cover securely before powering up the controller.


