HDMI Streamer (Ref. 8210)
5
3.
I
NSTALLATION OF THE HDMI STREAMER
3.1.
Minimal system requirements
The following web browsers support the module interface: Chrome; Safari; Firefox; Internet
Explorer. When using a different browser, we cannot guarantee a correct functioning of the
interface.
3.2.
Starting up the module
Connect all cables needed for your installation.
For the first set-up, it is advised to connect an Ethernet cable directly to your PC (without
using a switch).
•
After powering the HDMI Streamer, wait until the power led turns green (this can take
up to about 2 minutes). Once the power led is green, the unit can be accessed through
the WebGUI. The unit uses 192.168.50.50 as the default static IP address. Therefore,
you will need to set-up a static IP in your PC that matches the subnet of the device. For
example 192.168.50.25.
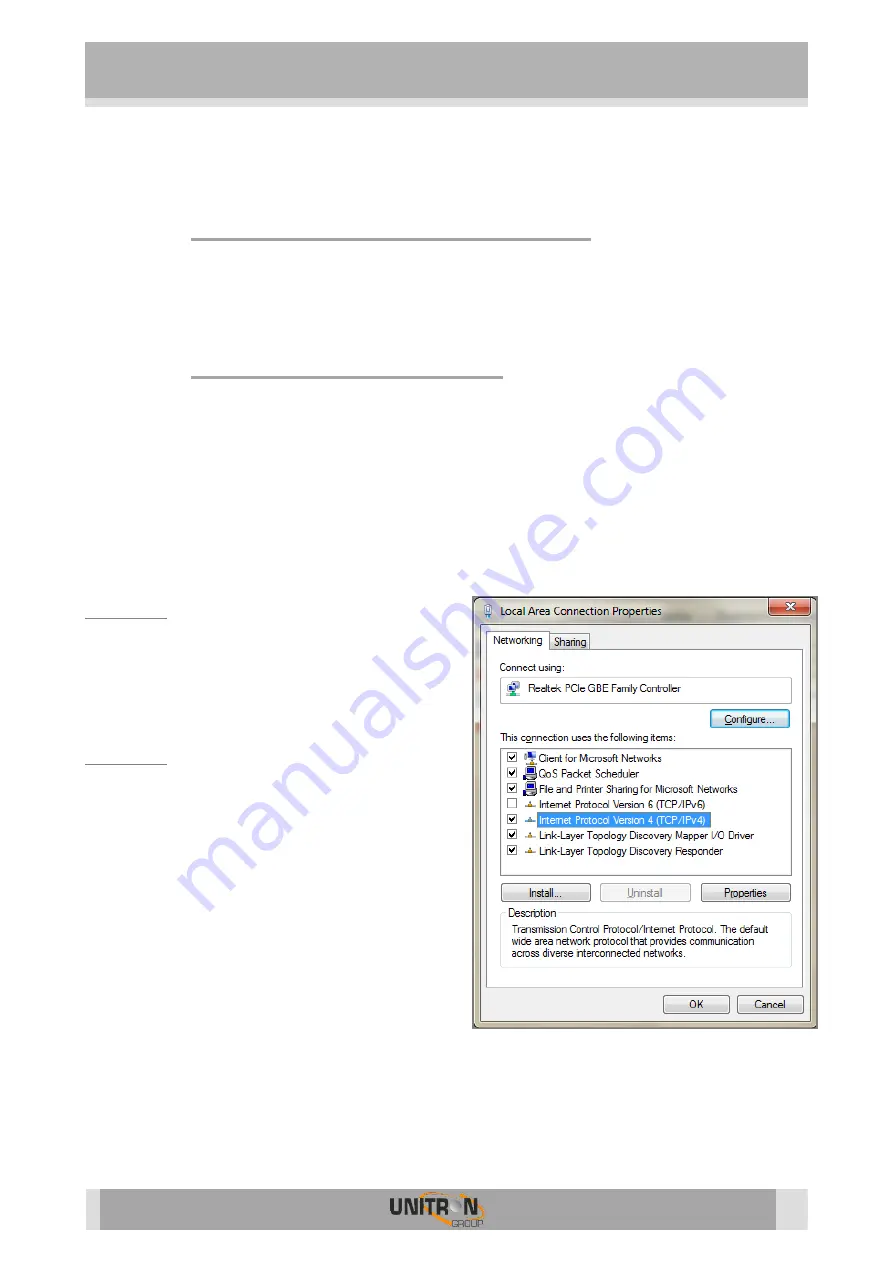
Windows 7
Go to start
Control Panel
Network and
Internet
Network and Sharing Center
Change Adapter Settings.
Right-
click on “Local Area Connection” and then
on “Properties”.
Windows 8
Open the windows 8 start screen by pressing the
start button. Type “Control Panel” and press
enter. Then go to “Network and Internet”
“Network and Sharing Center”
“Change
Adapter Settings”. Right
-
click on “Local Area
Connection” and then on “Properties”.
Double click on “Internet Protocol Version 4
(TCP/IPv4)” to enter the IP settings of your
adaptor.


