13
EN
Other Functions
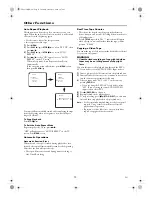
Auto Repeat Playback
This function can be used to play a cassette over and over
again. When the end of the cassette is reached, it will rewind
and start from the beginning again.
• Use the remote control for this procedure.
• Insert a pre-recorded tape.
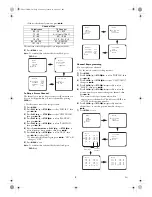
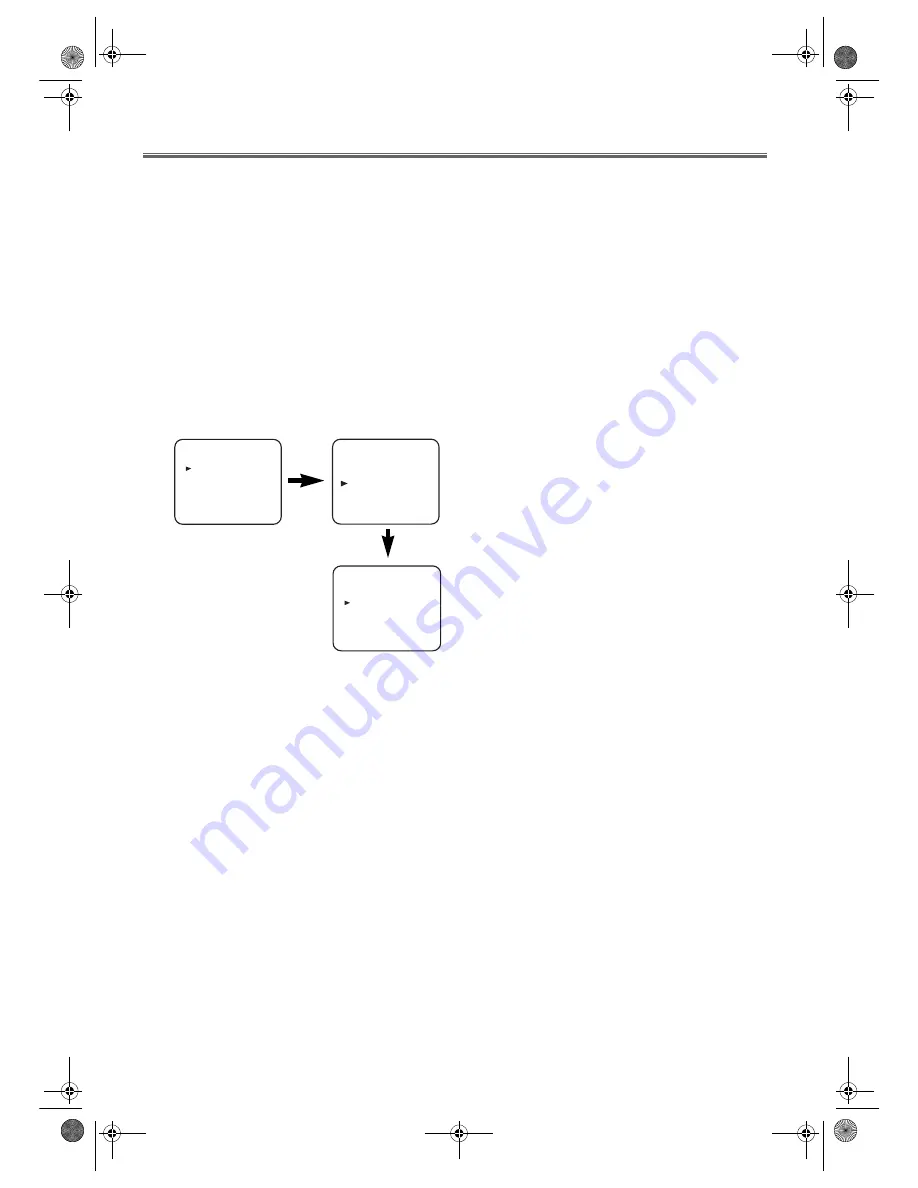
1)
Press
MENU
.
2)
Press
PLAY
B
/
K
or
STOP
C
/
p
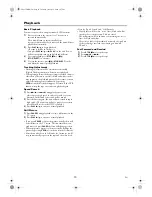
to select “SET UP”, then
press
D
/
B
.
3)
Press
PLAY
B
/
K
or
STOP
C
/
p
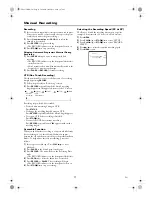
to select “AUTO
REPEAT”.
4)
Press
D
/
B
so that “ON” appears next to “AUTO
REPEAT” on the TV screen.
When in Stop mode, Auto Repeat mode will start
automatically.
If the on-screen menu still remains, press
MENU
to exit,
then press
PLAY
B
/
K
.
Your unit will automatically rewind and start playing the tape
from the begining when it recognizes a non-recorded part
longer 10 seconds.
To Stop Playback
Press
STOP
C
/
p
.
To Exit the Auto Repeat Mode
Repeat steps
1)
to
3)
. Then, press
D
/
B
.
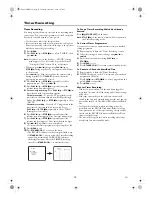
“OFF” will appear next to “AUTO REPEAT” on the TV
screen. Press
MENU
to exit.
Automatic Operations
Automatic Rewind, Eject
When the end of a tape is reached during playback or fast-
forward, the tape will automatically rewind to the beginning.
After that, the unit will eject the tape.
• The tape will not auto-rewind during timer recording or
One Touch Recording.
Real Time Tape Counter
• This shows the elapsed recording or playback time in
hours, minutes, and seconds. (Nothing is shown in the case
of blank portion.)
• Press
STATUS
repeatedly. The “-” indication will appear
when the tape is rewound further than the tape counter
position “0:00:00”.
Copying a Video Tape
You can make copies of videotapes made by friends or relatives
for your own enjoyment.
WARNING:
• Unauthorized recordings of copyrighted video
tapes may be an infringement of copyright
laws.
Connect this unit to the playback unit through the EXT1/
AV1 scart socket or front AUDIO/VIDEO input sockets.
1)
Insert a pre-recorded videocassette into the playback unit.
2)
Insert a blank videocassette or one you want to record over
into the cassette compartment of this unit.
3)
Select an input mode ‘AV1’ or ‘AV2’ on this unit by
pressing
PROG +/-
.
• If you are using the EXT1/AV1 scart socket, select
‘AV1’. If you are using the front AUDIO/VIDEO
input sockets, select ‘AV2’ .
4)
Press
I
(
RECORD
)
on this unit.
5)
Begin playback on the playback unit.
6)
To stop recording, press
C
/
A
(
STOP
/
EJECT
)
on this unit
first, and then stop playback on the playback unit.
Note: •
For best results during dubbing, use the front panel
controls. Using a remote control may affect the
playback unit’s operation.
•
If picture or colour fades in or out, you may have
copied a copy-guarded videocassette.
MENU
TIMER
SET UP
PICTURE
INITIAL
MENU
TIMER
SET UP
PICTURE
INITIAL
SET UP
AUTO REPEAT
[ON]
RECORD SPEED
[SP]
T6627SH(EN).fm Page 13 Thursday, January 22, 2004 1:27 PM


