i
nStalling
the
m
icrOSenSOr
m
ultimeter
1. Install the relevant software, SensorTrace Logger, SensorTrace Profiling, or Sen-
sorTrace Rate (latest version can be downloaded via www.unisense.com) on your
computer.
NOTE. Windows XP users must make sure they are running .NET framework
version 4.0 or higher. If this is not the case an upgrade must be made - please
contact Unisense.
2. Connect the Microsensor Multimeter to the computer. The Microsensor Multime-
ter is recognized and you are asked for the driver files. These are located on the
enclosed CD.
g
etting
Started
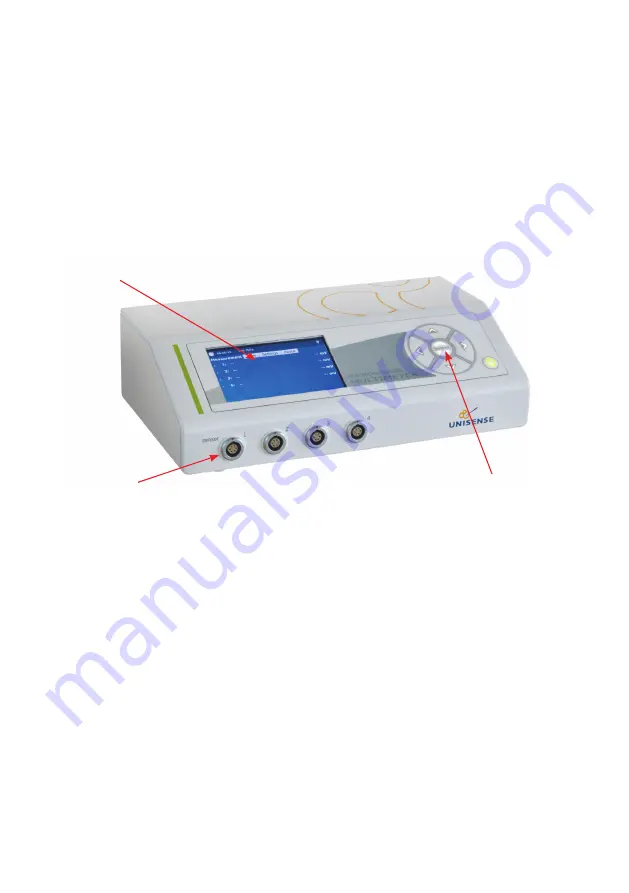
Sensor LEMO connection
OLED display
Key pad with Select and arrows for operating the Multimeter
1. Connect the sensor to the Microsensor Monometer. Some sensors are automati-
cally recognized (please see list under “compatibility”) and should appear in the
display next to the channel number to which it is connected, properly polarized.
If you are using a sensor which is not automatically recognized OR any sensor
with a BNC connection via a BNC-LEMO adapter, the sensor is recognized as
“sensor for manual settings” and you are required to adjust the polarization on
the channel manually (please consult the relevant sensor manual for the right
polarization value).
2. Optional use of grounding cable - with amperometric microsensor only.Use of
grounding cable may in certain environments improve signal-to-noise ratio and
overall data quality.
Connect grounding cable on the back side of the Microsensor Multimeter
Important
: If mV sensors (redox or pH on Ch 3) or NO
2
-
or NO
3
-
sensors
are in use grounding cable
must
be omitted.
3. Calibrate the sensor. Please consult the relevant sensor and software manual for
details.
4. Start the measurements.
Note: do not unplug the USB connection during operation. In case of lost connectivity restart the
application.
Note: keep the default display power settings to protect the OLED screen.


