background image

                          620-7900 REV A 

STAR TRAC BY UNISEN CONFIDENTIAL AND PROPRIETARY                              

Page 8 of 8 

19-


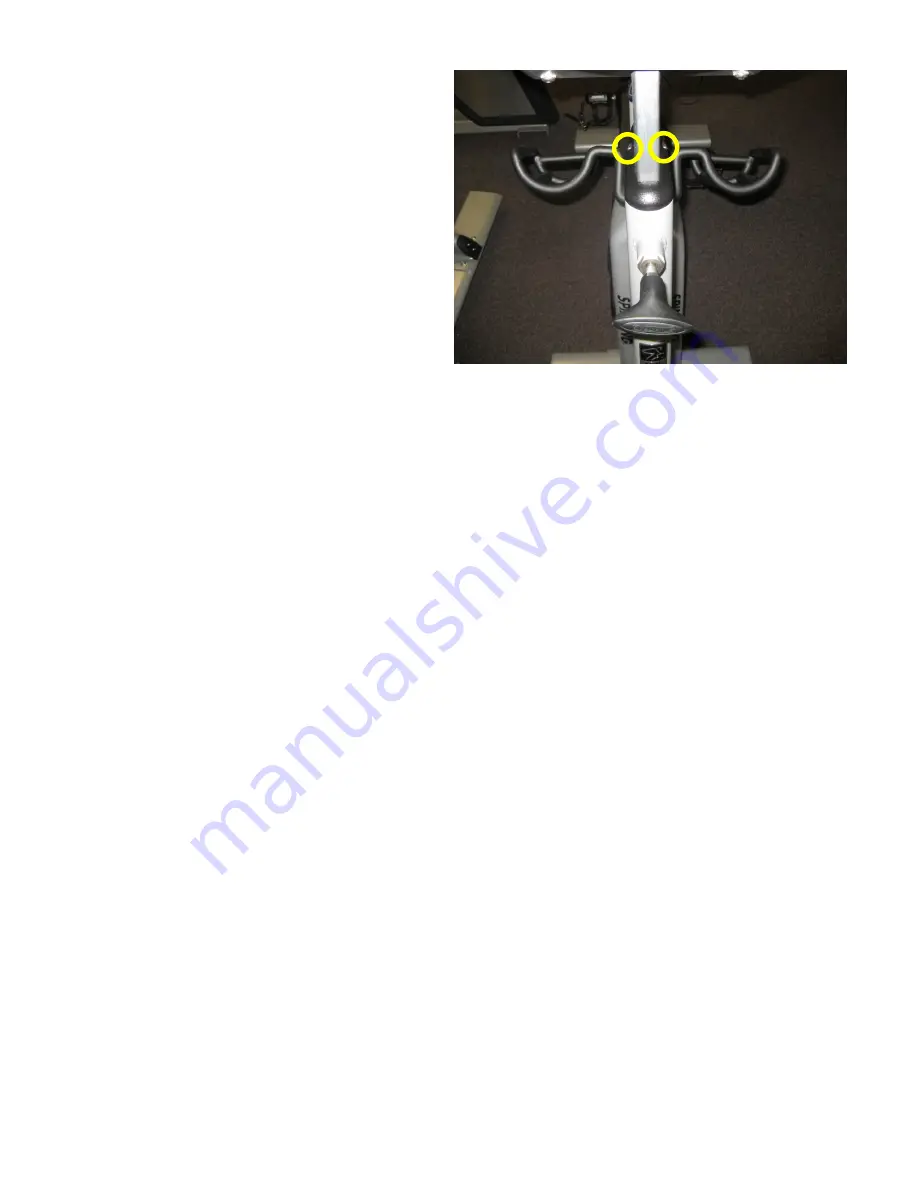
Insert the display/neck assembly back in 

the bike frame and secure the bracket 

with the two screws saved from step 2. 


The heart rate board replacement is now completed. 

Figure 19: 


Summary of Contents for StarTrac E-Spinner

Page 1: ...a Philips head screw driver remove the two screws holding the bracket to the neck Save the screws for future use 3 Pull on the height adjustment lever of the neck to free it then pull the neck all the...

Page 2: ...s off set it down on a flat table then unscrew the 4 hex screws that hold the neck to the display housing using a 3 16 Allen key Set the neck aside for future use 6 Using a Philips head screw driver r...

Page 3: ...the cover in a safe place for future use 8 Using a Philips head screw driver remove the screw that holds the top fan assembly to the chassis 9 Lift top fan assembly to release the heart rate cable fro...

Page 4: ...19 connector on the board 11 Detach and discard old heart rate board 12 Peal the protective film off of the new heart rate board s adhesive tape Figure 11 Detaching old heart rate board Figure 10 Disc...

Page 5: ...heart rate board cable through same path of old heart rate cable Tuck cable under top fan assembly Secure top fan assembly using the screw from step 8 Plug new heart rate cable into connector J19 on t...

Page 6: ...17 Re place and secure the back metal bracket holding the neck to the display housing with 4 screws you saved from step 5 18 Reconnect all 4 cables coming out of the neck The Coax cable Ground wire Po...

Page 7: ...UNISEN CONFIDENTIAL AND PROPRIETARY Page 8 of 8 19 Insert the display neck assembly back in the bike frame and secure the bracket with the two screws saved from step 2 The heart rate board replacement...

Reviews: