3
Add Location
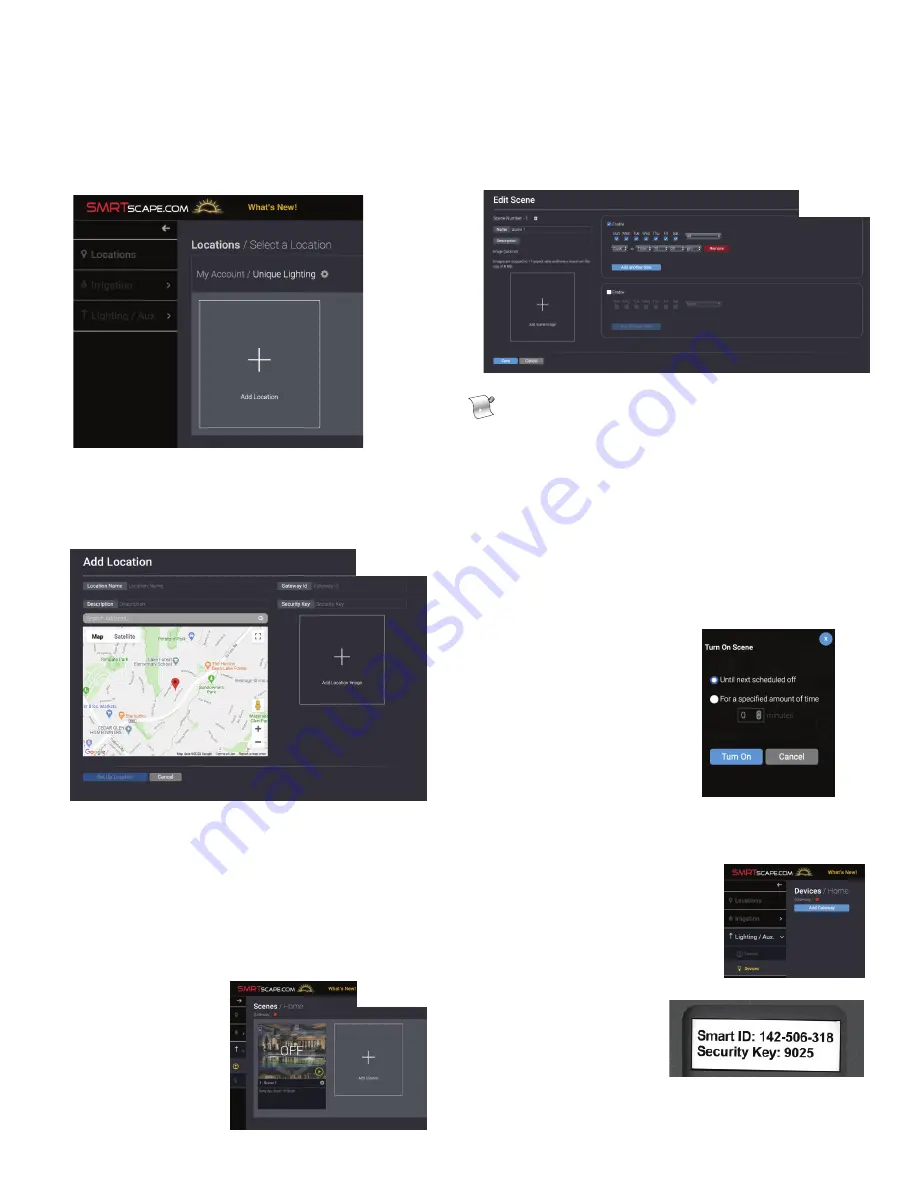
After signing in, you need to add the location of the LPLUS.
1. Click
+ Add a Location
.
2. Fill out the Name and Description fields.
3. On the Google Maps map (
Figure 1
), enter desired
4. Click
Submit
.
Add Scene
A default scene is added to the LPLUS setup screen.
The default scene (“Scene 1”) turns on every day of the
week from Dusk to 10pm. There are two ways to edit scene
elements:
Scene name, description and image:
1. Click the “+” icon.
2. Enter scene name and
description. You can
also upload an image
to replace the “default”
image.
Scene days of the week and run times:
1. Click the grey cog wheel by scene name
(Figure 2).
2. Select which days of the week the scene will run and the
times of operation for the specified days
(Figure 3).
It is possible to have an A Schedule and a B Schedule
for each scene. For example, one might want security
lights to stay on longer on Friday and Saturday nights.
3. Click
Submit
.
To Add a Scene
To add additional scenes to the LPLUS (see system diagram).
1. Click the
+ Add a Scene
button.
2. Follow same steps as above. Click
Create Scene
.
To Delete a Scene
1. Press the trash can icon next to the Scene name.
2. Click the “Yes” button to confirm.
Manual Scene Operation
To manually turn a scene on or off
click green “Play” button on the
scene and set the desired time
(in minutes) then press
“Turn On” button.
Adding the LPLUS
Now add the LPLUS to your SMRT Logic account.
1. At the computer, click the
yellow “Devices” light bulb,
and then click the “Add Gateway”
button. Follow the promps to
add your gateway.
2. Type in the LPLUS
ID. This is the “SUID”
number on the sticker on
the bottom of the unit.
3. Enter the Security Key
also found on bottom.
Click
Submit
.
4. The LPLUS should now be added to the system.
Figure 2
Figure 3
Figure 1
Figure 3
Figure 2


