7
3
.
Install TRP-C37M Hardware
STEP1:
Connect power source with TRP-C37M, the PWR LED will blinking.
STEP2:
Connect TRP-C37M with internet port by RJ45 LAN cable.
If the cable is properly connected the “LINK” LED will light up.
*The TRP-C37M Support Auto-MDIX, A straight-through or crossover Ethernet
cable can be used to make a connection directly to the HUB/Router/PC.
STEP3:
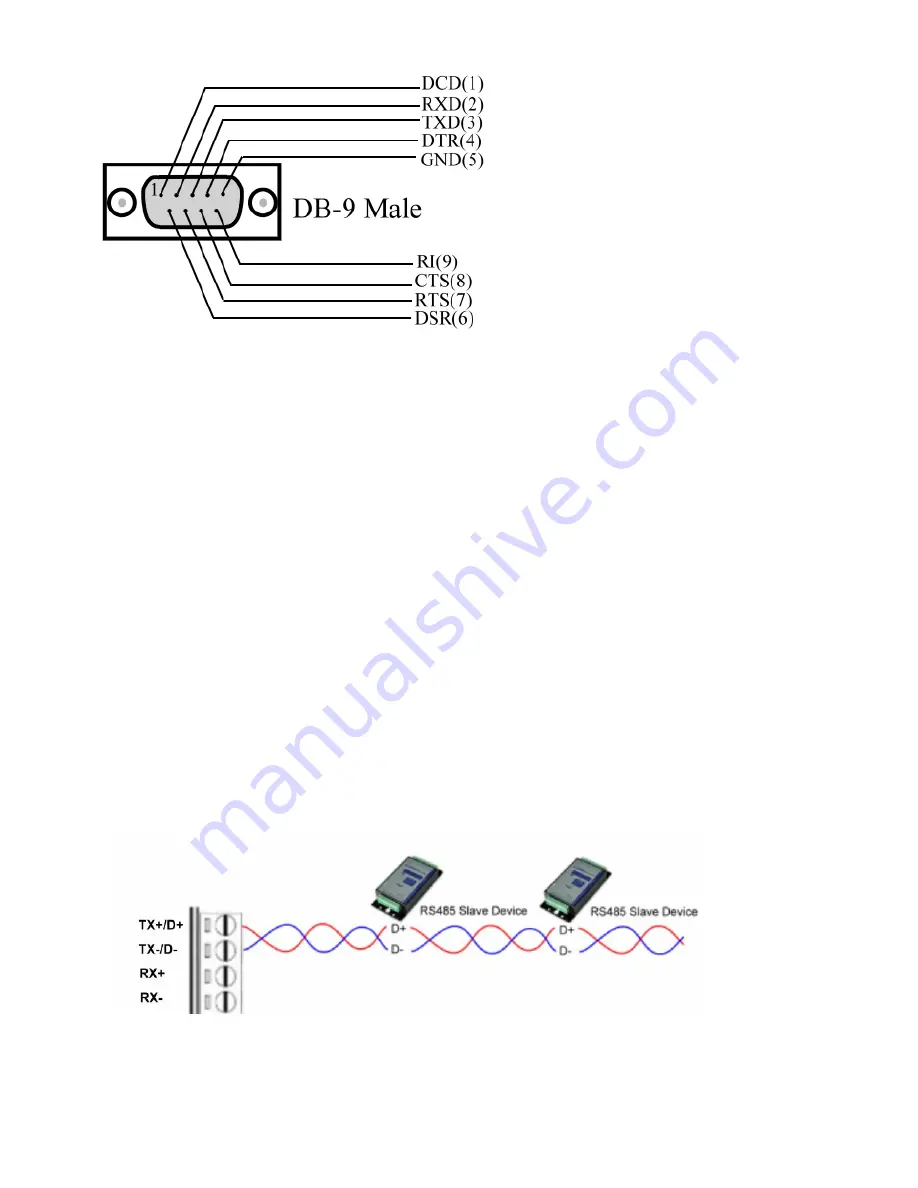
Connect TRP-C37M with RS232 or RS422/485 RTU/ASCII of serial device.
The TRP-C37M has one DB-9 male connectors for RS232 connection and a screw
terminal connector for RS422/485 connection.
The DB-9 serial port is DTE interface. A null modem cable is required to make a
connection between the COM port on a PC and the TRP-C37M serial port. A straight
through cable is required to connect the TRP-C37M serial port to a DCE device.
The screw terminal connector accepts AWG #12 ~30 wires.
3-1. RS485 Wiring
3-2. RS422 Wiring
Summary of Contents for TRP-C37M
Page 6: ...6 2 6 DB 9 Pin male pin assignment ...
Page 9: ...9 b WEB Server ...
Page 10: ...10 c Serial Console ...
Page 34: ...34 ...
Page 35: ...35 7 Application1 ...


