


21
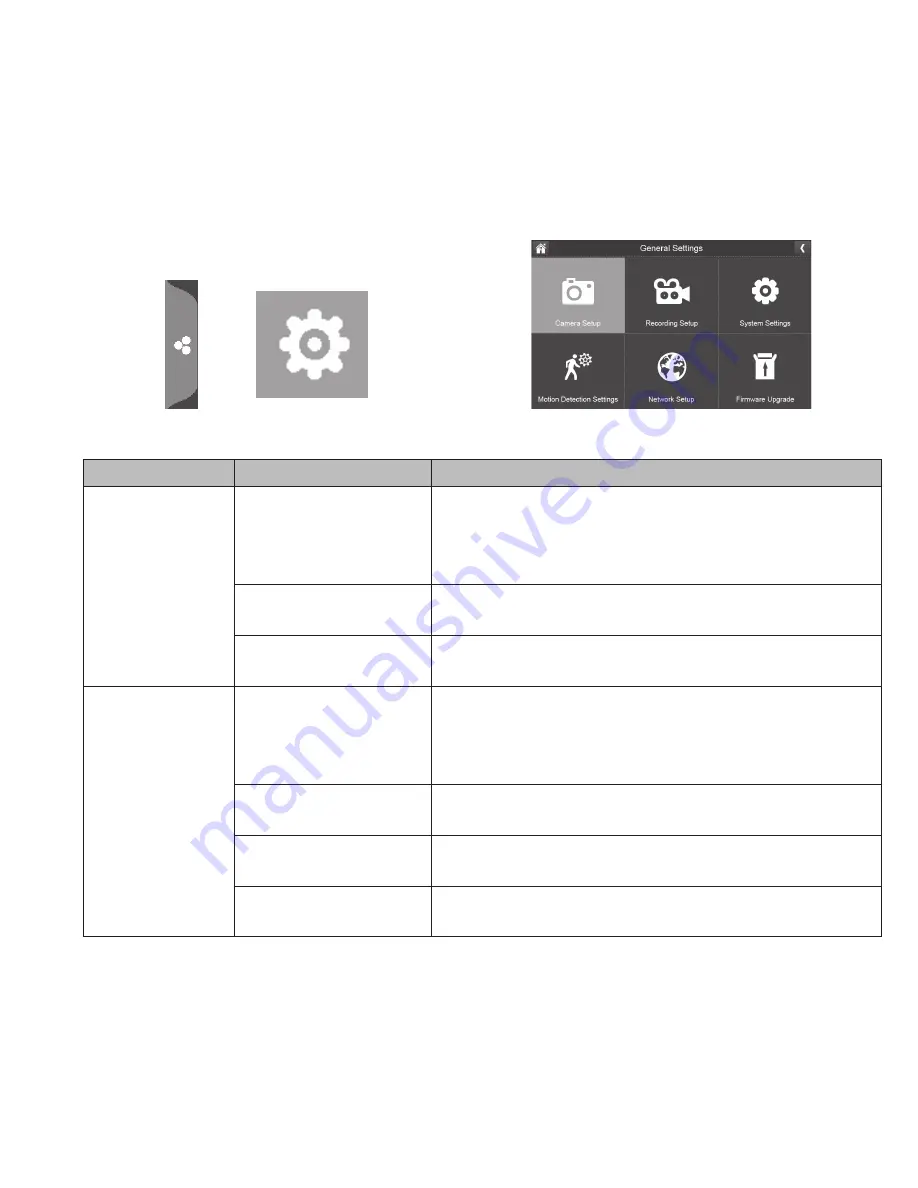
Tap the following icons as they
appear on the screens:
This screen should display:
Main Screen
Sub-Screens
What it Does
Camera Setup
(see page 23)
Pairing
(see page
23)
This system comes with cameras already paired.
Use Pairing to assign these cameras to different
channels or to pair additional new cameras to the
monitor.
ON/OFF
(see page 24)
Makes the cameras visible to the monitor.
Resolution
(see page 25)
Adjusts the video quality of each camera.
Recording
Setup
(see page 25)
Duration
(see page 26)
Set the length of time the camera records once
motion sensitivity tiggers the camera to record.
Choices are 15 seconds, 30 seconds, or 1 minute
(Default - 15 seconds)
Schedule Recording
(see page 26)
Set up a schedule for pre-determined recording
times and lengths.
File Overwrite
(see page 27)
Overwrites the oldest recorded data on the SD card
once the card is full.
Audio On/Off (see
page 28)
Turns microphones on or off for each camera.
Summary of Contents for UDR780HD
Page 4: ......
Page 52: ...52 Recording Display 64 GB 79 5 hrs 68 5 hrs 128 GB 159 0 hrs 137 0 hrs...
Page 56: ...56...


