


13. Sequence view indicator:
when “
SEQ
” shows on the screen, it means the monitor is auto switch
mode. The monitor will change channel automatically.
14. Change Channel
- Press this icon to change channel manually. When you have manually view all
the channels, press this icon again, the monitor will enter auto switch mode, the “
SEQ”
icon will
shows on the screen. Press again to exit auto switch mode, the “
SEQ
” icon will disappear.
Note: If you want to enter Quad mode, just press the central part of the screen. The screen will
split into quad or half quad mode. And choose the channel you want to view and press, the
monitor will be back to single channel view.
15. Motion recording indicator-
Indicates that motion recording is turned on
16. Menu-
Press this icon to access menu system.
2 Viewing Modes
There are four different viewing modes available on the system: single channel viewing, Auto Sequence
Viewing mode (view individual channels automatically in sequence), Quad
mode, and Scan mode.
Note:
Auto Sequence Viewing mode cycles through connected channels in full-screen.
Use Quad mode to view up to four cameras simultaneously.
Use Scan mode, the receiver’s LCD screen and speaker will turn off unless motion is detected by one of
the cameras. The LCD screen turns on and displays video from the camera where motion was detected
for 15 seconds before turning off again. This conserves battery power and alerts you only when needed.
You can configure how much motion is needed to turn the display on in Scan mode by changing a
camera’s video motion detection settings. When exiting Scan mode, the receiver resumes live viewing in
Auto Sequence Viewing mode.
To change viewing modes:
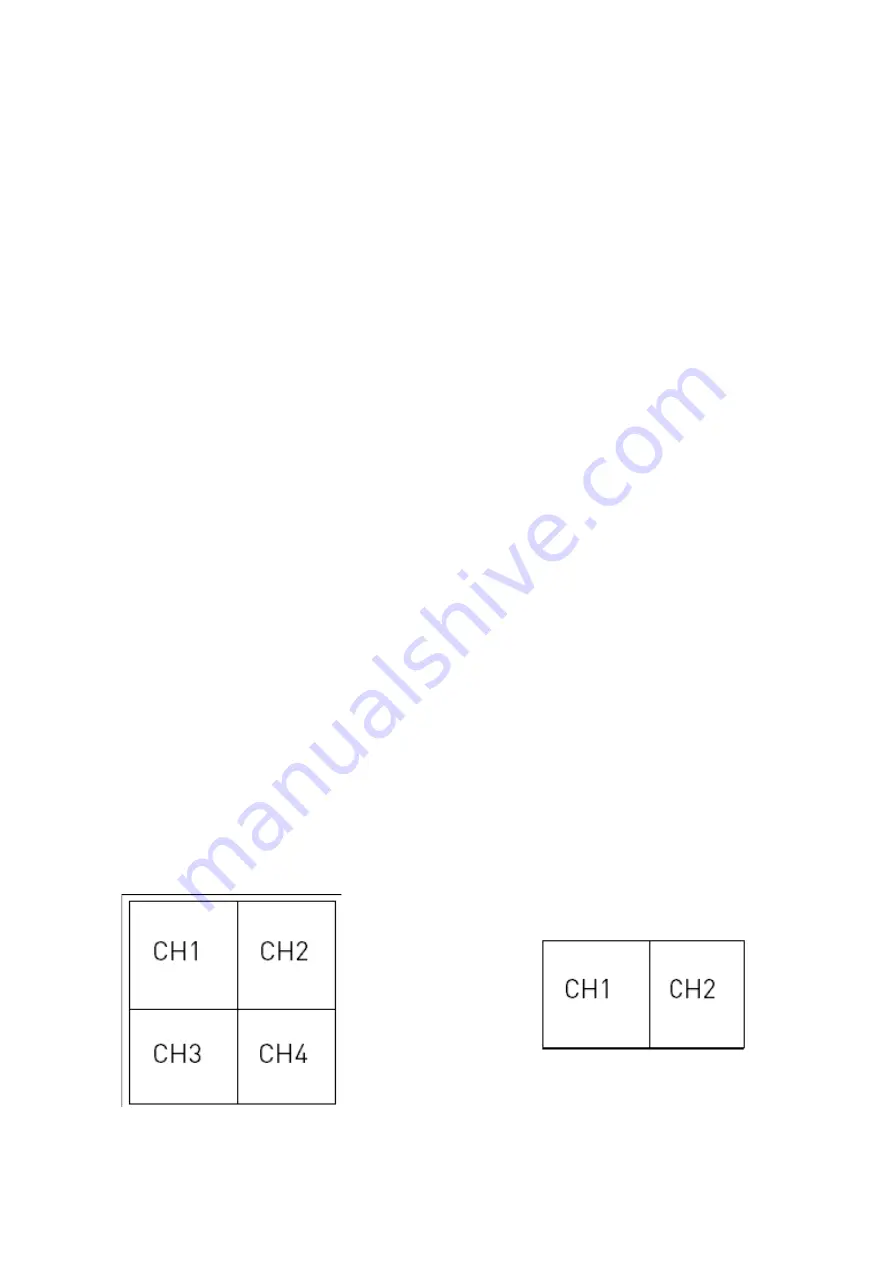
Press cental part of the screen to enter Quad mode (half-Quad mode when only 2 cameras are
connected). OR Press
change channel icon
to switch between channels 1~4 in single channel view.
Quad mode half- Quad mode


