background image

7

UNIDEN iGO CAM 50R

Vehicle Recorder

Installation

Location

To have a better view, try to install the front camera at the center of the 

windshield and the rear camera at the centre or the rear window. It can also 

be placed on the front windshield to record the interior of the vehicle. Make 

sure the lens is located in a place where the windshield is clean the window 

to ensure view is clear.
Make sure the device is not installed in a place where it will interfere with the 

safety bag. Make sure the GPS will not be obstructed by the windshield’s sun 

control film (window tint).

Installation Steps

1. Clean the area you desire to have the cameras placed before sticking the 

device.

2. Slide the sticker mount bracket into the front camera bracket slot and 

make sure it fits tightly.

3. Peel off the sticker protective film of the 3M sticker of the cameras.
4. Press and apply force on the GPS sticker mount of the front camera onto 

the windshield behind the rearview mirror. 

5. Press and apply force on the sticker mount of the rear camera onto the 

top center of the rear windshield. 

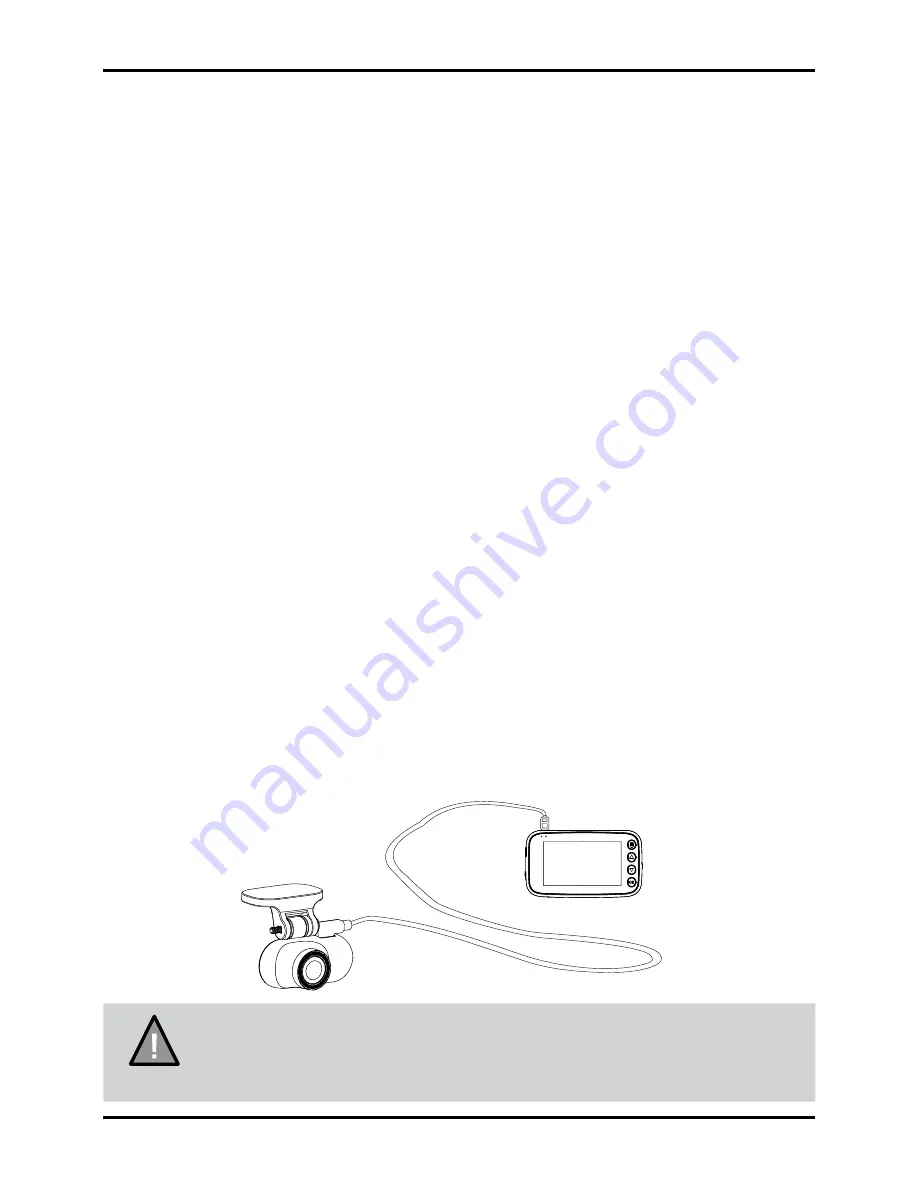
6. Connect the front camera and rear camera with the mini USB cable.
7. Arrange and hide the cable to avoid obstruction for the driver’s view.
8. Adjust the cameras view by loosening the screw of the bracket and 

fasten it back. We recommend the camera should point slightly 
downwards ~10° below eye level. 

NOTE

Please ensure the rear camera connection cable is connected/

disconnected when the device power is off or it will damaged 

the product. 

Summary of Contents for iGO CAM 50R

Page 1: ...iGO CAM 50R Accident CAM Vehicle Recorder For more exciting new products please visit our website Australia www uniden com au...

Page 2: ...lens Do not install the product in a location where it can obstruct the driver s field of vision NOTE Don t leave the device in direct sunlight for a long period of time or where the temperature could...

Page 3: ...What s In The Box 4 Controls Indicators 5 Installation 7 Operation 8 Micro SD Card 8 Battery Information 8 Power On 9 Power Off 9 Record Mode 10 Photo Mode 10 Playback Mode 11 MenuSettings 11 Connecti...

Page 4: ...B Car Charger USB Charging Cable GPS Sticker Mount Bracket If any item is missing or damaged contact your place of purchase immediately Never use damaged products Need help Get answers at our website...

Page 5: ...Controls Indicators UNIDEN iGO CAM 50R 5 Vehicle Recorder 3 1 7 13 4 5 6 2 8 9 15 11 12 14 10 16 Front Camera Rear Camera...

Page 6: ...cord Mode Start Stop video recording Photo Mode Take a snapshot Playback Mode Confirm Selection Play Pause 7 Card Slot Insert micro SD Card up to 32GB min class 10 8 Reset If the device fails to opera...

Page 7: ...e sticking the device 2 Slide the sticker mount bracket into the front camera bracket slot and make sure it fits tightly 3 Peel off the sticker protective film of the 3M sticker of the cameras 4 Press...

Page 8: ...rage Capacity Refer to the table below for the recording capacity for different card capacity and some of the recording resolution Resolution 8GB 16GB 32GB 1080P VGA 55 mins 110 mins 220 mins 720P VGA...

Page 9: ...tart flashing and recording starts automatically At other times press and hold the power button for at least 3 seconds NOTE Be sure insert the SD card before powering up the device Format the SD card...

Page 10: ...ss OK and the red dot disappears indicating that the recording has stopped Emergency Recording An Emergency Recording is triggered when the Menu Button is pressed or when the G Sensor registers an imp...

Page 11: ...ack press OK button to play pause the video file press the UP button the delete the selected file or DOWN button to toggle to the next file Press MENU button to return to previous page and press MENU...

Page 12: ...s setting to enable or disable audio recording Stamp Use this setting to display or hide the date and time stamp car plate stamp and speed stamp in the recorded files Anti Flicker Under this setting y...

Page 13: ...Time Change the date and time by using the relevant UP and DOWN keys and then press OK to confirm and move on to the next selection Set the time zone for GPS to get the correct time setting for the de...

Page 14: ...ing your device to automatically sync the time with GPS Ensure to select the correct time zone and also enable Daylight saving if needed GPS also allowing your videos to be geotagged Please ensure tha...

Page 15: ...top or click windows start and search from the program listing Ensure that the PC is connected to the internet to view the map screen 2 Click on the option Open File and go to the folder that contains...

Page 16: ...e light source The device crashes freezes Press the Reset button with a pin to restart the device SD Card Error Please format the SD card and use recommended card only Please make sure the SD card is...

Page 17: ...ording Yes Loop Recording Yes Audio Recording Yes Viewing Angle 140 front 110 rear WDR Yes GPS Yes Date and Time Stamp Yes Headlight Alert Yes Motion Detection Yes Park Mode Yes G Sensor Yes Video For...

Page 18: ...New Zealand and will expire one 1 year from the date of the original retail sale If a warranty claim is made this warranty will not apply if the Product is found by Uniden to be A Damaged or not main...

Page 19: ...amount to a major failure This warranty is in addition to and sits alongside your rights under either the COMPETITION AND CONSUMER ACT 2010 Australia or the CONSUMER GUARANTEES ACT New Zealand as the...

Page 20: ...2017 Uniden Australia Pty Limited Printed in PRC...

Reviews: