background image

- 1 -                          © 2010 Uniden Australia Pty Ltd/Uniden New Zealand Ltd.   

Safety First 


Please review the following safety precautions. If this is your first time to use a digital receiver, 
then read this manual before installing or using this receiver. If the receiver is not functioning 
properly, please contact your local distributor or system installer. 


The lightening symbol in a triangle is used to alert you to the presence of dangerous 
voltages inside the receiver that may be sufficient to constitute a risk of electric shock to 
anyone opening the case. It is also used to indicate improper installation or handling of 
the receiver that could damage the electrical system in the receiver or in other equipment 
attached to the receiver.


The exclamation point in a triangle is used to alert you to important operating and 
maintenance instructions. Failure to follow these instructions could result in injury to you 
or damage to the receiver. 

  Be careful with electricity: 

z


Power outlet

: To prevent electric shock, make sure the electrical plug used on the receiver’s 

power cord matches the electrical outlet used to supply power to the receiver. Connect the 
power cord only to a power source that operates at 100~240 Volts AC, 50/60 Hz. 


z


Power plug

: If a three-prong power plug is provided with the receiver, make sure it is used 

with a properly grounded three-wire power socket. 


z


Power cord

: Make sure the power cord is routed so that it will not be stepped on or pinched 

by heavy items. 


z


Power overloading

: Avoid overloading electrical outlets or extension cords, which otherwise 

could result in electric shock or fire. 


z


Lightening

: For protection from lightening, or when the receiver is left unattended for a long 

period, disconnect it from the power source. 


z


Protect other equipment

: Unplug the receiver before connecting any other equipment, 

especially the antenna.  Connect all equipment to the receiver before plugging any power 
cords to the power source. 

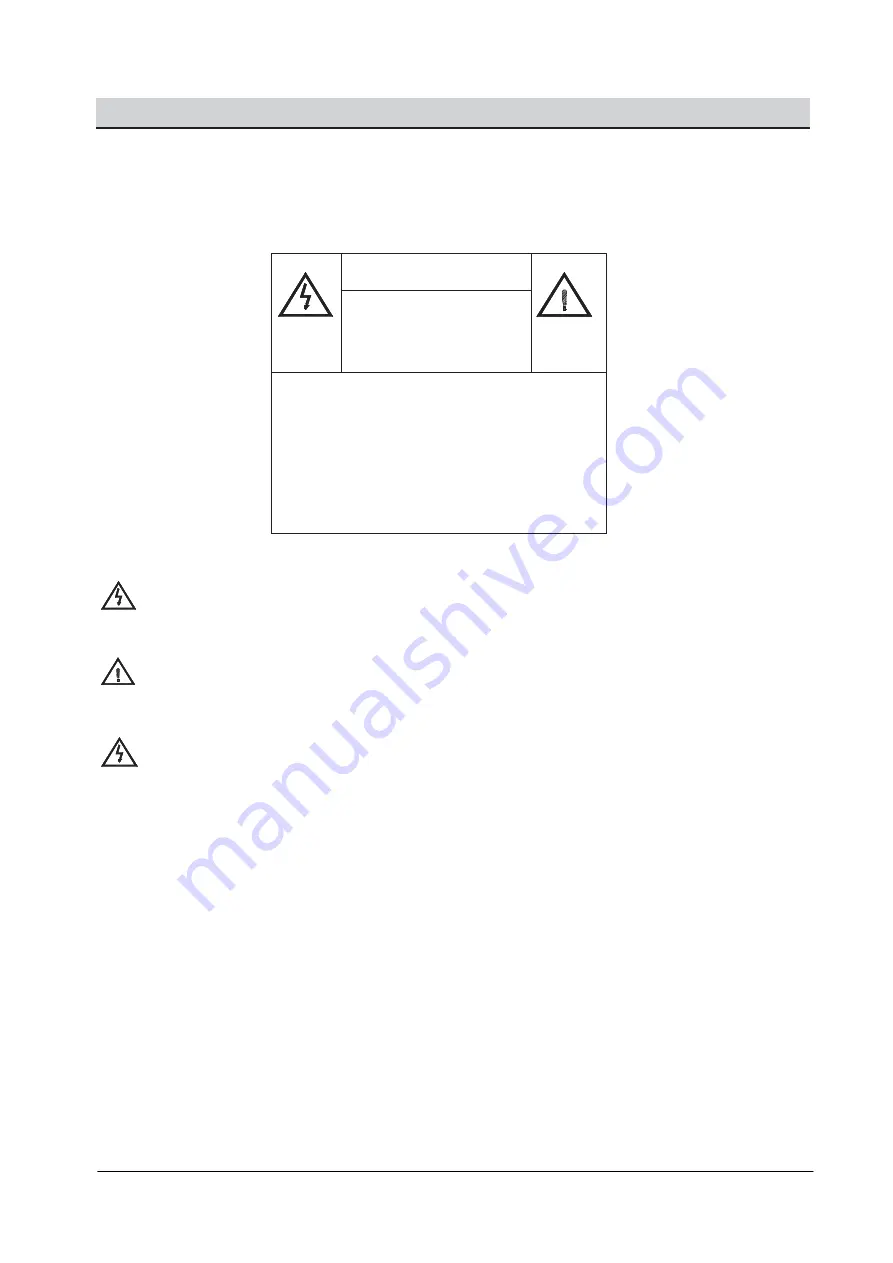
WARNING! 


RISK OF ELECTRICAL 

SHOCK 

DO NOT OPEN 

WARNING: 

TO REDUCE THE RISK OF ELECTRICAL 

SHOCK 

DO NOT REMOVE THE COVER 

NO USER-SERVICEABLE PARTS ARE 

INSIDE 

REFER SERVICING TO QUALIFIED 

PERSONNEL 

Summary of Contents for HD9000UPVR

Page 1: ...HIGH DEFINITION DIGITAL RECEIVER Set Top Box with Freeview EPG HD9000UPVR...

Page 2: ......

Page 3: ...utlet To prevent electric shock make sure the electrical plug used on the receiver s power cord matches the electrical outlet used to supply power to the receiver Connect the power cord only to a powe...

Page 4: ...material such as carpet or fabric z Proper Connections Make sure all cables and equipment are connected to the receiver as described in this manual z Object Entry To avoid electric shock never stick a...

Page 5: ...ideo Devices 10 Aspect Ratio Setting 11 Recommended Settings 11 Switching on for the First Time 12 Viewing Channels 13 The Information Plate or I Plate 13 Freeview EPG Electronic Programme Guide 15 Re...

Page 6: ...ion phase two The user friendly On Screen Display OSD allows you to setup your receiver to enjoy both high and standard definition channels with crystal clear picture and stereo sound quality Package...

Page 7: ...DMI Component Video Composite Video and Audio S PDIF digital audio out connections Plug and Play setup Plug in a USB flash drive to view your favourite jpeg jpg photos Simultaneous HD SD output Connec...

Page 8: ...Toggles the HD9000UPVR between power on green LED and standby red LED modes Y Channel button Switch to the next channel Z Channel button Switch to the previous channel USB Port For connection of a US...

Page 9: ...cable to the red blue and green coloured video jacks Z Audio Out L R One pair is provided for use with the Composite Video outputs HDMI For connection to an HDTV which has HDMI input for optimum viewi...

Page 10: ...ct line of sight to the receiver NOTE The batteries for the remote control are packaged separately please install these batteries in the remote control before using the receiver Note the and signs on...

Page 11: ...ive 13 PICTURE Adjust picture setup brightness contrast saturation hue sharpness and Digital Noise Reduction 14 STANDBY Switch the set top box OFF ON 15 CH Channel controls previous and next 16 VOL Au...

Page 12: ...10 2010 Uniden Australia Pty Ltd Uniden New Zealand Ltd System Installation Connecting To TV Monitor And Audio Video Devices...

Page 13: ...a widescreen picture but only for programmes shot and protected to allow for this so that cutting off the edges won t lose important action in the scene Recommended Settings The HD9000UPVR offers the...

Page 14: ...ANDBY on the remote control The green ON LED will light up 3 The Quick Scan menu will appear Use the directional keys and on the remote control to highlight your region and then press ENTER to automat...

Page 15: ...and view their respective information press ENTER to watch the selected channel If available press the corresponding colour key to activate an option shown at the bottom of the I Plate Example I Plate...

Page 16: ...and enter 801 to view the Teletext subtitles page x To adjust the Teletext subtitles background colour press TTX Press TTX again to clear the Teletext screen Selecting Subtitle Tracks Some programmes...

Page 17: ...programmes simply select upcoming TV programmes and press Green to active Reminder feature of your preferable TV programmes When the time is near the receiver will switch to the reminder channel You...

Page 18: ...eceiver is 0000 NOTE The storage drive must be formatted before it can be used to store recorded content For this reason Uniden recommends using a dedicated USB mass storage drive for recording and pl...

Page 19: ...an record in two ways Booking preference programme from MHEG5 I Plate Booking preference programme from MHEG5 EPG Scheduled Recording allows you to book preference programmes in advance To access the...

Page 20: ...Zealand Ltd The Record Schedule Menu The Recording Schedule Menu tables the schedule of recording for your favourite TV programmes Starting Scheduled Recording When the scheduled record time comes St...

Page 21: ...ecording times may become shorter than indicated The times provided below are an estimate use only as a guide Recording Mode Recording Times Capacity MPEG2 SD Channel 30 minutes 1GB MPEG2 HD Channel 1...

Page 22: ...t a storage drive without formatting to view jpeg jpg photos from that storage device Select Photos from the Select File Type menu to view photos PVR File Management In the PVR File Management menu yo...

Page 23: ...ogramme by 2X 4X 8X and up to 16X forward speed Rewind RWD Press RWD repeatedly to rewind the recorded programme by 2X 4X 8X and up to 16X rewind speed Stop Press STOP to stop playing the recorded pro...

Page 24: ...List page you can view the file paths and delete unwanted files Deleting Files Selecting your unwanted file through file paths e g video for TV recordings Select your unwanted file e g Martin Morning...

Page 25: ...ll removed files are allocated in recycle folder Select your unwanted file e g Martin Morning and press Red Key to delete the file and when the message Do you want to delete the file s appears select...

Page 26: ...24 2010 Uniden Australia Pty Ltd Uniden New Zealand Ltd Main Menu Map...

Page 27: ...Uniden Australia Pty Ltd Uniden New Zealand Ltd Main Menu Press MENU to display the Main Menu screen Use the directional keys and to move through the menu and press ENTER to select the chosen option...

Page 28: ...nd press ENTER to assign channels to the Favourite List or remove from the Favourite List z Red key Change the Channel List between all channels transponder channels or favourite channels z Green key...

Page 29: ...dren from viewing sensitive channels Once you set the parental rating for the particular channel the parental rating transmitted with the channel will verify if the received rating is higher than the...

Page 30: ...Allows you to choose between Mpeg and Dolby as preference format for current viewing z Default Volume Adjust the volume to your preference Video The Video menu allows you to setup the following format...

Page 31: ...res from the following z I Plate The I Plate is shown every time the channel changes or after pressing INFO Select to adjust the timeout period z Menu Language English only z Auto Subtitle Enabling th...

Page 32: ...channel number and the programme name will be displayed Scan Complete shows after scanning is finished Manual Scan If you know the frequency of a local broadcaster you can conduct a Manual Scan Input...

Page 33: ...ew Zealand Ltd Quick Scan Select the region and press ENTER to start the channel search Once a digital TV Radio channel is found the channel number and the programme name will be displayed Scan Comple...

Page 34: ...t PIN Code for the HD9000UPVR using the numeric keys 0 9 Note The default password of this receiver is 0000 Information Select to view the System Information menu showing the current hardware version...

Page 35: ...f this receiver is 0000 Software Upgrade The software for the HD9000UPVR may be upgraded in future Please contact your local distributor or visit the website www uniden com au for latest information U...

Page 36: ...34 2010 Uniden Australia Pty Ltd Uniden New Zealand Ltd Note S W Upgrade S W Upgrade is enabled in the System menu z Select USB Upgrade z Select the file from the disk and press ENTER Root Folders...

Page 37: ...z Wait until reading of the file is done and when the message Do you want to update appears select yes z Please wait until Erasing Flash and Programming Flash is completed Note Do not switch off the p...

Page 38: ...ade function is enabled from default When there is a new SW available through OTA Over the Air the HD9000UPVR will implement it automatically when it is in standby mode OTA Software Upgrade SSU Upgrad...

Page 39: ...37 2010 Uniden Australia Pty Ltd Uniden New Zealand Ltd 5 System will automatic restart after the software upgrade is completed Don t power Off...

Page 40: ...our screen 3 Poor picture quality a Check the antenna and make sure it is aligned to the correct direction 4 No audio a Check the receiver and your TV s volume are properly set and not in MUTE mode b...

Page 41: ...s aimed to receive the strongest possible signal 2 If this does not solve the problem you may consider installing a larger antenna This can help to gather more of the signal transmission 3 If you live...

Page 42: ...when connecting to a display through connectors DVB Abbreviation for Digital Video Broadcasting An international organization created in October 1993 whose primary objective is to achieve a common fra...

Page 43: ...finition Television Display HD High Definition Television HDTV offers wide screen 16 9 television with HD broadcasts regularly including enhanced Surround Sound Audio HDTV broadcasting is increasingly...

Page 44: ...IEC male System CPU 450 DMIPS Flash Memory 16MB RAM 256MB DDR Video Format MPEG2 Main Profile Main Level MPEG2 Main Profile High Level MPEG4 Main Profile Level 4 1 Picture Resolution 720 x 576i 720 x...

Page 45: ...iden or F Where the Serial Number label of the product has been removed or damaged beyond recognition Warranty only valid in the country of original retail sale PARTS COVERED This warranty covers for...

Page 46: ...44 2010 Uniden Australia Pty Ltd Uniden New Zealand Ltd...

Page 47: ......

Page 48: ...2010 Uniden Australia Pty Limited Uniden New Zealand Limited Printed in PRC...

Reviews: