


3
mounting the Camera
1. Hold the base of the camera stand where you want to mount it and
mark the location of the screw holes.
2. Use the included screws and anchors to attach the base to the wall
or ceiling. You can also attach the base into a flat surface such as a
tabletop if needed.
3. Before attaching the camera, tug gently on the stand to make sure it is
securely in place.
4. Disconnect power to the camera.
5. Attach the camera to the mounting screw. Set the mounting post to the
correct angle (up to 90° movement). Tighten the circular camera brace
up against the App Cam 24 to secure it into place.
6. After installation, reconnect power.
Setup the Camera
1. First connect the camera to the Wi-Fi router
via the Ethernet cable supplied.
2. Power on the camera using the AC adaptor
supplied and wait until both the LEDs glow
steady.
Note: DO NOT begin the APP setup
process until both LEDs glow steady.
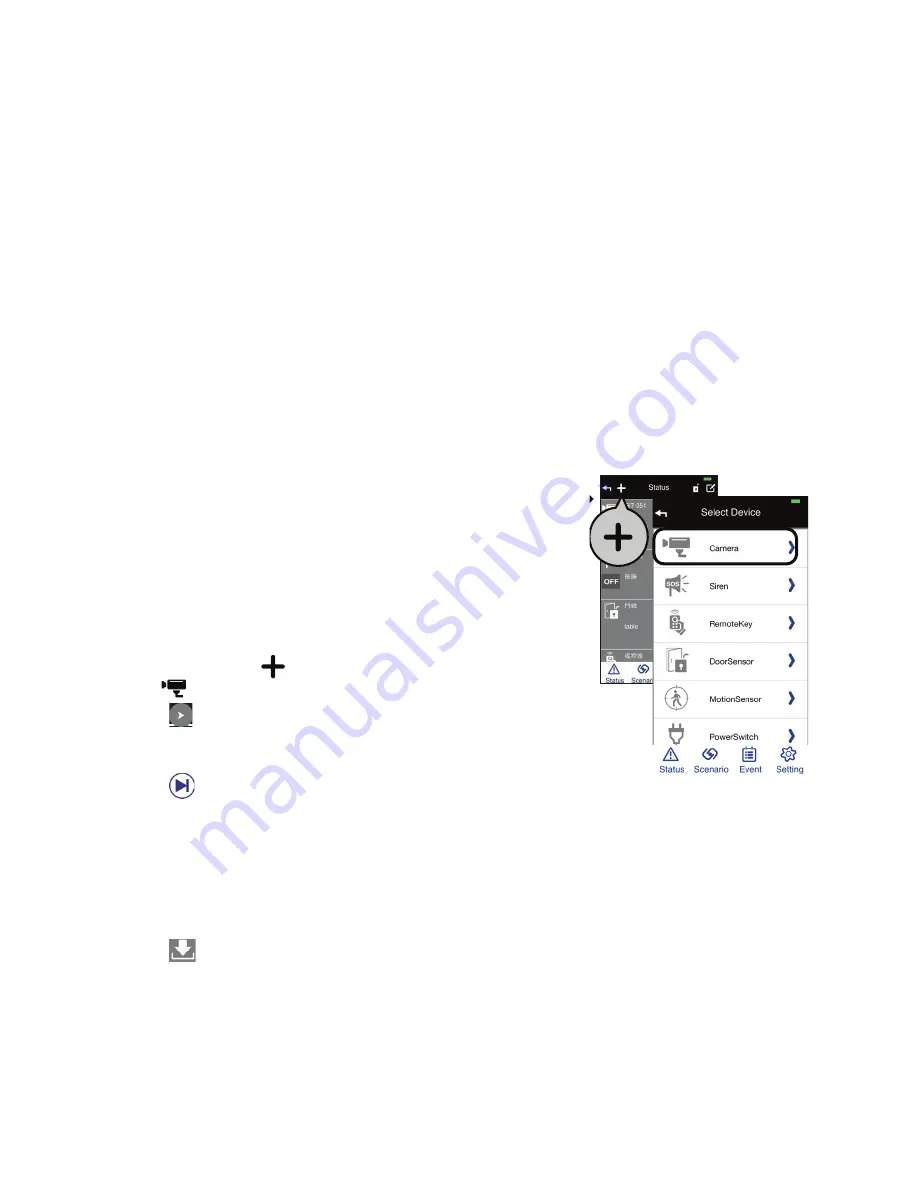
3. Launch the ‘Guardian Home’ app, select the
Gateway, tap in the ‘Status’ section and
tap to add new camera to the Gateway.
Tap the app will now search for the
camera connected to the Wifi Router and
pull in the camera DID.
4. Tap if search didn’t produce any result
and you would like to manually enter DID (15
characters). (DID can be found on the back of
camera).
5. Please name your camera and specify the
location where the camera will be installed.
The camera default Security Code is ‘123456’.
Tap to complete pairing the camera to the
Gateway.


