


!
!
!
To set "Autotalk",
see page 20 or to
set "Anykey
Answer" see page
20.
The handset
microphone is
located at the
bottom of the
handset. (see
"Controls and
Functions" on
page 4). Position
yourself as near to
the handset as
possible and speak
clearly.
If the line is in use
by another
handset(s),
"
"
appears in the
display of all
registered
handsets that are
not in use.
Line In Use
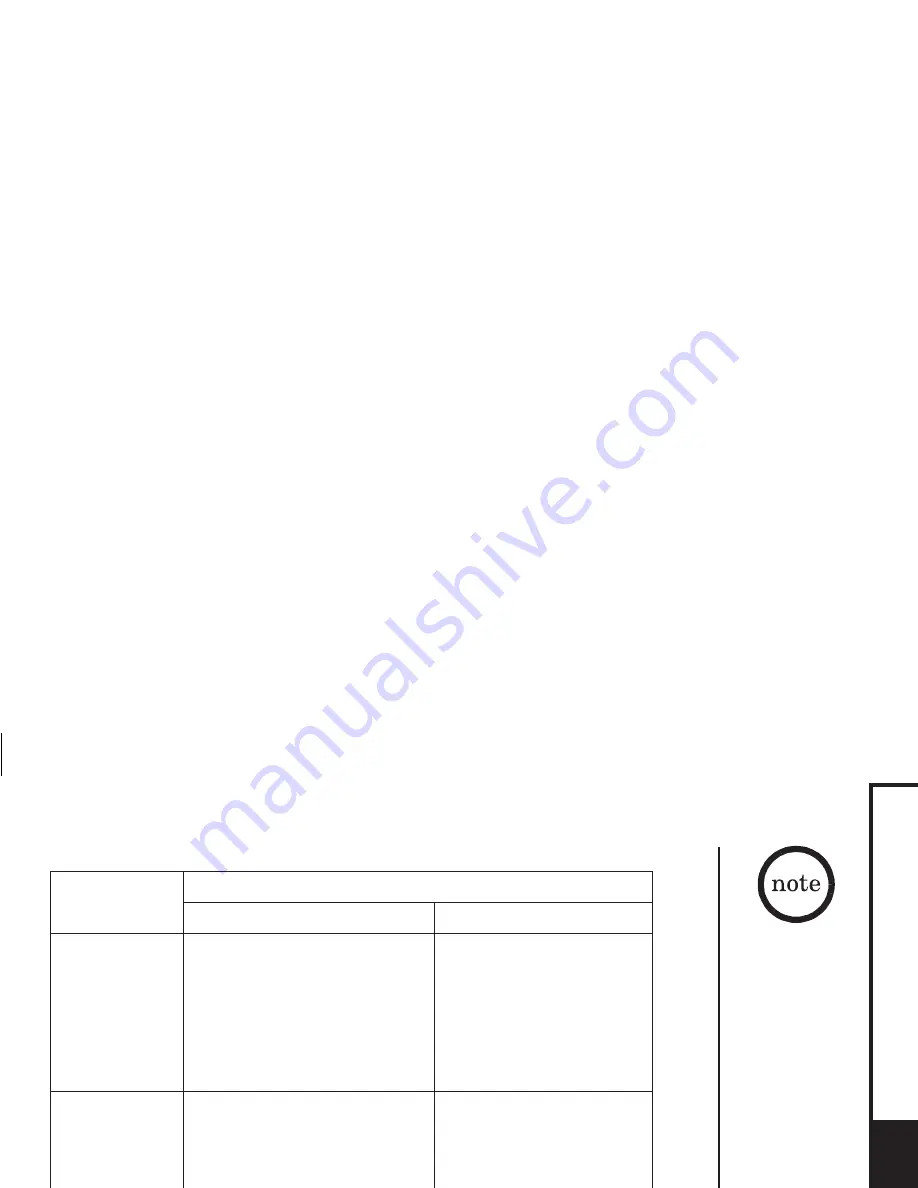
From the handset
From the Handset
Normal conversation
Hands-free conversation
To answer a call
Handset On the Cradle
or />
h
To make a ca ll
Handset Off the Cradle
h.
To hang up
To enter a pause
within the dialing
sequence
Pickup the handset (AutoTalk is:
on) or pick up the handset and
press
(AutoTalk is: off).
(Any Key Answer),or
press
.
2) Listen for the dial tone.
3) Dial the number. OR Dial the
number, and then press
Press
or return the handset to the cradle (AutoStandby).
talk/flash
#
talk/flas
talk/flas
end
Press any number key,
Press
1) Press
1) Press
2) Listen for the dial tone.
3) Dial the number. OR Dial
the number, and then press
.
When you dial the number in standby mode, press the
soft key. P appears in the display, which represents a pause.
Handset Off the Cradle
Handset Off the Cradle
/<,
r.
Handset Off the Cradle
h.
r.
r
PAUSE
*/tone
speake
talk/flas
speake
speake
[28]
BASICS
Summary of Contents for DSS7815 Series
Page 1: ...Series Owners Manual DSS7815 DSS7815 1...
Page 6: ......
Page 61: ...Memory List...
Page 62: ...Memo...
Page 63: ...Memo MEMO...