


9
If the value set does not match that of the pyranometer being used, or if the pyranometer is replaced, select the window
on the screen, use the instrument's keypad to configure the new value, and when the change has been made click on
"ENTER" to confirm the setting and exit from the field.
Minimum radiation:
can be used to set the minimum solar radiation value in W/m2, adjustable from 1 to 1,000W/m2,
used as reference by the instrument during a measurement.
Please always check that the value set is consistent with the measurement you want to make.
We recommend making measurements with a solar radiation value
≥700W/m
2
in compliance with standard
IEC/EN60981.
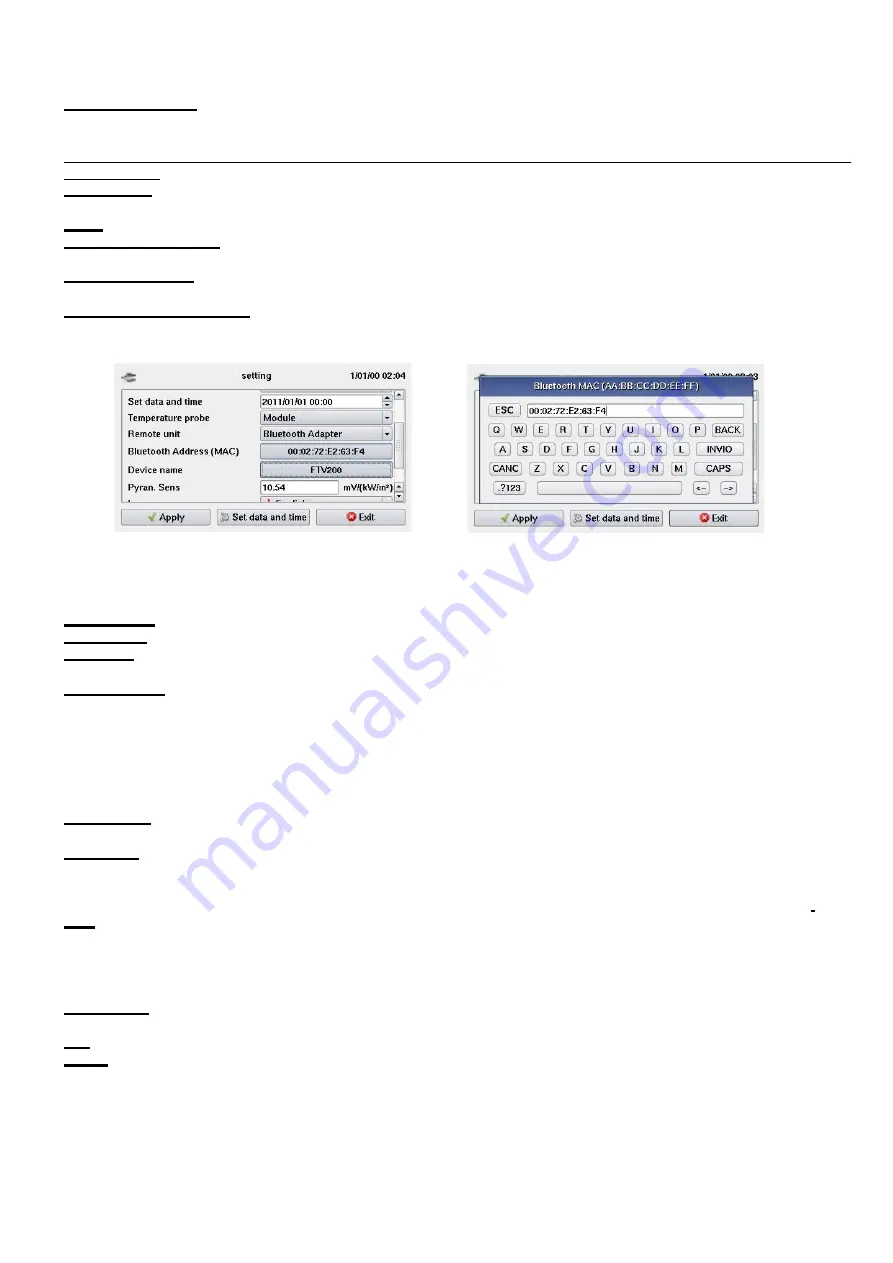
Remote Unit:
If the ▼ button is pressed, the remote unit activation window opens for selection of the type of
connection between the remote unit and the I-V Tracer 935. Possible choices are:
Local,
the probes are connected without the use of a remote unit.
RS-232 Serial Adapter,
the BLUETOOTH module is connected to the instrument's USB port by an
RS232-USB adapter.
Bluetooth Adapter,
the connection is via a USB-BLUETOOTH adapter module. When this item is selected, the
following two fields are activated for the following settings:
Bluetooth Address (MAC),
if the corresponding field is selected, a keypad opens for entry of the "MAC" number of
the Bluetooth adapter used on the remote unit with which you want to communicate.
NOTE:
For the Bluetooth devices of the instrument and the remote unit to be able to communicate, the MAC number
of the Bluetooth adapter used on the instrument must be set in the Bluetooth device used on the remote unit.
The PIN code setting
of this device must not be activated.
To configure the device used on the remote unit, follow the instructions provided in the remote unit's manual.
Device name:
this can be used to enter a name for the Bluetooth adapter used for the instrument; this is optional.
Brightness: click on the associated numeric value to modify it if necessary
Language:
press the ▼ key to open the language selection window. Touch the desired language on the screen to
confirm the selection and exit.
Memory used:
this displays the percentage of the instrument's memory occupied by the data entered and the stored
measurements.
Note that the available memory of the instrument is 84 MBytes.
10.2.
Module Archive
Selecting this icon opens a window with the following functions:
New Module:
Selecting this icon activates a function allowing entry of the model and plate data of a panel not present
in the pre-loaded list. If a new brand must be entered, exit by selecting
"Exit",
then select the "Edit Brand" icon.
Edit Brand:
Selecting this icon opens a window containing a list of the brands present; select the "enter new brand" line
if you want to add a brand not present in the list. Select the window below the list to enter the new name, then click on
"SAVE" to confirm, or "
Exit
" to cancel the operation.
Working in the same way as described above, you can select and then edit the name of a brand already present.
Find:
selecting this icon opens a window that lets you search the list of panels in memory according to a selection
criterion based on their electrical characteristics. Completing one or more of the fields for the main electrical
characteristics of the panels and pressing the "Search" button displays a list of panels matching the values entered.
This function can be used, for example, for a quick check of the brand and model of panels that have the selected
characteristics.
Edit Module:
when this function is used – once the brand has been selected – it is possible to edit and update the
model and electrical characteristics of the listed panels
List:
Selecting this icon opens a window displaying a list of the panels and their respective characteristics.
Delete:
This function can be used to delete a brand from the list, or all panels that correspond to it, or a single panel. To
delete, select the brand and possibly the model; press "Delete Model" if you want to delete only the selected model,
"Delete Brand" to delete the brand and all of its contents.
Press the "
Exit"
button to return to the previous menu.


