background image

Completing your First Scan


A.  Original Image Placement 


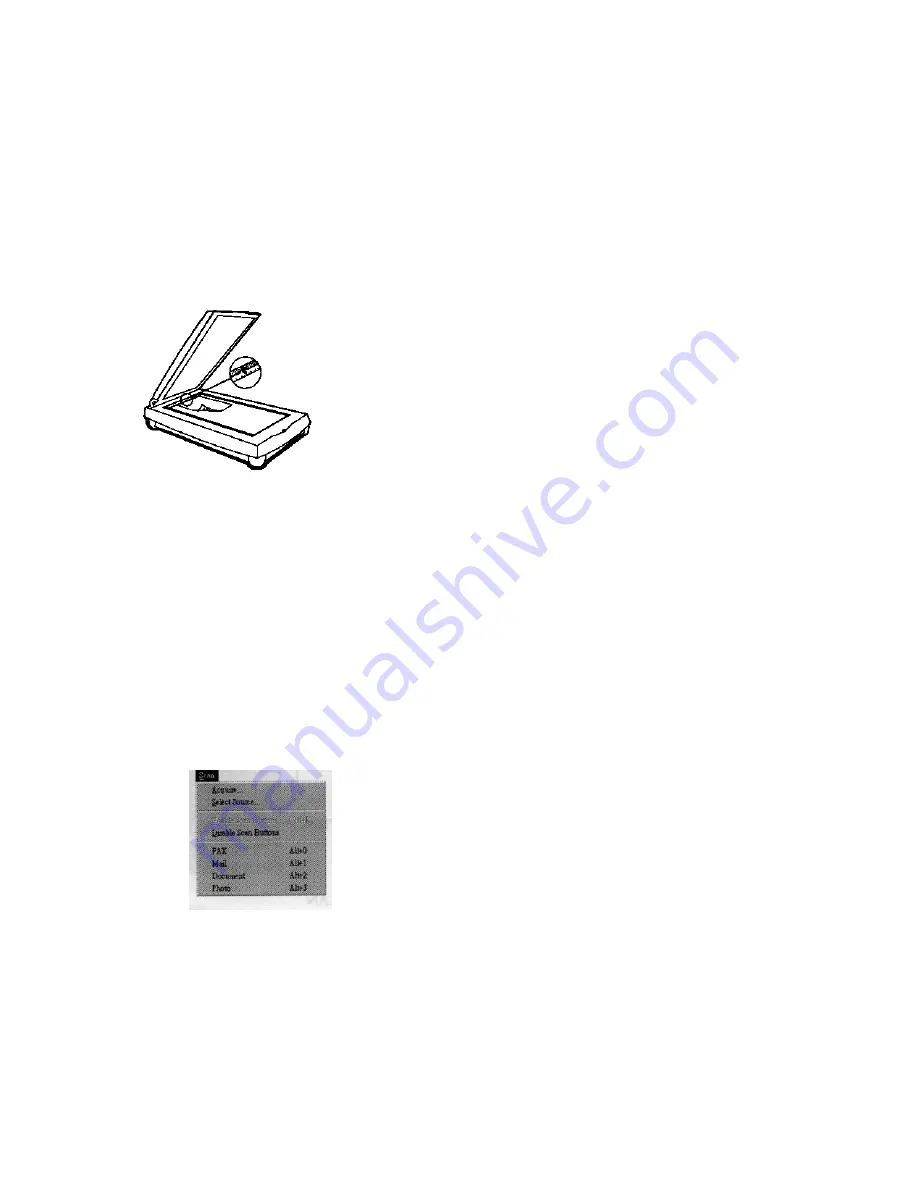
1.  Raise the scanner’s document cover. 
2.  Place the photograph or document face down on the scanner.  Center the document along the 

center

 mark. 

3.  Lower the document cover 


B.  Start your First Scan 


1.  From Windows, launch the scanning software (e.g. Presto! PageManager). 
2.  Pull down the Scan menu. 
3.  Choose “Select Source”. 
4. Select 

“VistaScan” 

(VistaScan 

32 for Win95) as the TWAIN source.  (You only need to do this 

once). 

5.  Pull down the “Scan” menu again. 
6.  Select “Acquire” to activate the scanning dialog box.  This will bring you to VistaScan (Shown in 

“C”). 


10 

Summary of Contents for Astra 600P

Page 1: ...ement parts specified by the manufacturer that have the same result in fire electric shock or other hazards Do not use this product near water or in rainy moist situation Do not place on an unstable t...

Page 2: ...radio frequency energy and if not installed and used in accordance with the instructions may cause harmful interference to radio communications However there is no guarantee that interference will not...

Page 3: ...Trademarks IBM PC AT is a trademark of International Business machines Corporations MS Windows Windows and MS DOS are trademarks of Microsoft Corporation Macintosh and MacSeries are trademarks of Appl...

Page 4: ...hipment while you are unpacking the scanner If you notice any damage notify your dealer at once Remember to save all shipping and packing materials if you want to transport the scanner in the future P...

Page 5: ...5...

Page 6: ...You must unlock your scanner before using it Failure to do so can cause damage to your scanner To unlock your scanner remove the document cover and push the restraint toward to the unlocked position W...

Page 7: ...anner do the following 1 Connect the power adapter to the scanner 2 Connect the power adapter to a wall outlet 3 Turn on the scanner s power switch Wait for the Ready indicator to glow When the Ready...

Page 8: ...he cable to the connector named To PC on your scanner Note If you want to connect a printer please connect it to the connector named To Printer on your scanner Note Check if your computer supports EPP...

Page 9: ...eceding the SETUP command For example type F SETUP if you are using CD ROM drive F 5 Click OK The UMAX Scanner Setup dialog box appears 6 Follow the on screen instructions to complete the installation...

Page 10: ...3 Lower the document cover B Start your First Scan 1 From Windows launch the scanning software e g Presto PageManager 2 Pull down the Scan menu 3 Choose Select Source 4 Select VistaScan VistaScan 32...

Page 11: ...11...

Page 12: ...link failed or similar message Make sure the cable is connected properly If All Else Fails If the above solutions do not resolve the problem contact your dealer or UMAX Technical Support Be sure to ha...

Page 13: ...nsion slot covers at the rear of your computer s case Be sure to do this immediately before removing any components from their anti static bag When handling any electronic components be sure to carefu...

Page 14: ...200 in 1 Increments at 600 dpi Resolution Highlight Shadow 255 Steps Contrast Brightness 100 100 Gamma Curve Downloadable Curves Data Output Color Mode 24 Bit Hardware 24 Bit System Grayscale Mode 8 B...

Page 15: ...d is designed for a specific software package and a specific image input device Object Glass The tempered glass of the scanner where documents or objects to be scanned are placed Optical Assembly The...

Page 16: ...16...

Reviews: