5
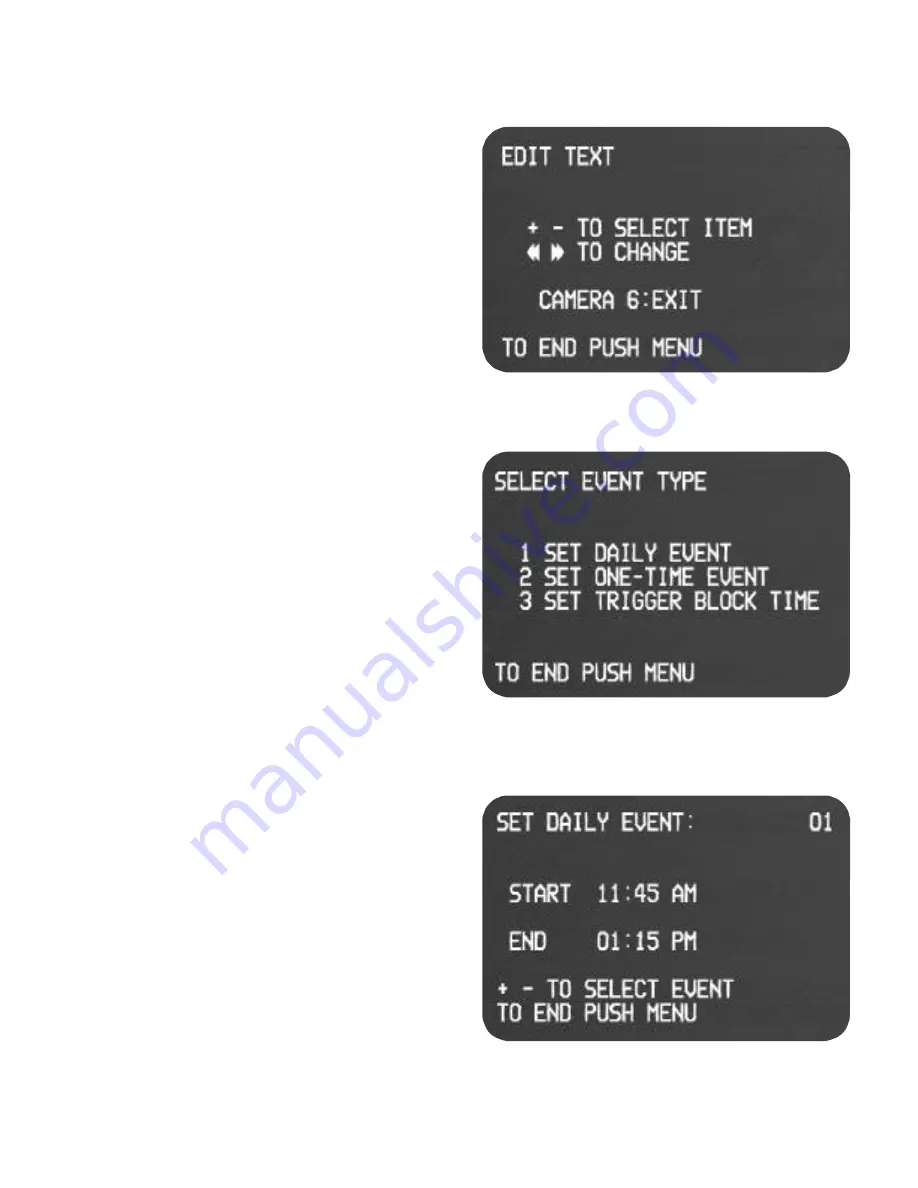
EDIT TEXT MENU (MENU /1/3/3)
After entering this menu, the user will find 20 “dashes”.
These dashes are place holders for text characters. To
select which place the first character will go, toggle the
+ and - buttons back and forth on the remote. Once the
placement is selected, toggle the REW and FF buttons
back and forth to select the specific character. Observe
numbers, letters, and other characters are available. To
move to the next character, advance using the + button.
To rewrite over a previous character, move backward
with the - key. Up to 20 characters (including spaces)
are available. To view actual screen placement, end-
menus and view screen. Experiment for the best place-
ment of your text.
SELECT EVENT TYPE MENU (MAIN MENU /2)
1)
SET DAILY EVENT: To preset the on and off time for
up to five separate events.
2)
SET ONE TIME EVENT: To preset a One Time Event
on time, off time, and date that it will occur. Five separate
One Time Events can be programmed.
3)
SET TRIGGER BLOCK TIME: To select the trigger off
times so that normally open or normally closed event trig-
gers will not cause the machine to record. Three sepa-
rate trigger blocks can be set.. NOTE: Trigger blocks
DO
NOT
disable a PANIC RECORD trigger.
SET DAILY EVENT MENU (MAIN MENU /2/1)
To set a daily event (occurs each day, seven days a
week), set the start time and end time. An AM or PM
prompt will be given after each time input. To set addi-
tional daily events after entering the first one, press for-
ward with the + button on the remote. You can review
each Daily Event by pressing the -/+ buttons on the
remote. Observe the number of each event set in the
upper right hand corner of the menu screen. An entire
event can be cleared by pressing the CLEAR button on
the remote during review. Up to five separate events
can be set. SEE
OPERATIONS AND USE “FUNCTION-
AL DESCRIPTIONS”
for additional requirements.


