6
3.
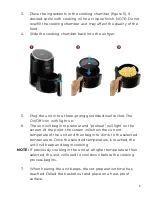
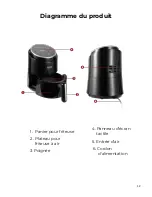
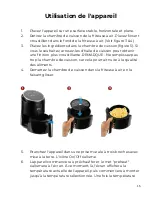
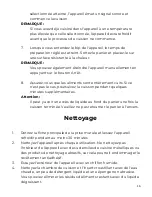
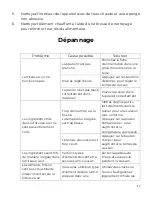
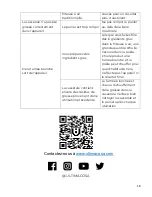
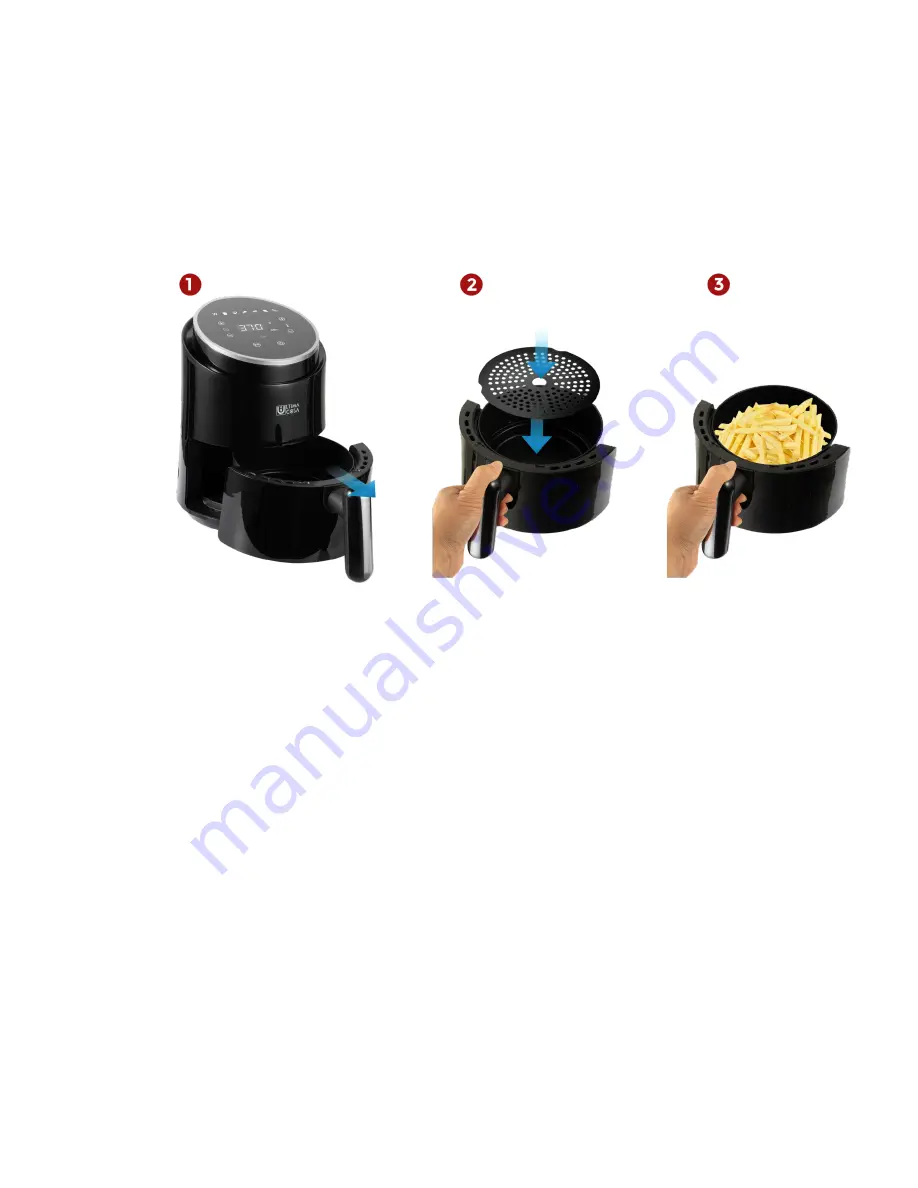
Place the ingredients in the cooking chamber (figure 5), if
desired spritz with cooking oil for a crispier finish. NOTE: Do not
overfill the cooking chamber as it may affect the quality of the
food.
4.
Slide the cooking chamber back into the air fryer.
5.
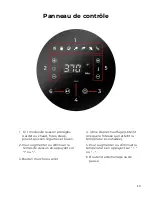
Plug the unit into a three-prong grounded wall socket. The
On/Off icon with light up.
6. The unit will begin to preheat and “preheat” will light on the
screen. At the point, the screen will show the current
temperate of the unit and then begin to climb to the selected
temperature. Once the selected temperature is reached, the
until will beep and begin cooking
NOTE:
If previously cooking in the unit at a higher temperature than
selected, the unit will need to cool down before the cooking
process begins.
7. When hearing the unit beeps, the set preparation time has
reached. Pulled the basket out and place on a heat-proof
surface.

