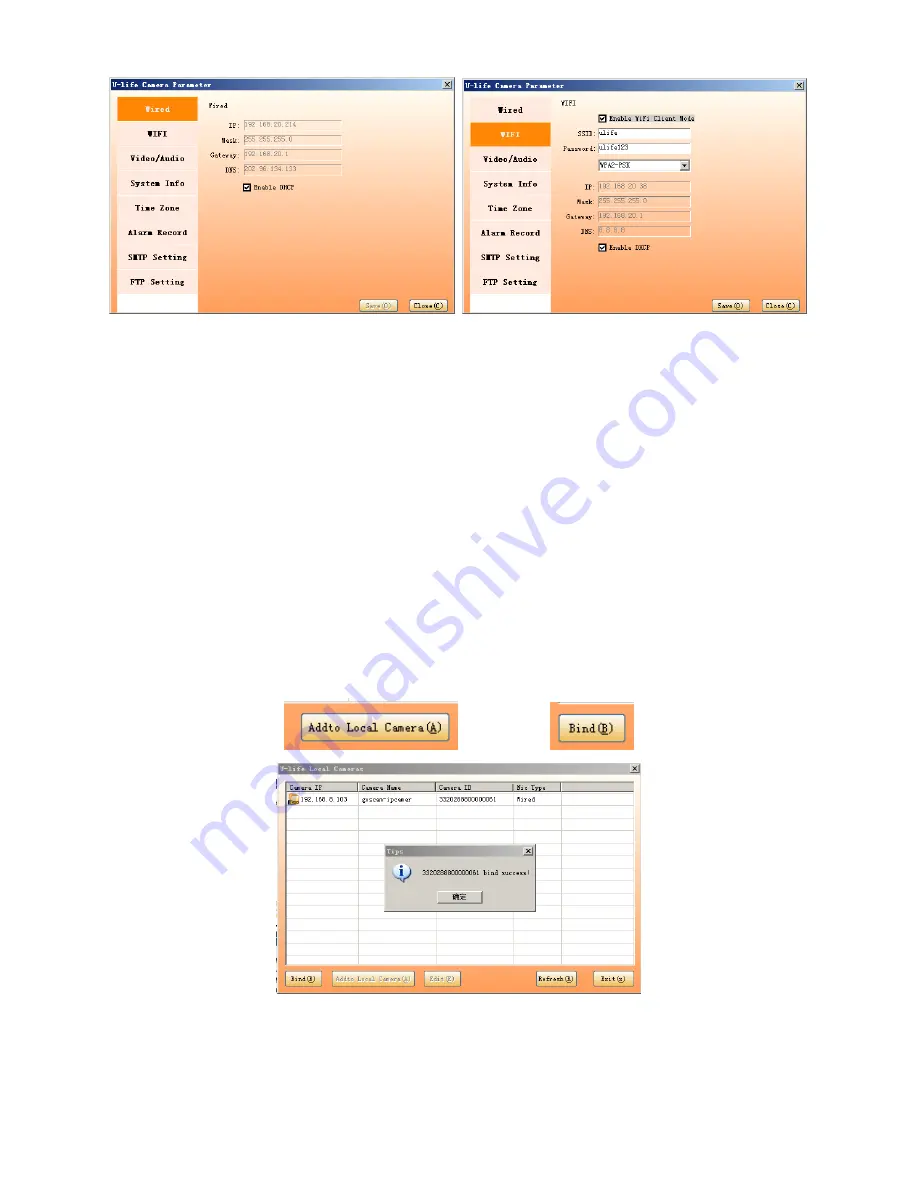
Wired Setting Parameter WIFI Setting Parameter
Two modes can be selected, wired connection or WIFI connection in the device settings.
1. If the user selected a wired connection, in wired Settings, choose to enable the DHCP, the device IP
will be automatically distributed.
2. If the user selected WIFI connection, In ‘WIFI’ settings, select ‘enable WIFI’, input the SSID of the
wireless router, the WiFi password, enable the DHCP, and click
“ok” the camera can be adaptive with
WIFI connection.
(
UlifeCam can support common WiFi router with WEP, WPA and None
encryption mode, but some router without standard WPA encryption methods, user had to
change the router
’s encryption mode to WEP.)
Note: When WiFi and Wired LAN is both set the Internet connection will be through WiFi.
3. After completing Wired or WIFI setting, in the main settings page list, we can see the IP address of
the device, user can choose "add to the local list" and "bind", the device will be added to U-life of the
local device list, if select the "Bind", the device can be bound with the U-life account that you
registered.
Note: The 'bind' function can work only after the IP setting is correct and the registration is
done on Ulife platform. The registration may take a few seconds to several minutes, depending
on the network status. (See FAQ question 9)
Note: The user can also right click ‘My Cameras’ to bind the camera.
4. When the above process successfully completed, you can click on the device in different list to view
video.


