


19
Ulead DVD PictureShow User Guide
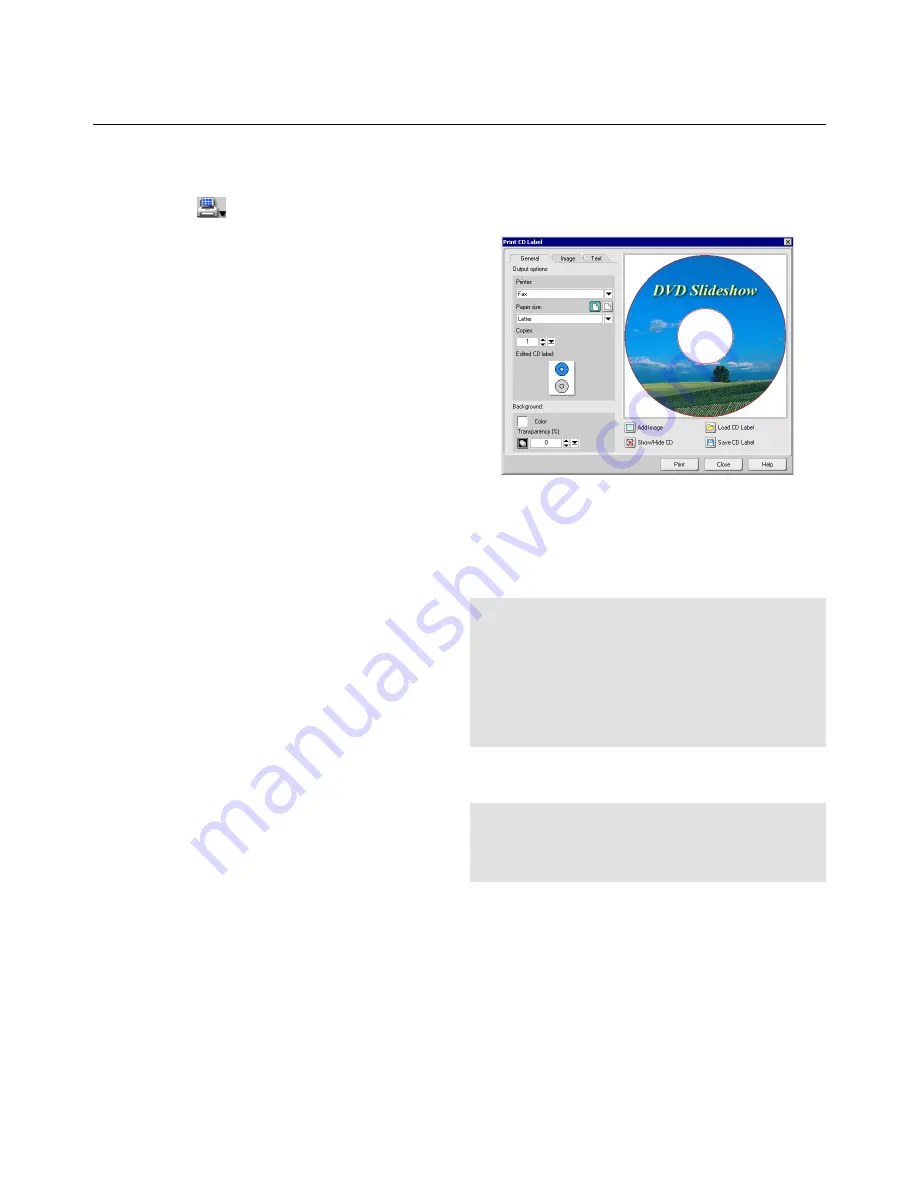
Printing CD label:
1. Click
and select
Print CD Label
.
2. Under
Output options
, select the
Printer
and
Paper size
to use for printing. Click the available
buttons to choose between portrait and landscape
orientation.
3. If you will be designing and printing dual label
stickers on a single page, click the CD icons in
Edited CD label
to switch between the two labels
and create different designs for each.
4. To apply a solid color as the base for the CD label,
click the color box and select a background color.
5. Click
Add Image
to select one or more images to
add on the CD label. To resize an image, drag the
surrounding handles. To move an image, click and
drag it to the desired position on the label.
6. Click the
Image
tab.
7. Adjust
Brightness
,
Contrast
and
Transparency
levels of each added image.
8. To add text, double-click on the CD image in the
preview window and type your text.
9. Click the
Text
tab.
10. Format each added text by changing the font type,
size, style, text color and alignment. Adjust the text
Transparency
level accordingly.
11. Select the
Shadow
checkbox to add a drop-down
shadow to the selected text, and click the color box
to set the shadow color. Adjust the
X/Y offset
values to set the shadow position in relative to the
position of the text.
12. Click
Save CD Label
to save your work on a CD
label file (*.UPL).
13. Click
to print the CD label.
Tips:
If you added several elements, such as images and
text, on the CD label:
• Press [
Ctrl
] and click each element to select
multiple elements.
• Right-click the selected elements and select
commands from the menu to align the elements,
arrange their order, etc.
Tip:
The shadow position can also be flexibly adjusted
by simply dragging the shadow. The shadow has a
round, green handle which you can click and drag to
adjust its position.


