Your first text
22
The quick way to record your first item
of dictation
The display has to show ‘ ‘(Record), otherwise
press the ‘On/Off/Mode’ button (13). Press and
hold down the ‘Record’ button
‘Rec ‘ (5)
and
dictate. During recording the LED will flash.
Recording will stop as soon as you release the
button. By renewed pressing and releasing of the
‘Rec ‘ button, your dictation will be recorded
continuously.
Pressing the
‘Rewind ‘
button
(6)
will allow
you to go back through your dictation in steps
of one second at a time. By releasing the
‘Rewind’ button, the DH 10 switches automati-
cally to playback. While the ‘Rewind’ button is
depressed the machine runs backwards through
the dictation at increasing speed.
The
‘Forward ‘
button
(13)
works correspon-
dingly. By holding it down, you will advance at
increasing speed towards the end of the dictation.
Pressing the
‘Play/Stop ‘
button
(7)
the play-
back will stop. Your dictation will be stored
automatically on the card as dictation no.1.
If you wish to delete your dictation completely :
Go back to the beginning of the dictation by
pressing the ‘Rewind ‘ button, so that the
H:Min:Sec display indicates:
0:00
and stop. Hold
down the
‘Clear’
button
(3)
until the display
asks:
SUrE CLEAr
.
By pressing the ‘Clear’ button again, the entire
dictation is deleted.
23
Basic Settings
Basic Settings
Your DH 10 as a Digital Voice Recording System
offers you a lot of variable functions for speech
processing. Different operating modes support
the processing and recording of the dictations
(Record mode) as well as the administration of
the dictations (Manage mode).
To be able to benefit from all the advantages
which this digital recording machine offers to
the user, please go through the basic settings
explained below step by step and familiarise
yourself with the various text processing func-
tions which are possible with your DH 10.
To be able to make use of all the functions, we
recommend that all the Basic Settings be carried
out first. To start these Basic Settings press the
‘On/Off/Mode’ button (13) until
trANSFEr
will
appear in the window of the display. Pressing the
‘Forward ’ or ‘Rewind ’ button you will
achieve the different Basic Settings.
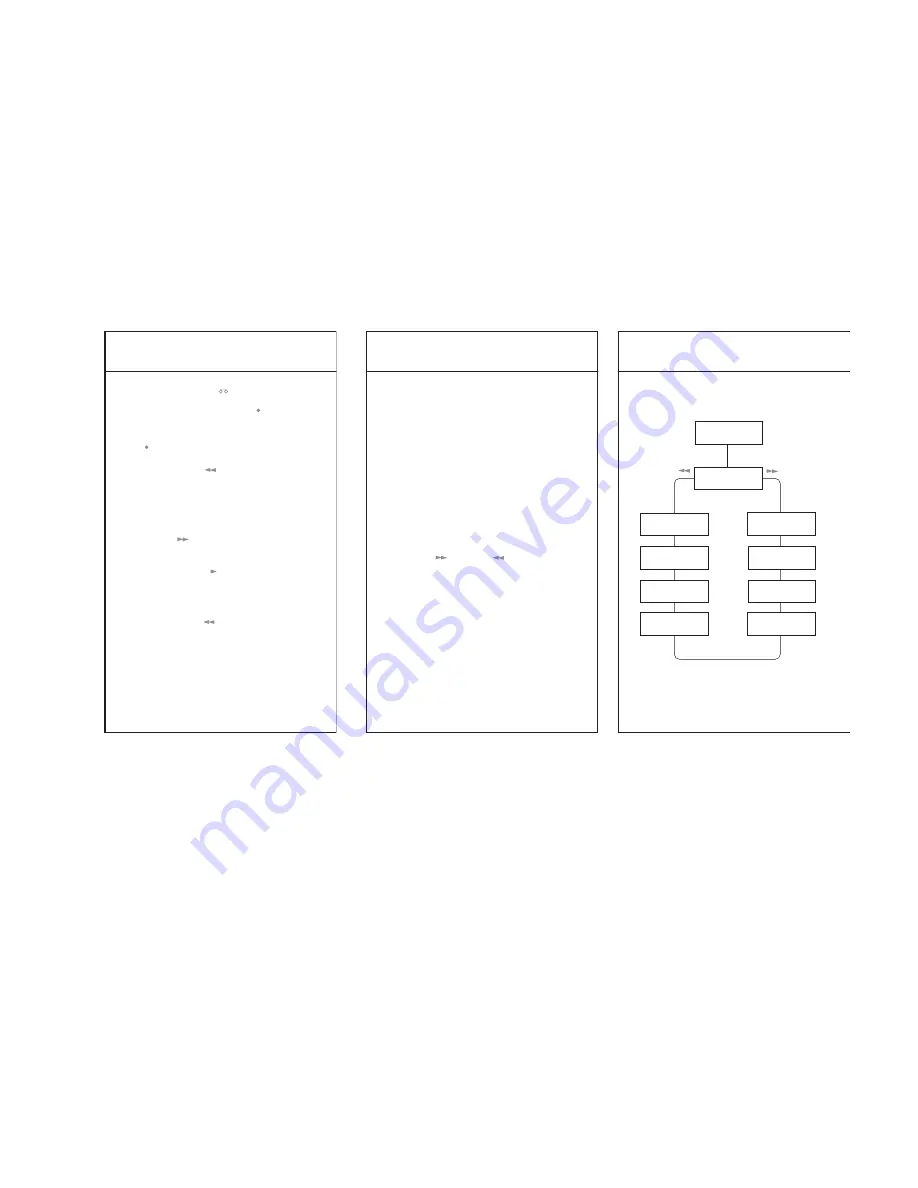
The following diagram illustrates all the Basic
Settings in the sequence described.
Basic Settings
24
Diagram of the Basic Settings
VAC
bEEP
LIGHt
SEt ClOCk
FOrMAt CArd
VErS.
OFF
PrOtECt
trANSFEr
Press On/Off/Mode
for a few seconds


