


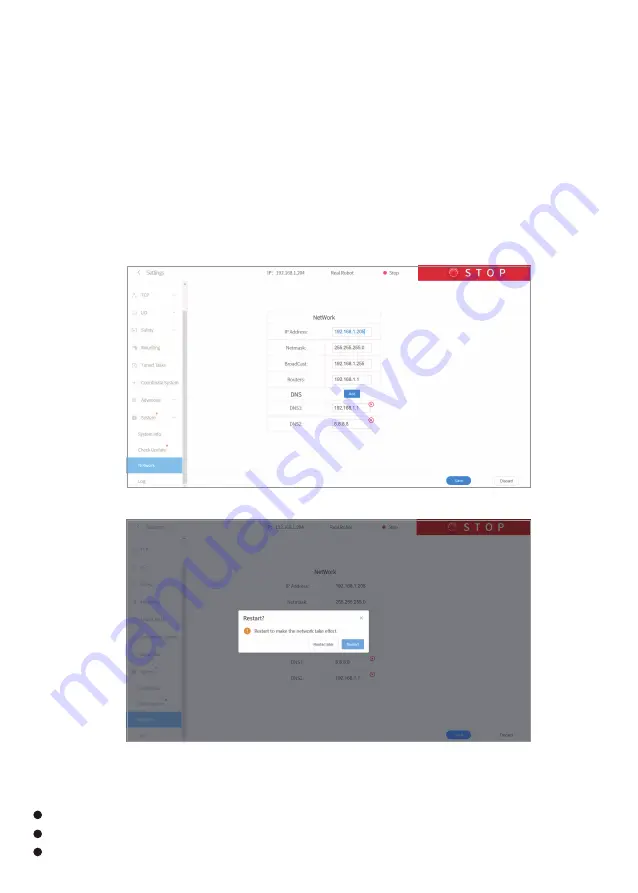
(2) Use UFACTORY Studio to connect to the Control Box, and change the network segment of the
Robotic Arm to the LAN segment in the network settings under the setting options of UFACTORY
Studio, after clicking save,restart UFACTORY Studio (see Figure 7.1-7.2). Then close UFACTORY
Studio and restart it, then remove one end of the Network Cable connected to the PC segment
and connect it to the LAN;
(3)Set the IPV4 address of the PC to obtain automatically and access the LAN, as shown in
Figure 4.5.
(1) Connect the Control Box to the PC directly with a Network Cable, and then modify the IPV4
address of the PC to be the same as the network segment of the Control Box. The factory IP
address of the device has been marked on the side of the Control Box. The IP settings on the PC
are shown in Figure 4.1 -4.5;
Appendix 2:
UFactory Studio manual: https://www.ufactory.cc/ufactory-studio
Github: https://github.com/xArm-Developer/
Further information, please email at: [email protected]; [email protected]
06
Figure 7.1
Figure 7.2
Summary of Contents for LITE 6
Page 1: ......
Page 2: ......
Page 5: ...03 Figure 4 1 Figure 4 2 Figure 4 3 Figure 4 4 Figure 4 5 ...