EVK-F9T - User guide
UBX-21040453 - R01
Device description
Page 11 of 23
C1- Public
4
SCL / SCK
I/O 3.3 V
Clock input / output (signals are pulled up and then straight to the module)
3
TxD / MISO
I/O 3.3 V
If slide switch on I2C, the DDC interface is selected / UART TxD (3.3 V level)
If slide switch on SPI, the SPI interface is selected; Master in Slave out (MISO)
2
RxD / MOSI
I/O 3.3 V
If slide switch on I2C, the DDC interface is selected / UART RxD (3.3V Level)
If slide switch on SPI, the SPI interface is selected; Master out Slave in (MOSI)
1
GND
I
-
Common ground pin
Table 5: Connector pin description for EVK-F9T (pins numbered from right to left on the front panel)
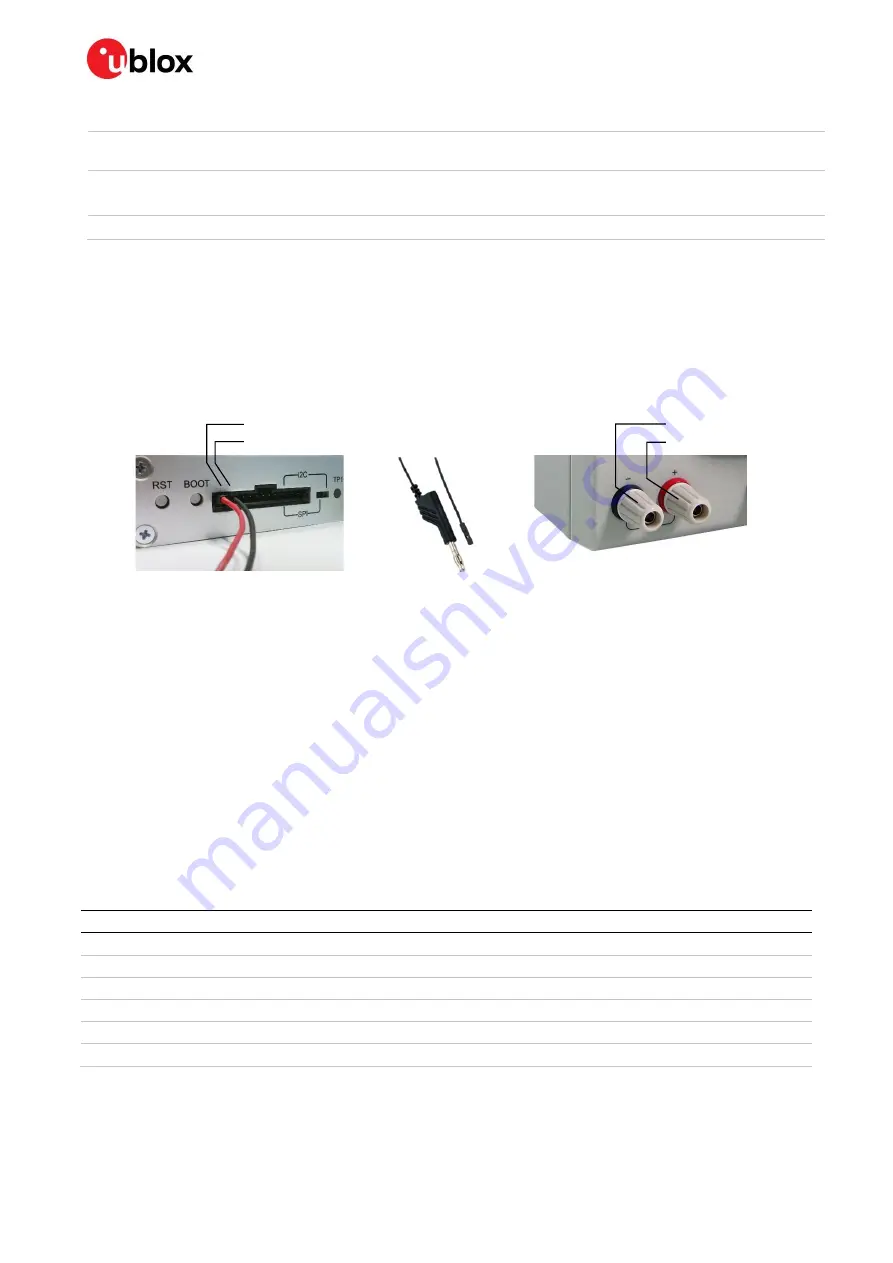
For accurate measurements, it is recommended to use a cable of at most 1 meter in length. Figure 4
shows an example of a power supply connected to the test connector by using standard adapter
cables from the manufacturer Hirschmann. Table 6 shows an example for overall current
measurement. When connecting the 3.3 V digital interfaces RS232, SPI and DDC to your application,
a cable length of less than 25 cm is recommended.
Figure 4: Example 5V DC power supply
4.3.9
LED
On the front panel of the unit, a single blue LED shows the timepulse 1 signal. The timepulse signal is
configurable, see the Interface description [
] for details.
4.3.10
EXT connector
This is a 6-pin connector in which pin 2 is connected directly to the GEOFENCE_STAT signal. Pin 4
and pin 5 are connected directly from RXD2 and TXD2 of the module, respectively.
TXD2 and RXD2 (UART2) can be used for correction data and NMEA messages.
Pins 3 and 6 are connected to GND.
Pin Nr.
Assignment
1
Common ground pin
2
GEOFENCE_STAT
3
GND
4
RXD2
5
TXD2
6
GND
Table 6: EXT connector pin details
V5_IN
GND
GND
V5_IN
Hirschmann
Part Nr.: 934160100


