EVK BMD-345 - User guide
UBX-19051533 - R01
Setting up the evaluation board
Page 17 of 27
3
Setting up the evaluation board
This section provides information on how to set up and program the BMD-345 evaluation kit with an
example application.
3.1
Set up the tool chain
1.
Install
1.1.
Training videos for SEGGER Embedded Studio can be viewed
2.
Download the latest
. Unzip it to a convenient working directory. The latest SDK version
should be used whenever possible. The “nRF5_SDK_xx.x.x_yyyyyyy” directory may change. The
folders under usually remain the same from version to version.
☞
Do not alter the directory trees. The examples are configured for relative path positions.
☞
Do not use spaces in the directory path.
3.
When selecting examples from the SDK, note the following cross reference:
u-blox evaluation board
Nordic SoC
Preferred Nordic SoftDevice
Compatible Nordic DK
BMD-345-EVAL
nRF52840
S140
PCA10056 / nRF52840 DK
Table 11: u-blox evaluation with Nordic DK cross reference
4.
Install
. nRF Connect can be
used directly with the Device Under Test (DUT) evaluation board for programming and other
features.
5.
. nRF Blinky will be used later in
this guide.
☞
If using nRF Connect on a desktop, a second evaluation board or an
is required
to make Bluetooth low energy connections with your DUT.
6.
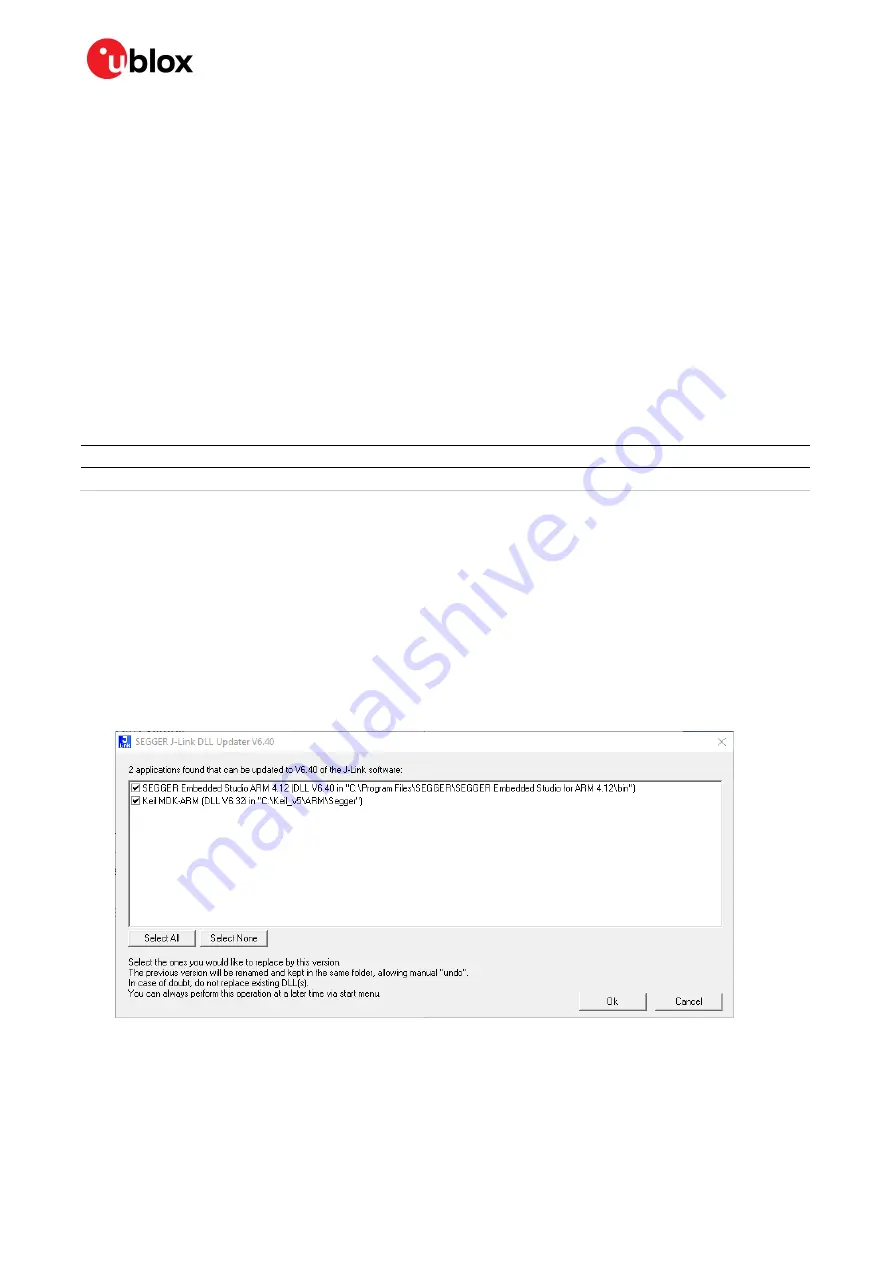
Install the
. If presented with a screen to select different IDEs,
ensure at least the “SEGGER Embedded Studio ARM” line is selected:
Figure 15: SEGGER J-Link commander install
7.
You may need to add the install location to the system PATH. The default location for the
J-Link commander is “
C:\Program Files (x86)\SEGGER\JLink_Vnnn
” where “nnn” is the version
number.
8.
Install
for your mobile device. This will be used with the example below.


