The department will be added to the list of departments.
6. click the department’s name to continue adding department settings.
For help setting up departments, click the online help link in the
upper-right corner of the uAttend screen.
2.2.2 Adding employees
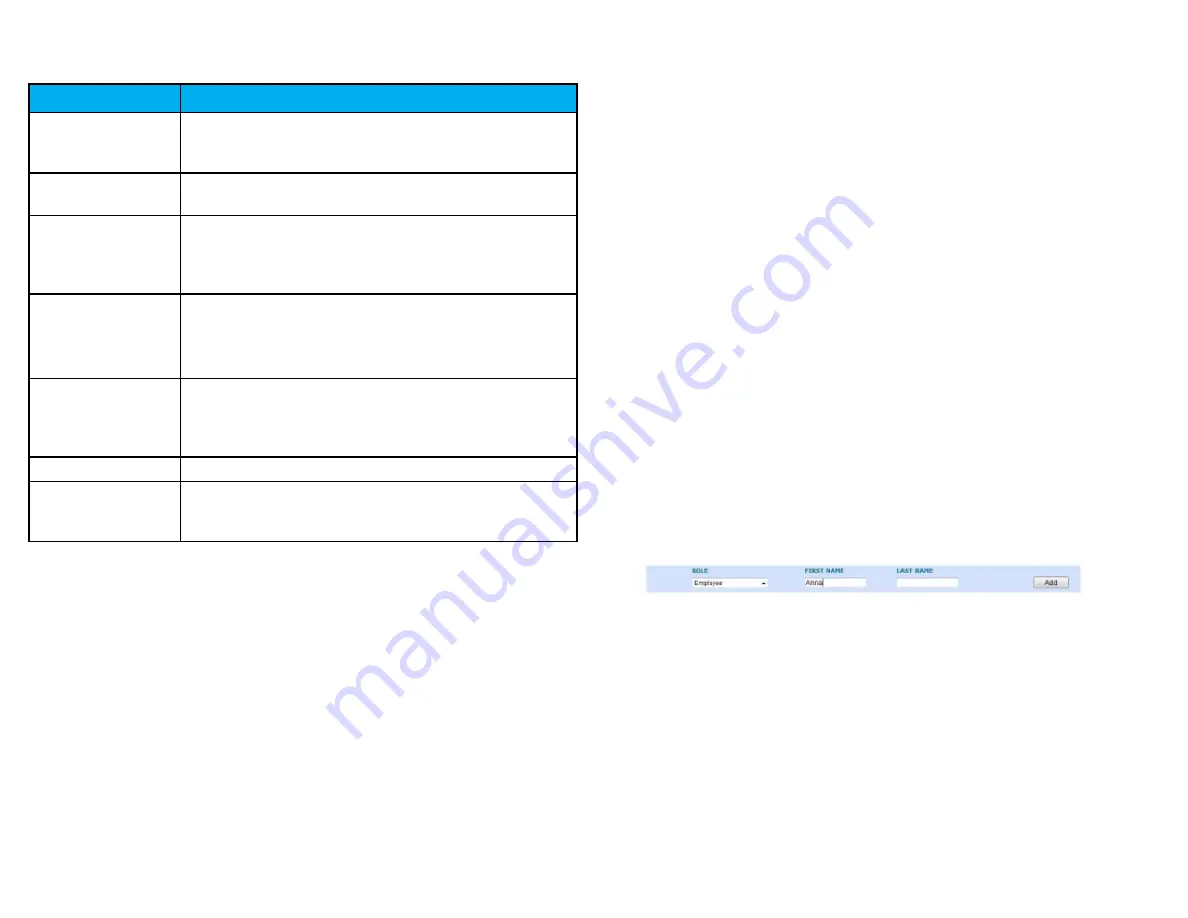
Follow these steps to add an employee to your uAttend account:
1. click the users tab on the main menu.
2. click Add user.
3. From the role drop-down menu, select the role that you wish to
assign to the user.
employee—users who are assigned to departments within
uAttend and will be punching in and out of the system.
Supervisor—users who are assigned departments for which they
are responsible. Supervisors may have view only or view and edit
rights.
Administrator—users who have control over the uAttend account
and are responsible for setting all preferences.
note: Each uAttend account is licensed for one administrator. If you wish to add
administrators to your account, there will be an additional fee of $6.00 per month,
per administrator.
4. In the First name field, enter the user’s first name.
5. In the last name field, enter the user’s last name.
6. click Add.
The new user will be added to the list of users.
7. click the new user’s name to continue adding user settings.
note: If the employee will be using a PIN to punch in, enter it in the pIn number
field. If they will be using an RFID Badge (CB1000 and CB2000 only), enter the
badge number that is printed on the RFID Badge in the Badge number field. If the
employee will be using fingerprints to punch in (BN1500 and BN2500 only), you
will register their fingerprints using the steps in Section 5.3 (BN1500) or Section
6.3 (BN2500) of this document.
Next, you can skip to the timeclock section that pertains to you.
5
28
6.4.1 using the Bn2500 Keypad
The following table explains the functions of each key on the BN2500 keypad.
6.4.2 using the Bn2500 menus
There are four main menu screens on the BN2500: User Management, Device
Management, Communications, and System Management.
The user management menu offers the following options:
Add user—used to register user templates on the BN2500.
delete user—used to delete user templates on the BN2500.
change mgr password—used to change the default manager password.
View user Id—used to identify which templates belong to a user. In this
mode, a user will press their finger on the sensor and the BN2500 will display
the Fingerprint ID.
download templates—used to download an existing template into a new
BN2500 timeclock.
KEY
FUNCTION
1-0
function As the numbers they represent.
use the keypAd to enter A pin by pressing
the correct four digits, then pressing ok.
esc
used to exit from A menu or cAnceL A
function.
menu
used to enter menu mode. requires A
mAnAger pAssWord. defAuLt pAssWord is
53178. defAuLt pAssWord cAn be chAnged
by A mAnAger.
up ArroW/dept pressing the up ArroW/dept key
in stAndby mode WiLL enAbLe the
depArtment trAnsfer function. in ALL
other modes, this key is used to scroLL up.
doWn ArroW/
id
pressing the doWn ArroW/id key in
stAndby mode WiLL ALLoW A user to enter
their pin. in ALL other modes, this key is
used to scroLL doWn.
ok
used to Accept key entries.
#
used to sWitch betWeen ALphA And
numeric during Wifi pAssWord entry And
is otherWise used As A toggLe button.


