


Reviews:
No comments
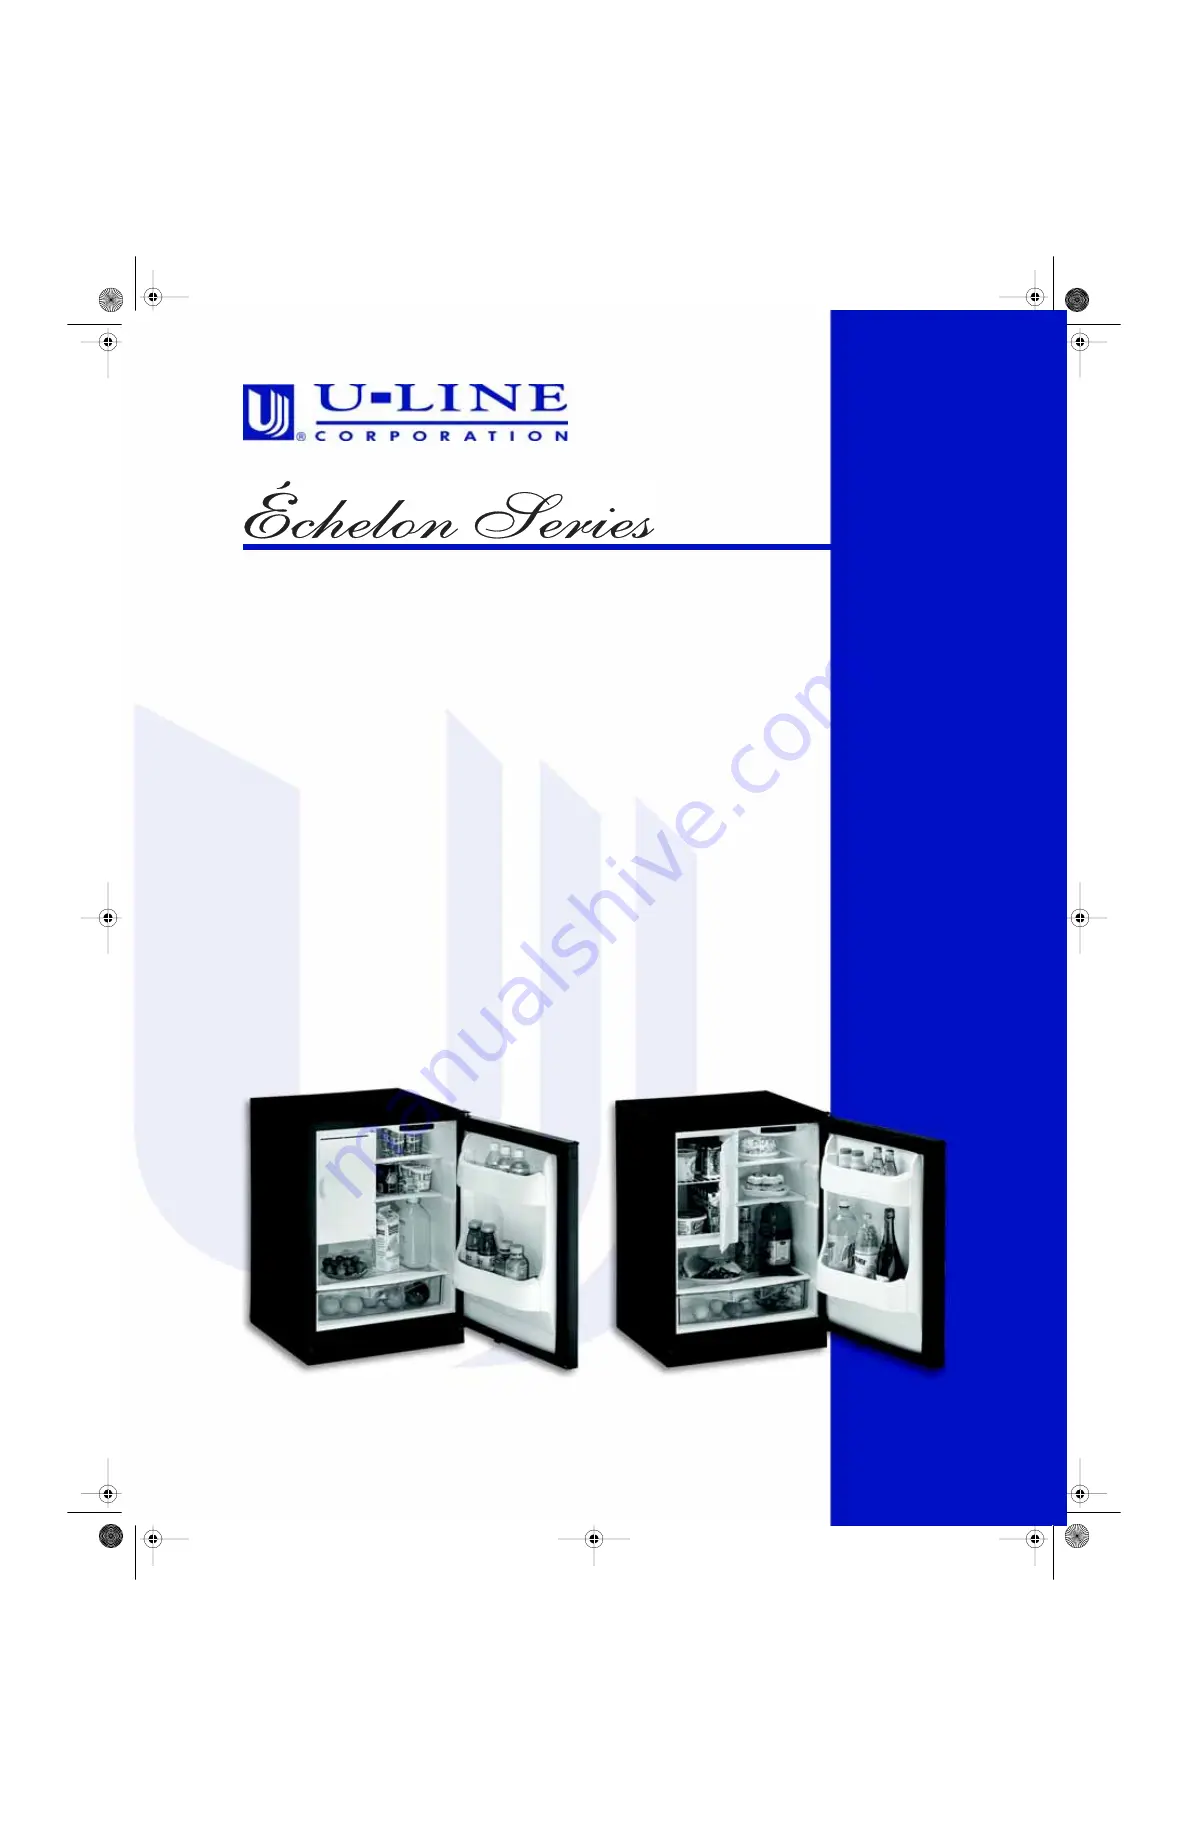
Related manuals for Echelon Series

RF30HB
Brand: Samsung Pages: 8

RF267AB
Brand: Samsung Pages: 40

RF261BIAESR
Brand: Samsung Pages: 84

Fridge-freezer
Brand: Zanussi Electrolux Pages: 12

RF4287HABP
Brand: Samsung Pages: 39

Echelon CLRCO2175B40
Brand: U-Line Pages: 2

GBE10ESJSB
Brand: GE Pages: 52

KF2385NHE
Brand: Cylinda Pages: 86

U-3036RRS-00B
Brand: U-Line Pages: 30

MCBR405B
Brand: Magic Chef Pages: 8

GE RPWFE
Brand: Monogram Pages: 64

280 COMBI
Brand: HAEGER Pages: 56

MCBR415S
Brand: Magic Chef Pages: 10

Ri552FF
Brand: Caple Pages: 28

FFPS4533UM
Brand: Frigidaire Pages: 15

HDE10WNA
Brand: Haier Pages: 68

Delfield 402P
Brand: Welbilt Pages: 16

AMA46S1E
Brand: Amana Pages: 9


