background image


Copyright ©  2022 Fametech Inc. All Rights Reserved. 

All other brands, product names, company names, trade names, trademarks and service marks 

used herein are the property of their respective owners.


16 


POS Installation 

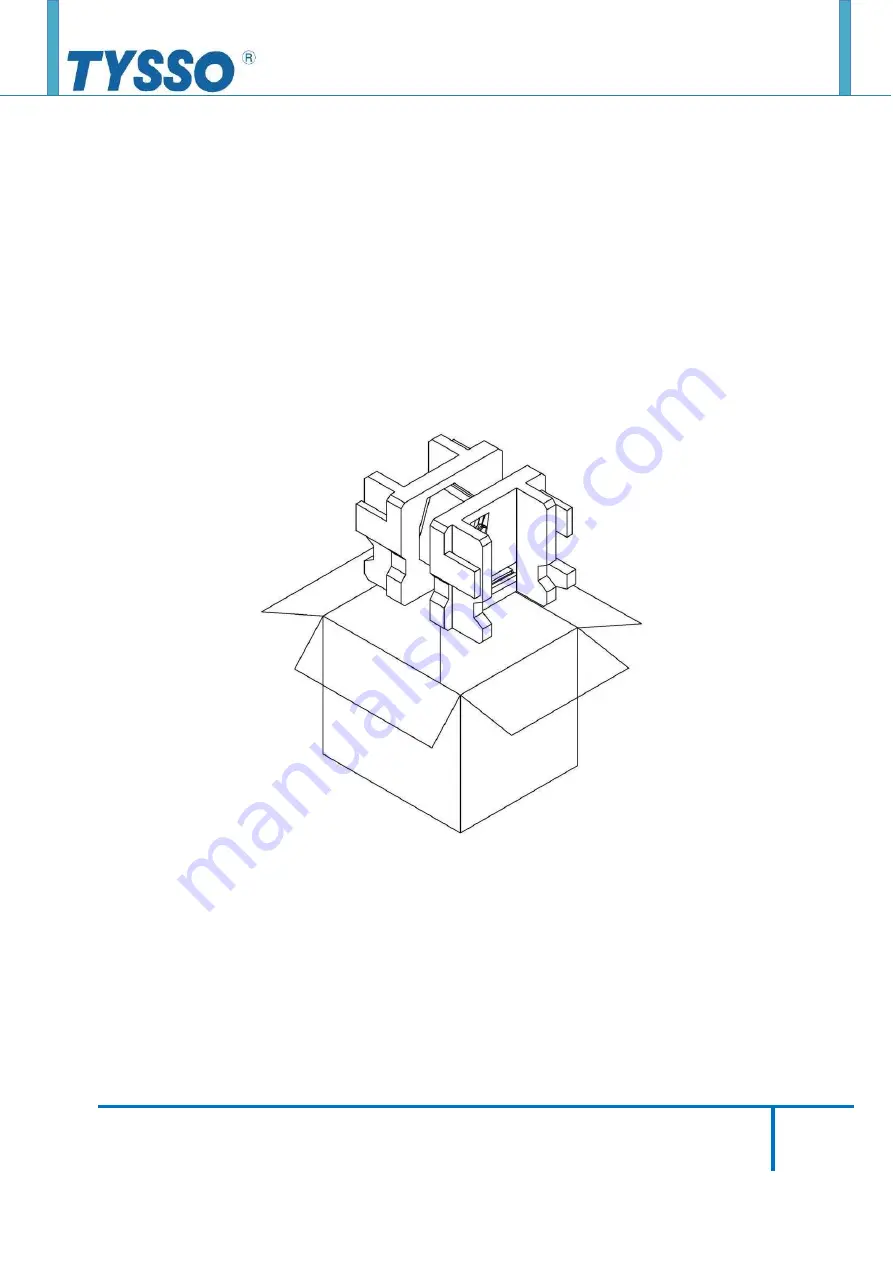
Unpack Your POS 


The contents may vary with different options. If there’s any physical damage or 

missing parts, please contact your supplier immediately. Please keep all packing 

materials in case you need to ship back the device for service. 


Unpacking 

The product and accessories are packed in a paperboard carton. And it is wrapped 

by foam padding for protection during shipping. 


Summary of Contents for TP-1615

Page 1: ...ts Reserved All other brands product names company names trade names trademarks and service marks used herein are the property of their respective owners 1 TP 1615 Fanless Full Flat POS Terminal User...

Page 2: ...story 3 About This Manual 4 Disclaimer 4 Warning 4 Caution 5 Warranty Limits 5 Trade Marks and Service Marks 5 Important Safety Information 6 Product Overview 7 Packing 7 Specifications 8 Dimension 10...

Page 3: ...product names company names trade names trademarks and service marks used herein are the property of their respective owners 3 General Information Revision History Date Version Update Summary Remark...

Page 4: ...DOCUMENTATION EVEN IF THE POSSIBILITY OF SUCH DAMAGES HAS BEEN ADVISED IN PARTICULAR THE VENDOR SHALL NOT HAVE LIABILITY FOR ANY HARDWARE SOFTWARE OR DATA STORED OR USED WITH THE PRODUCT INCLUDING TH...

Page 5: ...mistreated Do not attempt to disassemble the battery immerse it in the water or expose it to fire Warranty Limits If the product and the parts are disassembled by any person other than the authorized...

Page 6: ...nything to rest on the power cord Do not locate the system where people may walk on the cord The system is equipped with a three wire grounded plug with a third grounding pin This is a safety feature...

Page 7: ...POS Unit Power Adapter AC Power Cord Contents POS Unit x 1 Power Adapter pre installed to the base x 1 AC Power Cord x 1 RJ45 to RS 232 DB9 Male Cable x 3 Optional Accessories Magnetic Stripe Card Rea...

Page 8: ...0 Panel Side LAN 1 x RJ45 10 100 1000Mbps Giga Ethernet COM 3 x COM RJ45 w RI 5V 12V Bottom 1 x COM USB Panel Side HDMI 1 x HDMI Port Audio 1 x Line out and 1 x MIC in Cash Drawer 1 x RJ11 port suppo...

Page 9: ...reen Customer Display VFD and LCD Customer Display MSR Bi directional Comply with ISO 7811 and Three Track support Combo Card Reader MSR Comply with ISO 7811 JIS II and Three Track RFID Comply Mifare...

Page 10: ...vice marks used herein are the property of their respective owners 10 Dimension Left View Front View Right View Rear View Bottom View Note The Magnetic Stripe Card Reader MSR and i Button Module are o...

Page 11: ...demarks and service marks used herein are the property of their respective owners 11 Part Description Front View Rear View MSR Module Optional LCD Touch Screen i Button Module Optional Power Indicator...

Page 12: ...ective owners 12 Side View Left View with Optional i Button Left View Right View with Optional MSR Right View Note The right I O ports USB RS 232 are reserved for MSR Module Customer Display Optional...

Page 13: ...ll Rights Reserved All other brands product names company names trade names trademarks and service marks used herein are the property of their respective owners 13 Bottom View Base Bottom View POS Uni...

Page 14: ...mpany names trade names trademarks and service marks used herein are the property of their respective owners 14 I O Ports Bottom I O Ports Side I O Ports Side I O Port USB USB C 3 2 RJ45 LAN COM1 3 HD...

Page 15: ...phone or speaker HDMI 1 x HDMI for transmitting data to monitor COM 3 x COM RJ45 and 1 x COM USB COM1 COM3 RJ45 RI 5V 12V supported COM4 USB Type A USB Ports Connect devices with USB type A connectors...

Page 16: ...POS Installation Unpack Your POS The contents may vary with different options If there s any physical damage or missing parts please contact your supplier immediately Please keep all packing material...

Page 17: ...5 Plug another end of the AC power cord to the power supply or wall outlet 6 Examine the Power Connector and Power Cord and make sure all cables properly connected to the POS terminal Power Adaptor an...

Page 18: ...ase contact your local representative for further information Securing Screws x 2 Modular Customer Display a Remove the cover of the connectors b Connect the connector of the Modular Customer Display...

Page 19: ...ay Optional Note The 2nd Display is an Optional Accessory and is not included in the standard package Please contact your local representative for further information a Remove the cover of the connect...

Page 20: ...herein are the property of their respective owners 20 Install the MSR i Button Module Optional d Tighten the securing screws and switch the POS Unit on a Switch the POS Unit Off b Install the i Butto...

Reviews: