


Installation and Operation Guide
61
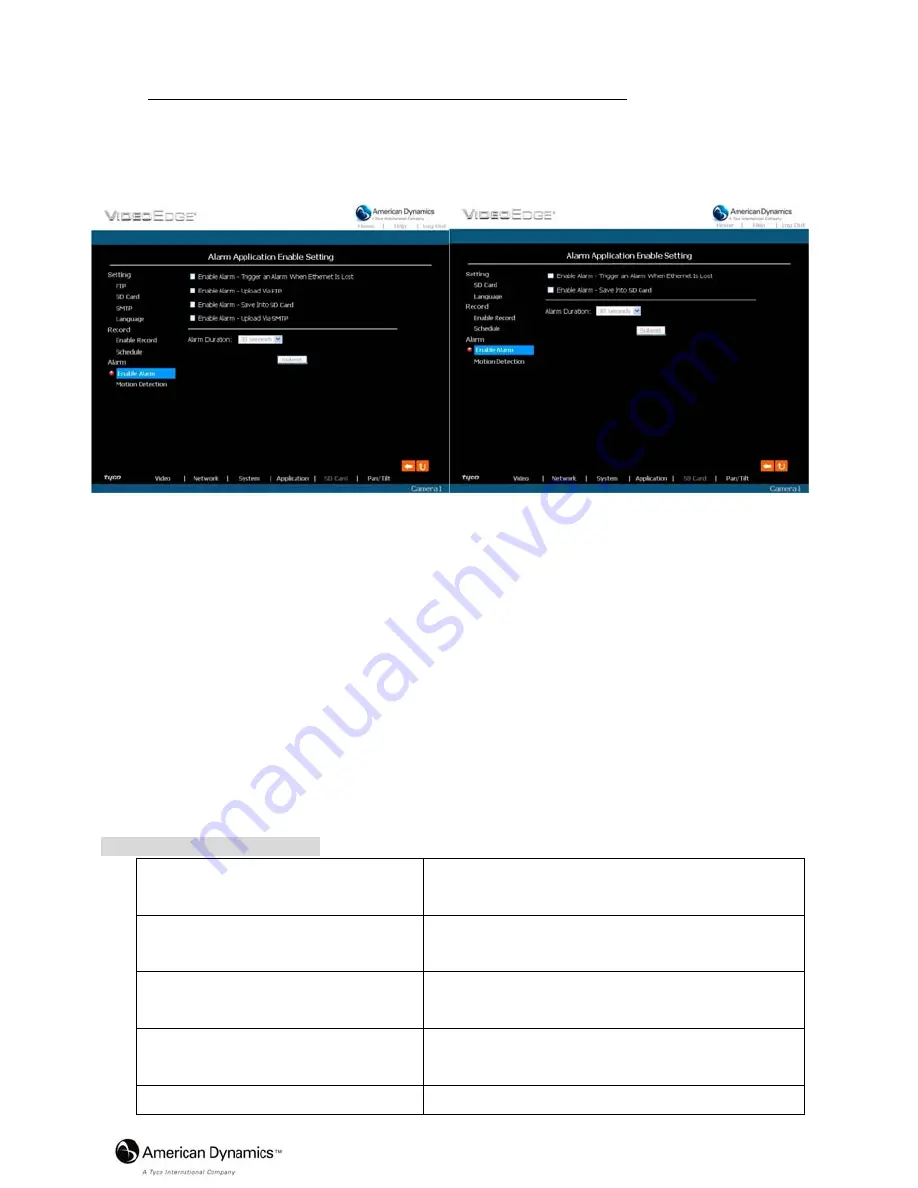
Change the Application Setting — Alarm Application Enable Setting.
Please follow the steps below to change the setting via the network as necessary.
1.
Click on the
Enable Alarm
button on the left side of the record to enter the “Alarm Application
Enable Setting” page.
MJPEG mode
MPEG4 mode
2.
Click “Enable Alarm – Trigger an Alarm When Ethernet Is Lost” to checkmark the box and
activate the function.
3.
Click “Enable Alarm – Upload Via FTP” to checkmark the box and activate the function (*FTP
function is for PAL version only).
4.
Click “Enable Alarm – Save Into SD card” to checkmark the box and activate the function.
5.
Click “Enable Alarm – Upload Via SMTP” to checkmark the box and activate the function
(*SMTP function is for PAL version only).
6.
Enter the "Alarm Duration" you have chosen.
7.
Click on the
Submit
button to submit the new setting of the recording.
8.
Click on the
Home
button to return to the home page.
Description of function keys:
Enable ALARM – Trigger an Alarm
When Ethernet Is Lost:
Activates or deactivates the alarm triggering while the
Ethernet lost.
Enable Alarm – Upload Via FTP:
Activates or deactivates the alarm recording upload to
the FTP.
Enable Alarm – Save Into SD card:
Activates or deactivates the alarm recording to be
saved to the SD card.
Enable Alarm – Upload Via SMTP:
Activates or deactivates the alarm recording upload to
the SMTP.
Alarm Duration:
Predetermines the length of the alarm.


