56
Chapter 3: Replacing Pre-Installed Components
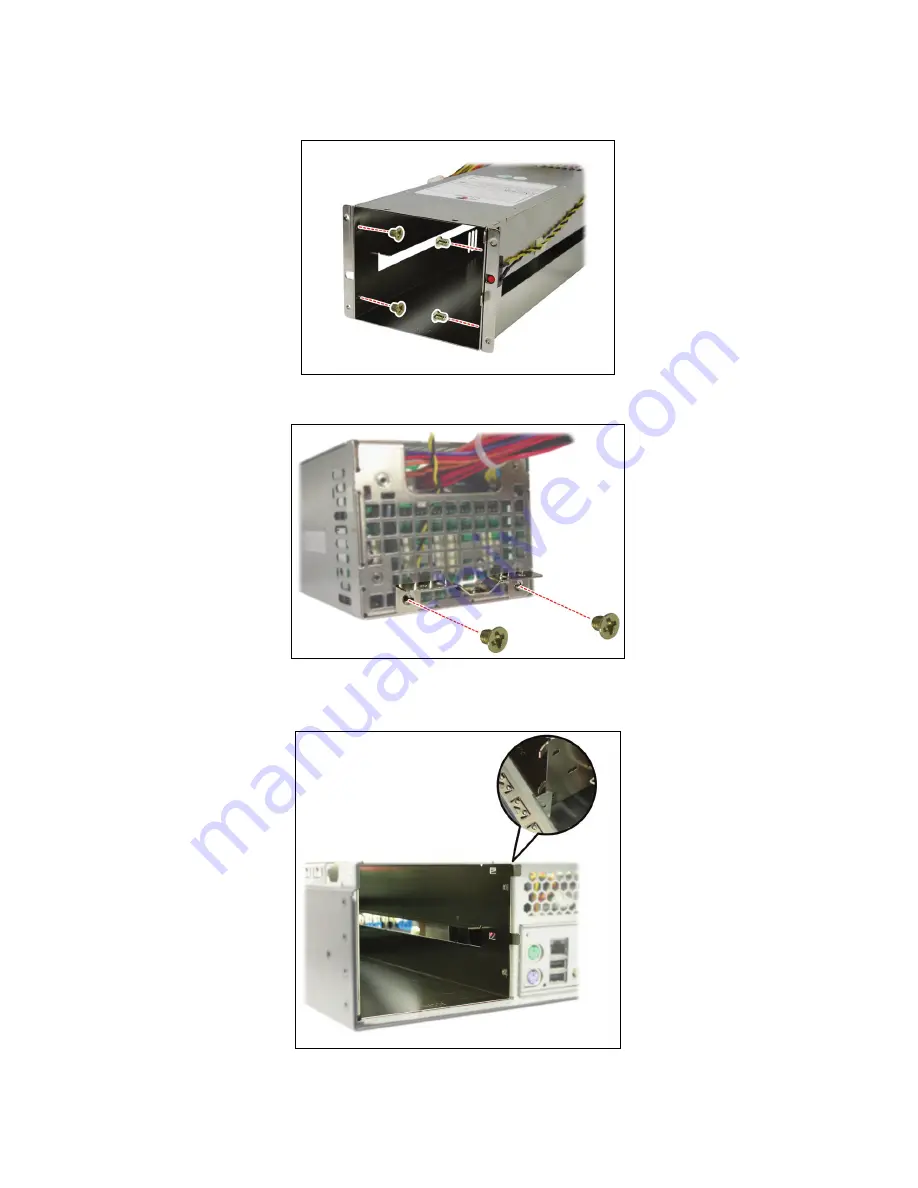
2. Remove the screws which fix the bracket to the sides of
the redundant power supply casing.
3. Screw the bracket to the rear of the power supply casing.
4. Insert the redundant power supply casing into the chas-
sis, making sure it is aligned as shown.
Summary of Contents for Transport TA26 B3992
Page 1: ...Transport TA26 B3992 Service Engineer s Manual...
Page 2: ......
Page 15: ...Chapter 1 Overview 7 Screw Pack Sliding Rail Brackets FDD Power Cable SAS Cable TYAN Logo...
Page 19: ...Chapter 1 Overview 11 1 5 4 Motherboard Layout...
Page 21: ...Chapter 1 Overview 13 1 5 6 System Block Diagram...
Page 39: ...Chapter 2 Setting Up 31 7 Reinsert the tray into the bay and press the locking lever to secure...


