http://www.tyan.com
55
5.
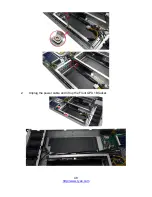
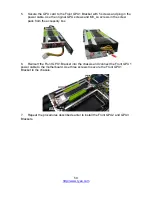
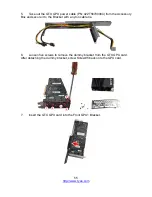
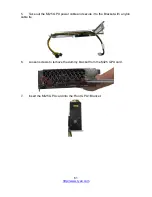
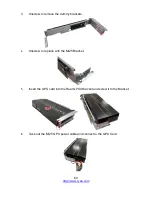
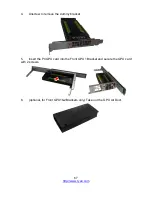
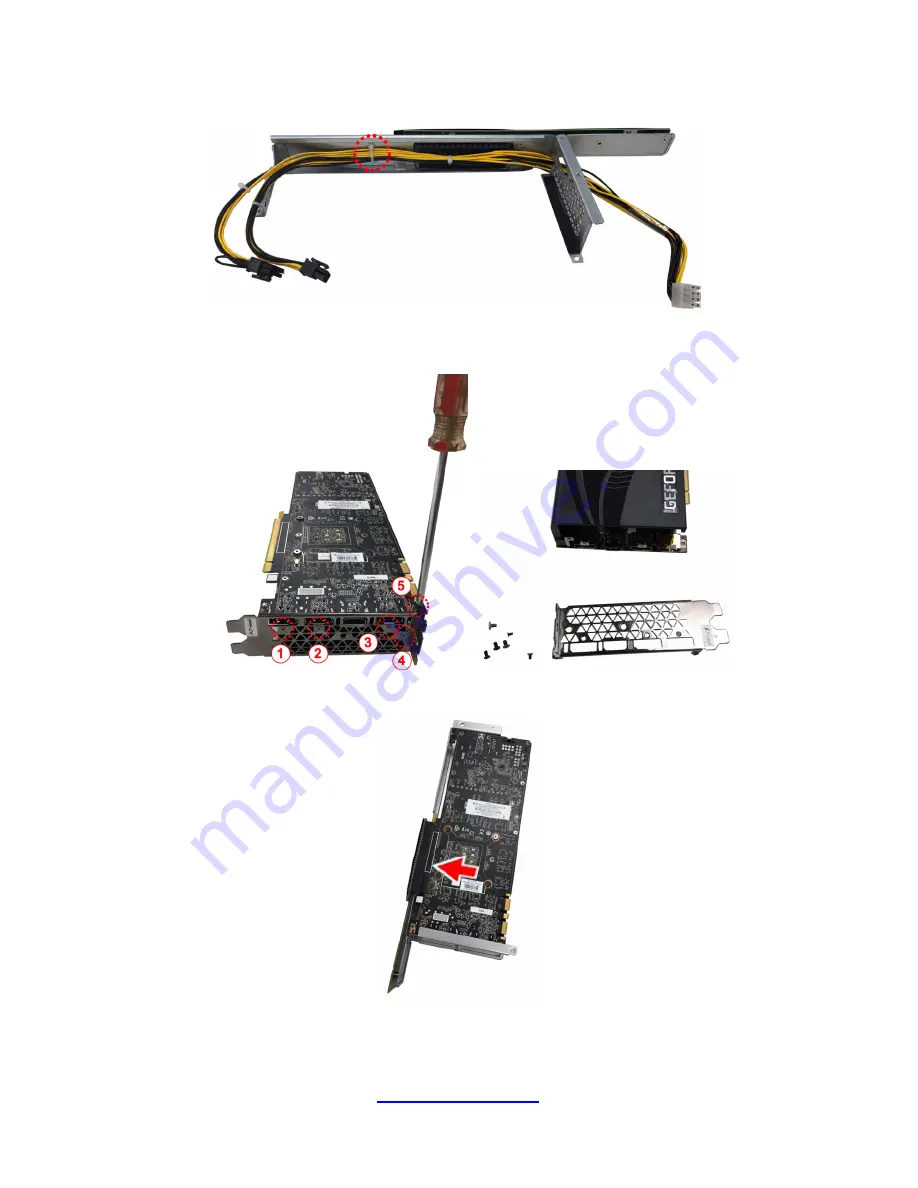
Take out the GTX GPU power cable (PN: 422T56700004) from the Accessory
Box and secure it to the Bracket with a nylon cable tie.
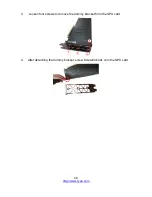
6.
Loosen five screws to remove the dummy bracket from the GTX GPU card.
After detaching the dummy bracket, screw Screw#5 back onto the GPU card.
7.
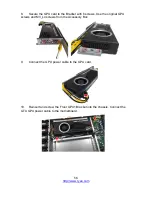
Insert the GTX GPU card into the Front GPU1 Bracket.
Summary of Contents for GA88-B8021
Page 1: ...1 http www tyan com GA88 B8021 Service Engineer s Manual ...
Page 12: ...12 http www tyan com NOTE ...
Page 16: ...http www tyan com 16 NOTE ...
Page 30: ...http www tyan com 30 NOTE ...
Page 44: ...http www tyan com 44 3 Pull the inner sliding rail forward to secure it to the chassis ...
Page 46: ...http www tyan com 46 NOTE ...
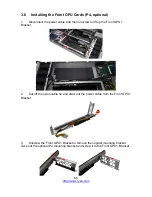
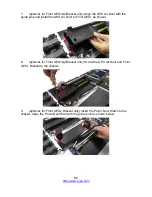
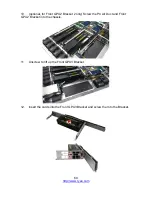
Page 48: ...http www tyan com 48 2 Unplug the power cable and lift up the Front GPU1 Bracket ...
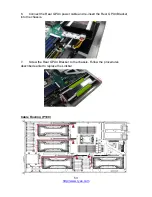
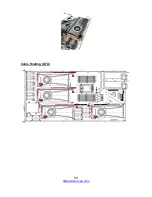
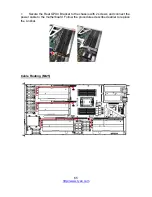
Page 59: ...http www tyan com 59 Cable Routing GTX ...
Page 75: ...http www tyan com 75 2 The air duct installation is now completed ...
Page 76: ...http www tyan com 76 NOTE ...
Page 97: ...http www tyan com 97 5 2 Block Diagram S8021 ...
Page 98: ...http www tyan com 98 5 3 Motherboard Mechanical Drawing ...
Page 112: ...http www tyan com 112 NOTE ...
Page 119: ...http www tyan com 119 6 3 1 1 Node0 Information Read only ...
Page 121: ...http www tyan com 121 Serial IRQ Mode Configure Serial IRQ Mode Quiet Continuous ...
Page 128: ...http www tyan com 128 6 3 7 AST2500 Super IO Configuration Super IO Chip Read only ...
Page 143: ...http www tyan com 143 6 3 13 SATA Configuration Read only ...
Page 149: ...http www tyan com 149 6 4 1 2 Socket 0 Information Read only ...
Page 186: ...http www tyan com 186 BIOS Temp Sensor Name Explanation ...
Page 187: ...http www tyan com 187 ...
Page 190: ...http www tyan com 190 NOTE ...

