

450041001002 A0
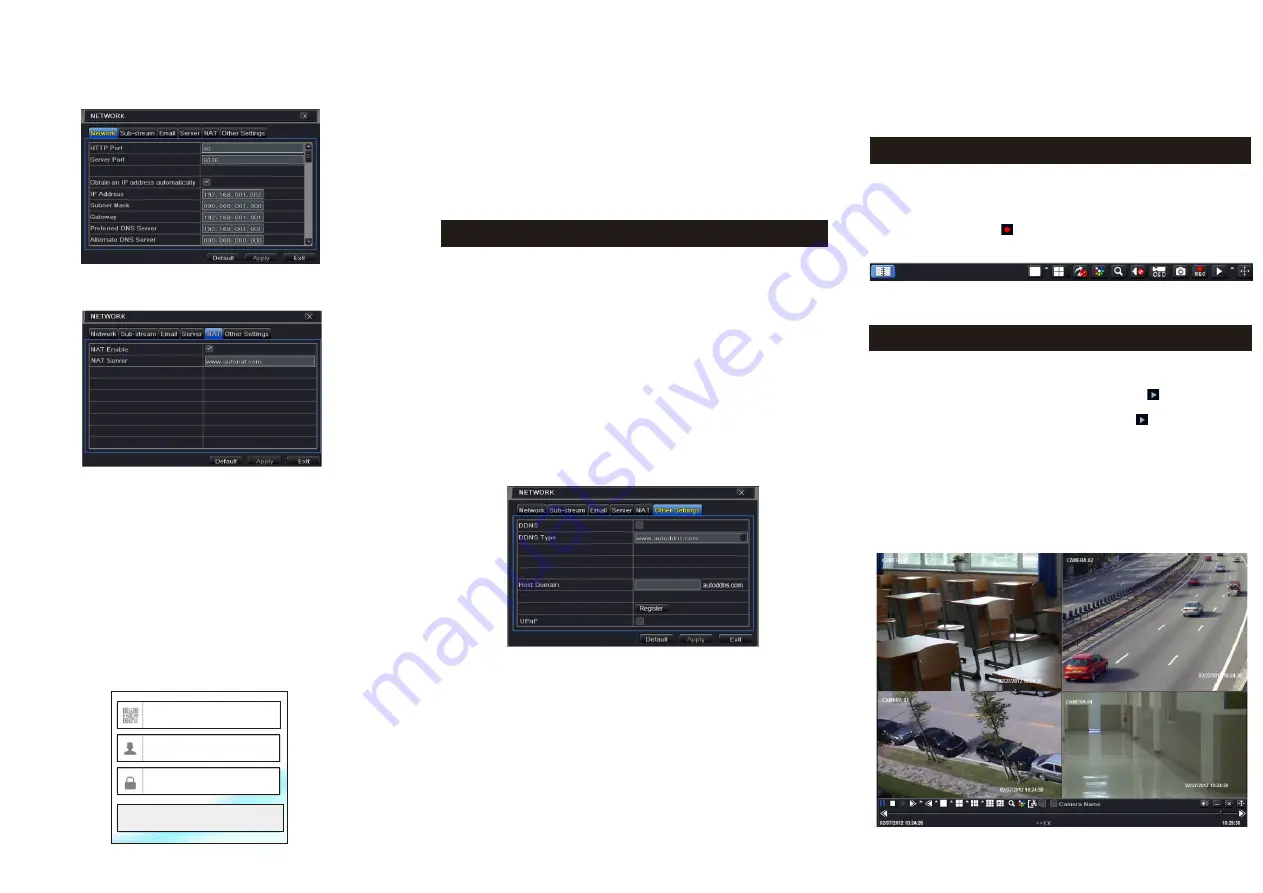
Right click the mouse in the live interface to pop up the menu
toolbar. Click the little triangle button beside
button to
set
playback time (eg. 5 minutes)
.
Then
click
button to play the
record from the past 5 minutes. You may control the video by
clicking the corresponding buttons, such as, forward, play/pause,
stop, etc. If you want to play the record by searching the specific
time and date, event or file, you may refer to the DVR User
Manual for details.
9
Manual Recording
Before recording, please install and format a HDD. Right
click the mouse in the live interface to pop up the following
menu toolbar. Click
button
to
start
recording
.
10
Playback
Device Serial Number
: The MAC address of the DVR (Go to
Main Menu
→
Information
→
Network to check the MAC address
of the DVR).
Username
: The username of DVR. The default username
is
admin
.
Password
: The password of DVR. The default password is
123456
.
Note:
Before setting UPnP function, please configure the correct local
IP address, subnet mask, gateway and DNS according to the router.
Make sure the HTTP port and data port are correctly set. Make sure the
router supports UPnP function.
Fig 2
►
NAT Access
After finishing the NAT settings, input
www.autonat.com
in the address bar to go to the IE client. If you are the first time
to access the NAT, you shall download and install the ActiveX
according to the popup tips. After installing ActiveX successfully,
it will pop up the login box.
8
DDNS & UPnP Function
►
UPnP
You can use the UPnP function to enable the fast connection
of the device to WAN via a router without port mapping.
①
Go to Other Settings tab and enable the UPnP and click
“Apply” button to save.
②
Enable the UPnP function in the router.
► Quick DDNS Setup
You may set up DDNS to be used in connection when your
device is set to use PPPoE as its network connection.
①
Go to Main Menu
→
Setup
→
Network
→
Other Settings
interface.
②
Make sure the DDNS type “
www.autoddns.com
” . Then
self-define the host domain. After you register it successfully,
save the settings by clicking “Apply” button. Now, you can
remotely access the device using the domain name via WAN.
Fig 1
Enter
device
serial
number
Enter
Username
Enter
Password
Login
⑤
Enable NAT and input the NAT Server (The default NAT
Server is
www.autonat.com
) .
⑥
Click “Apply” to save the parameters.


