C2-2450A O
PERATION
M
ANUAL
98
There are 2 ways to create a resolution using this tool. The easiest, shown on the
New resolution tab at the side, allows you to create a new resolution using the
minimum information of Horizontal and Vertical size and the desired refresh rate.
It’s also possible to constrain the Vertical size of the resolution by selecting a
custom, 4:3 or 16/9 aspect ratio and then left clicking your mouse on the Vertical
Resolution box which will then automatically calculate the Vertical Resolution for the
given Horizontal Resolution and Aspect Ratio.
Once you have entered the required information it’s simply a matter of pressing the
‘Create’ button. The resolutions are created using one of two VESA
®
standards,
Coordinated Video Timings (CVT) or Generalized Timing Formula (GTF) in order to
make the created resolutions as compatible as possible with standard video
equipment. If you find your created resolution does not work effectively try the
calculation using GTF.
Once you press the Create, you’re asked if you want to add this new entry to the
resolution table. If you select No, the resolution can only be added to the table
using the Advanced Create and edit screen.
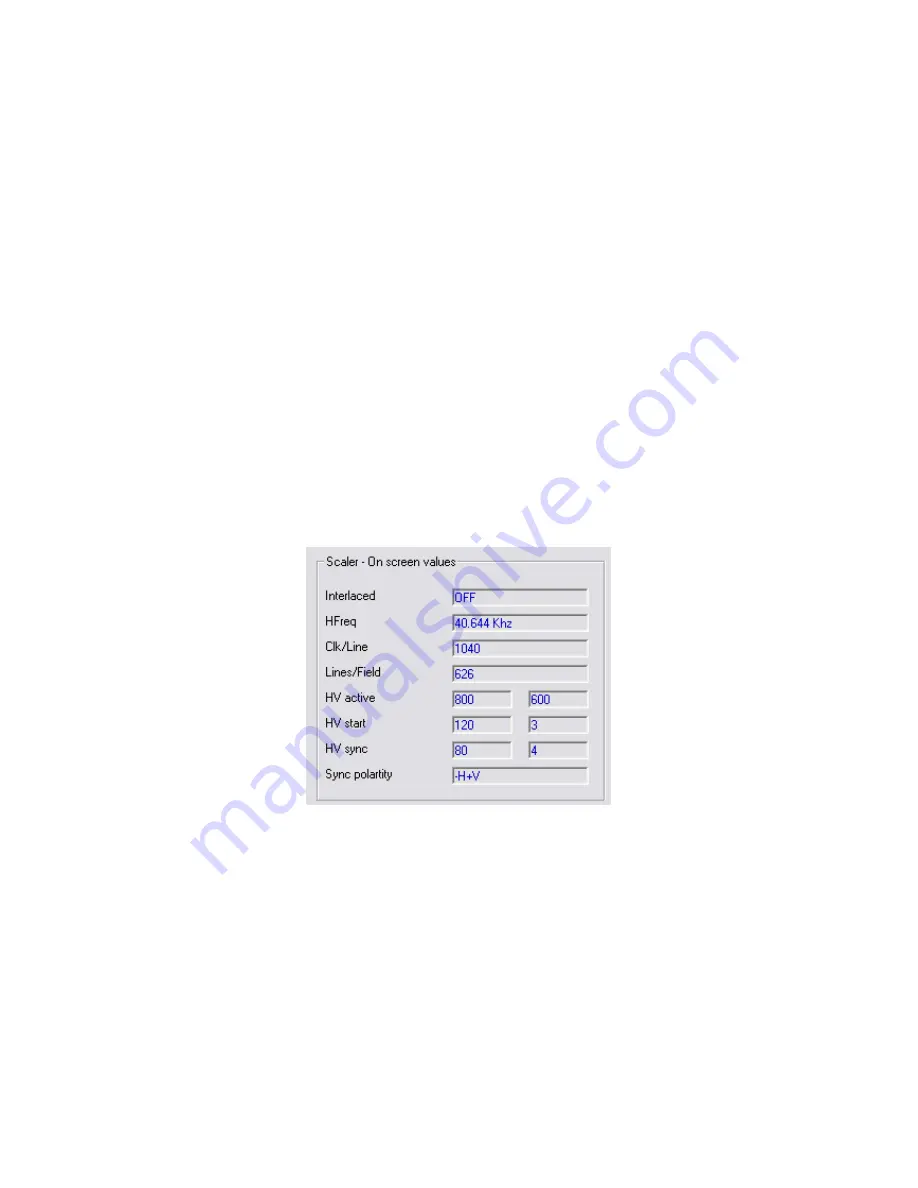
Once the new resolution is created the ‘Scaler menu values’ frame will show what
the unit’s on-screen values would be if you were in the ‘Adjust Image Parameters’
screen.
Figure 26 Resolution editor - Unit on screen values
If the resolution was added to the resolution table, then the table at the bottom of
the screen will update and show the newly created resolution and all its timing
parameters. New resolutions are named using the resolution H and V size; refresh
rate and the letter U to signify a user created resolution. Using the Timings tab you
can alter this text.


