


Ballast-Check 2 User’s Manual
15
4
If the Launch BC2DataReport box is checked when the install is complete, the program
will start automatically. Otherwise, launch the Software by double clicking the
BC2DataReport shortcut or file.
5
Plug the download data cable’s stereo jack in the Ballast-Check 2 data port. Make sure
that the cable is fully mated with the instrument.
6
Plug the download data cable’s USB plug into your computer.
7
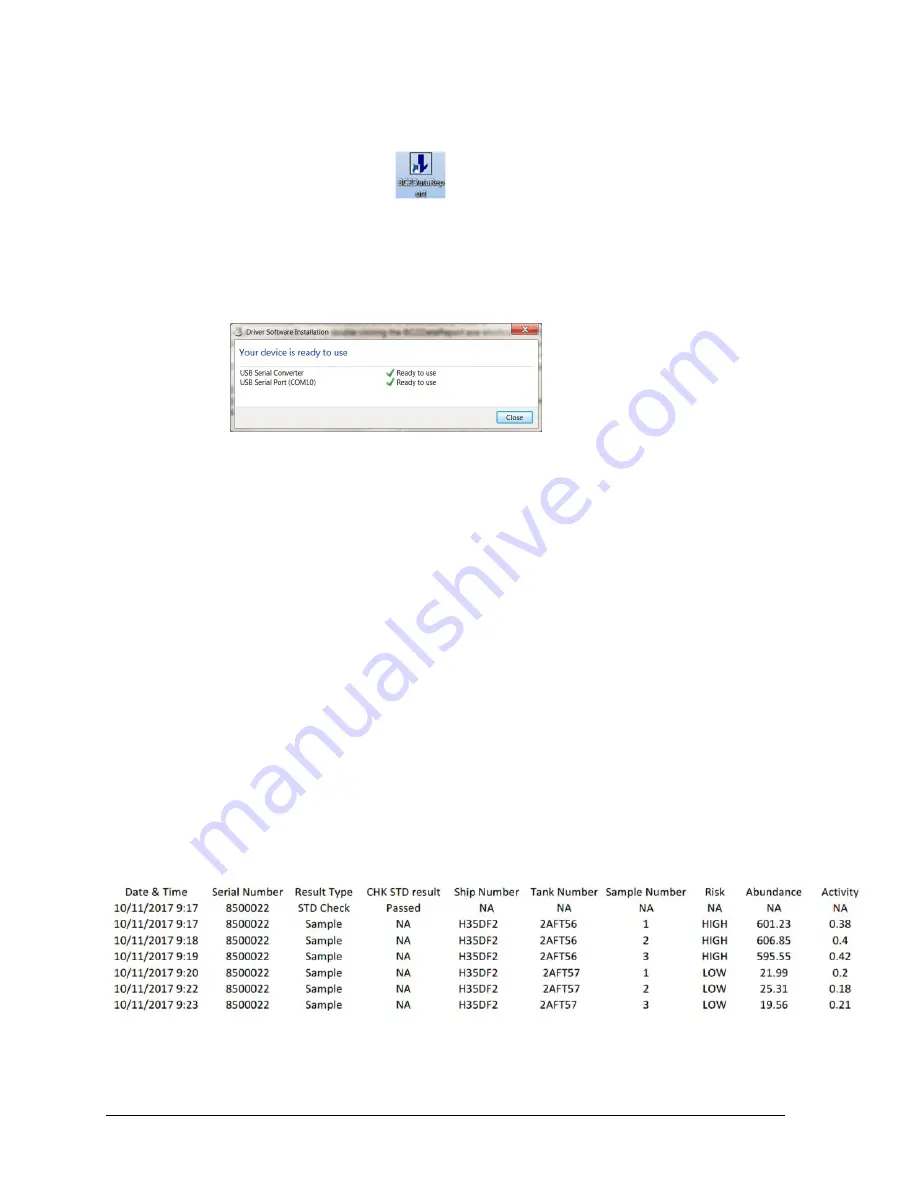
Wait for the download data cable’s driver to automatically install. This may take several
minutes. You will receive the following message when driver installation has completed:
Make sure to note the COM port assigned to the download data cable.
8
Manually enter the COM port number into the Data Report Software’s COM port box
located in the upper left-hand corner of the software screen. The COM port setting can
also be viewed and/or changed in the computer’s Device Manager Window.
9
Click the Browse button and navigate to a folder or location where the data report will be
saved.
10 Name the file and click Open.
11 Turn the Ballast-Check 2 ON and press the DATA button after warm up has completed.
12 Click Start on the Software screen
Note: Software window will state, ‘Ready for data download’
13 Press ENTER on Ballast-Check 2 to select Send/Clear Data.
14 Press ENTER on Ballast-Check 2 to Send Data.
Note: Data will begin streaming to the software window.
15 When all data have been downloaded, data streaming will stop.
16 Click the Create Report button.
17 The software window will show ‘Creating Report…’
18
When completed, the software window will show ‘Report Created!’
19
Click Quit on software screen to exit.
Note: Data are saved in the format shown in Figure 1 below, as a PDF file, and
cannot be modified or changed.
Figure 1.


