Setting Up
11
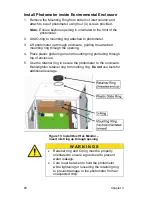
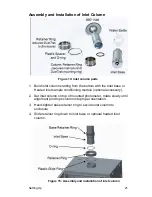
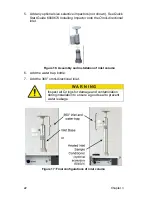
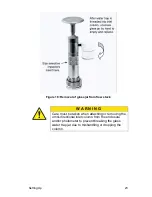
4. Place inlet column on top of photometer ring and rotate until
alignment pin engages. Tighten down column ring to secure inlet
column to photometer.
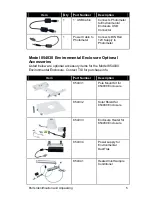
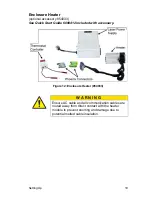
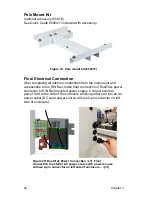
5. Connect cables for Photometer, Netronix Node, and any optional
accessories (Heated Inlet, Enclosure Heater) as directed in the
Quick Start Guides.
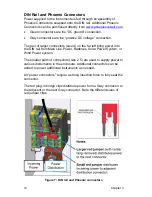
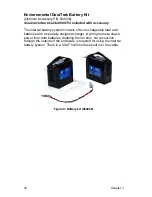
6. Connect batteries or connect to external power source.
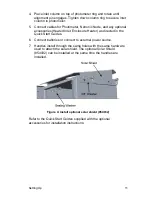
7. Handles install through the same holes with the same hardware
used to attach the solar shield. The optional Solar Shield
(854032) can be installed at the same time the handles are
installed.
Figure 4: Install optional solar shield (854032)
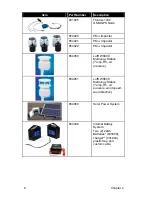
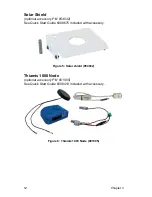
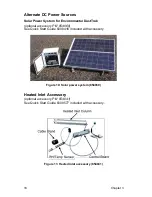
Refer to the Quick Start Guides supplied with the optional
accessories for installation instructions:
Summary of Contents for DUSTTRAK 854030
Page 2: ......
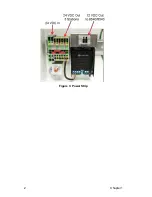
Page 12: ...2 Chapter 1 Figure 3 Power Strip ...
Page 18: ...8 Chapter 2 This page intentionally left blank ...
Page 36: ...26 Chapter 3 This page intentionally left blank ...
Page 48: ...38 Chapter 4 This page intentionally left blank ...
Page 52: ...42 Chapter 5 This page intentionally left blank ...
Page 54: ...44 Chapter 6 This page intentionally left blank ...
Page 58: ......

